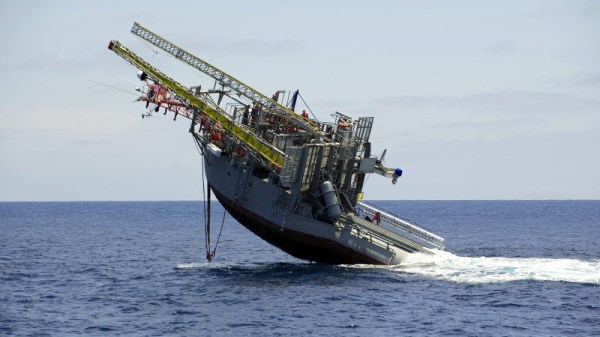
It looks like a ship when it is in port or in transit, and when it use you’d think it’s about to sink. The RP FLIP (for “FLoating Instrument Platform) is an unpowered research buoy with a very special design designed to provide the most stable and vibration-free platform possible for scientists studying the properties of the sea.
Scientific research often places demanding requirements upon existing infrastructure, requiring its own large projects tailored to their individual task. From these unusual needs sometimes come the most curious buildings and machinery. RP FLIP is designed to provide the most stable and vibration-free platform possible for scientists studying the properties of the sea. By flooding tanks in its bow it transfers from horizontal and floating on the surface to vertical and half-submerged when it is deployed. With its stern protruding from the water and pointing skywards it has the appearance of a sinking ship. What’s really neat is that its interior is cleverly designed such that its crew can operate it in either horizontal or vertical positions.
The original impetus for FLIP’s building was the US Navy’s requirement to understand the properties of sound waves in the ocean with relation to their submarines and presumably also those of their Soviet adversaries. Research submarines of the 1950s were not stable enough for reliable measurements, and the FLIP, launched in 1962, was built to address this by providing a far more stable method of placing a hydrophone at depth. Since then it has participated in a significant number of other oceanographic studies as diverse as studying the propagation of waves across the Pacific, and the depth to which whales dive.
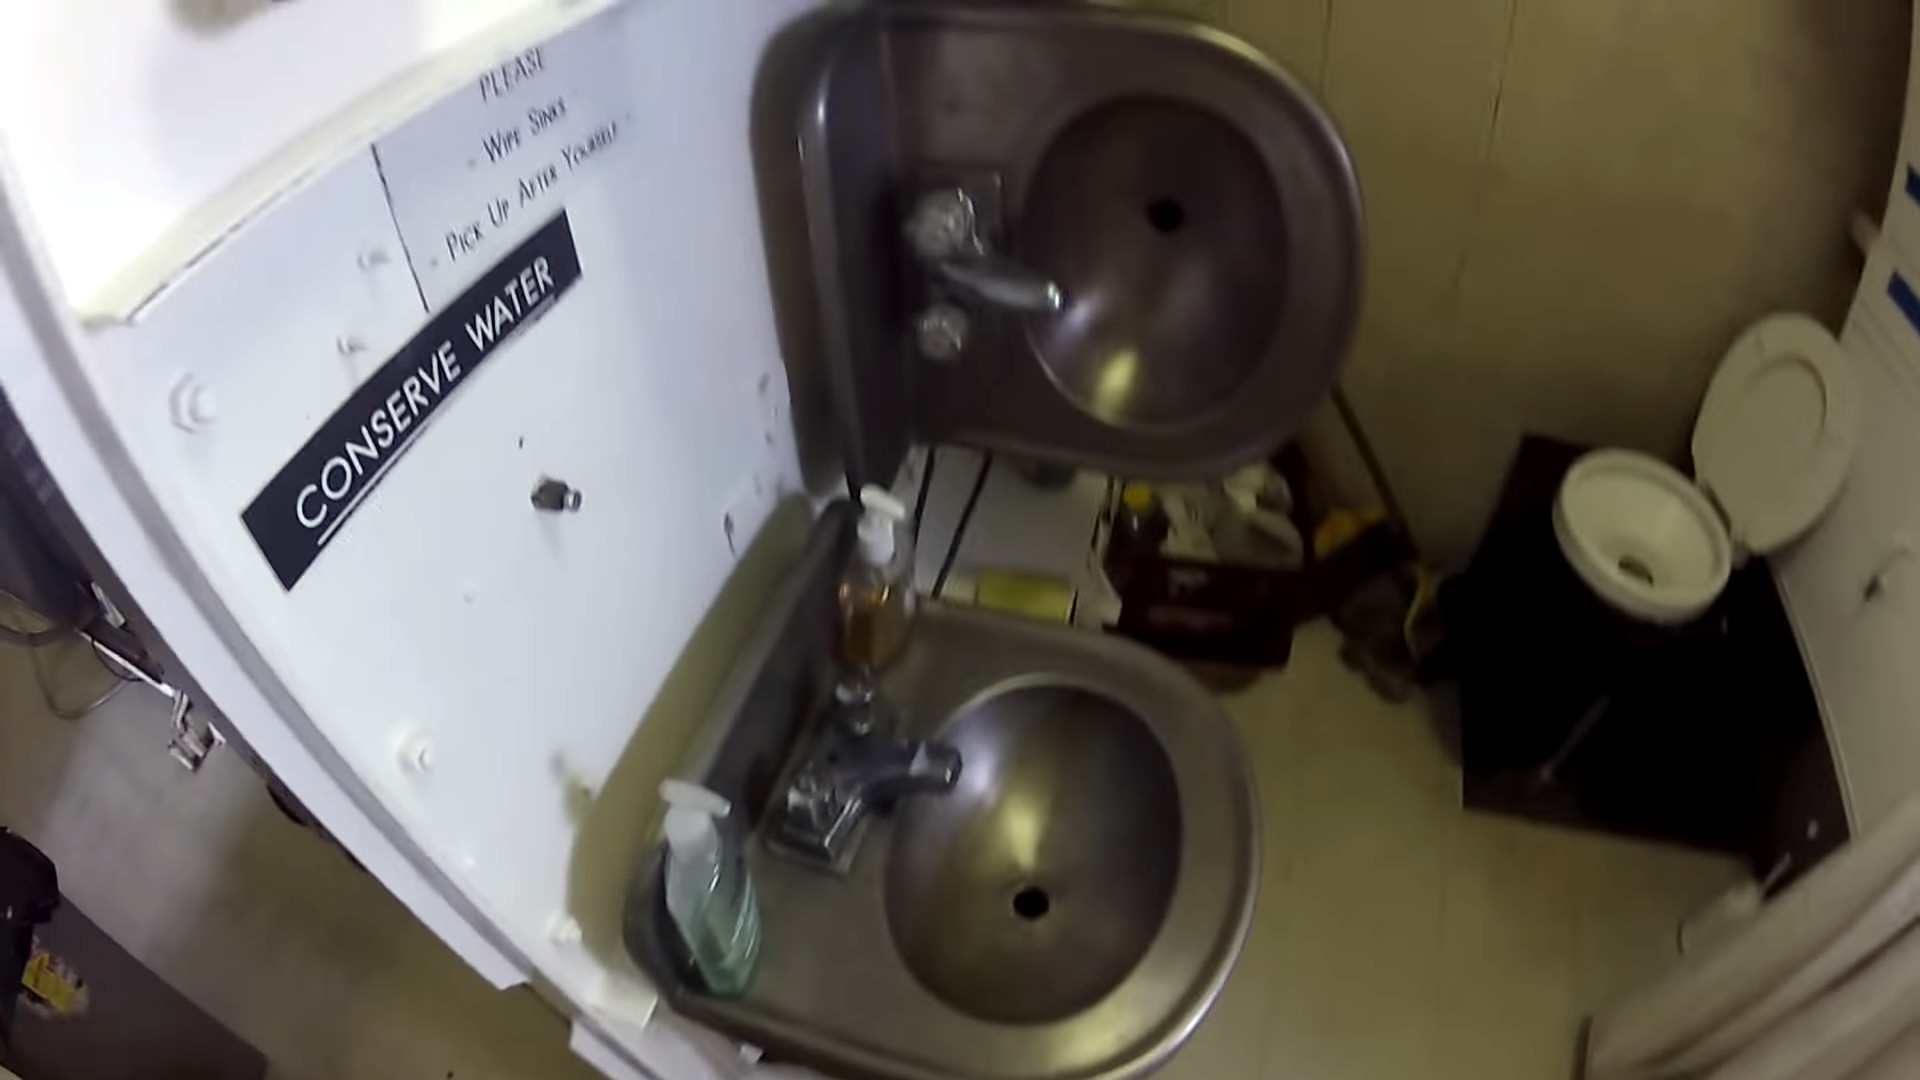
The videos below should give a good introduction to the craft. The first one is a glossy promotional video from its operator, the Scripps Institution Of Oceanography, on its 50th anniversary, while the lower of the two is a walkaround by a scientist stationed aboard. In this we see some of the features for operating in either orientation, such as a toilet facilities mounted at 90 degrees to each other.
It appears that FLIP is in good order and with continuing demand for its services that should see it still operating well into the future. Those of us who live near Atlantic waters may never see it in person but it remains one of the most unusual and technically intriguing vessels afloat.
FLIP is not the only 1960s oceanographic research buoy we’ve covered, should you have an interest in such things.
Continue reading “Retrotechtacular: This Boat Isn’t Sinking… It’s Doing Research”