When embarking on a career in the life sciences, it seems like the choice of which model organism to study has more than a little to do with how it fits into the researcher’s life. I once had a professor who studied lobsters, ostensibly because they are a great model for many questions in cell biology; in actuality, he just really liked to eat lobster. Another colleague I worked with studied salt transport in shark rectal glands, not because he particularly liked harvesting said glands — makes the sharks a tad grumpy — but because he really liked spending each summer on the beach.
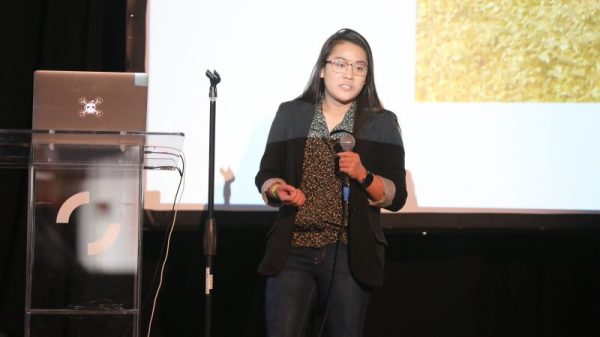
Not everyone gets to pick a fun or delicious model organism, though, and most biologists have had to deal with the rats and mice at some point. It’s hard to believe how needy these creatures can be in terms of care and feeding, and doubly so when feeding is part of the data you’re trying to collect from them. Graduate student Katrina Nguyen learned this the hard way, but rather than let her life be controlled by a bunch of rodents, she hacked a solution that not only improved her life, but also improved her science. She kindly dropped by the Hackaday Superconference to tell us all about how she automated her research.
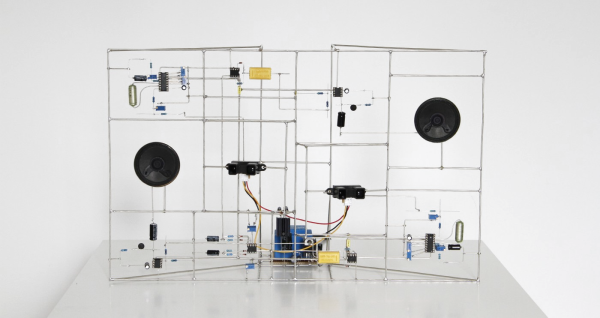
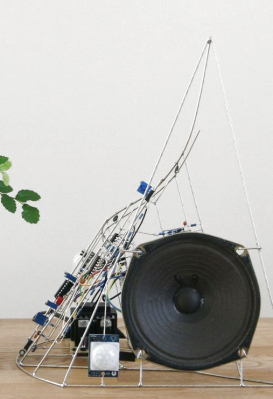 When it rains, it pours (wonderful electronic sculpture!). The last time we posted about freeform circuit sculptures there were a few eye-catching comments mentioning other fine examples of the craft. One such artist is [Eirik Brandal], who has a large