Kids today are being loud with their ‘drum machines’ and ‘EDM’. Throw some Raspberry Pis at them, and there’s a need for a low-latency sound card with MIDI and all the other accouterments of the modern, Skrillex-haired rocker. That’s where PiSound comes in.
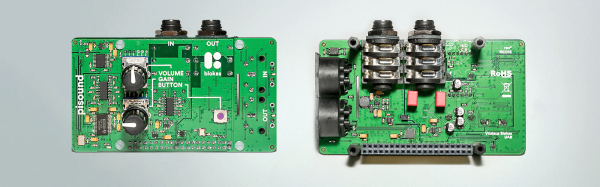
Of course, the Pi already comes with audio out, but that’s not enough if you want to do some real audio processing. You need audio in as well, and while you’re messing around with that, adding some high-quality opamps, ADCs, DACs, and some MIDI would be a good idea. This is what the PiSound is all about.
[Pranciskus], the guy who has been working on the PiSound for a while now, developed this multitool for audio on a tiny Linux system. One of the killer features on the PiSound is ‘The Button’, a simple tact switch that runs a script if the button is pressed, another script if the button is held down, and two more if the button is pressed two or three times. This is actually a pretty nifty UI, and we wouldn’t mind seeing this on a few more Pi accessories.
If you’d like to see some example projects using the PiSound, there example MIDI controllers, networked audio players, and some goofing around with LV2 plugins over here.


