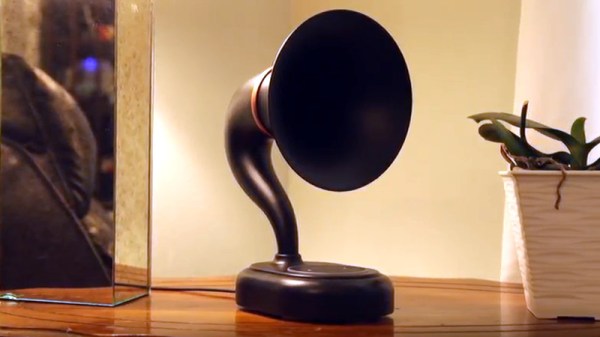
Often times, the only way to get exactly what you want in a device is to just build it yourself. Well, maybe not the only way, but we’ve all certainly told ourselves it was the only way enough that it might as well be true. We don’t know if the DIY imperative felt by [Olav Vatne] to construct his own Bluetooth mechanical number pad was genuine or self-imposed, but in either event, we’re glad he documented the process for our viewing pleasure.
 Broken up into three separate posts on his blog, the construction of his custom numpad starts innocently enough with buying a kit from AliExpress. In a rather bizarre twist, the kit arrived assembled, which lead to an arduous period of desoldering to separate all the principle parts [Olav] wanted in the first place. So much for saving time.
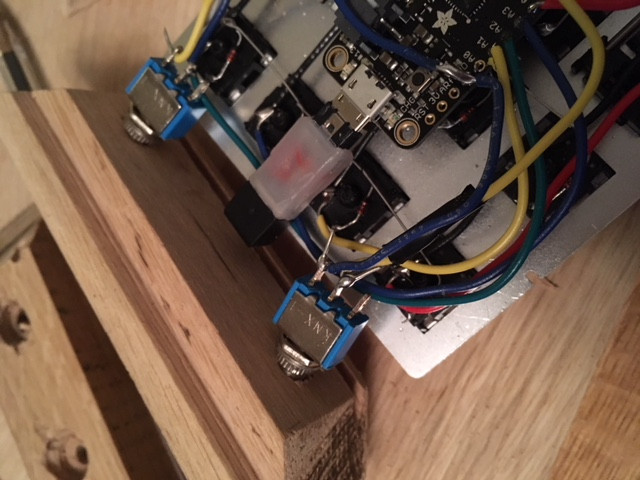
Once he freed all the mechanical keys from the kit’s PCB, he went to town hand-wiring the matrix. After testing to make sure all the keys were wired correctly, the matrix got connected to an Adafruit Feather 32u4 Bluefruit. With the electronics sorted, [Olav] moved on to the software side. Here he was able to accomplish one of his primary goals, having a numpad that works over both USB and Bluetooth.
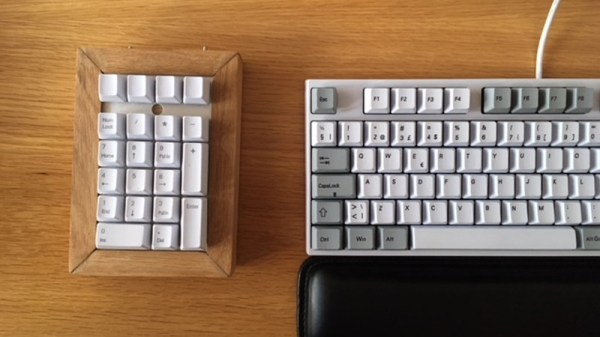
The last step of the process was creating the wooden enclosure. It basically goes together like a picture frame, with special care given to make sure there are appropriate openings in the case for the switches and USB port to pop through without ruining the overall look of the device.
Thanks to cheap USB-capable microcontrollers, hand-made artisan keyboards are now a thing. This project is a nice way to get started with custom input devices, and it only gets better from here.