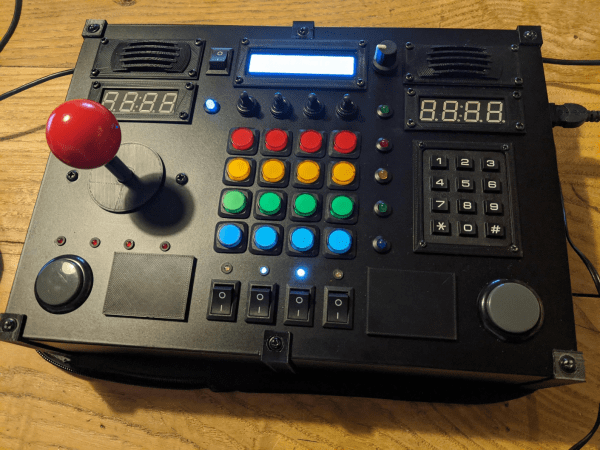
[Giovanni Bernardo] has a very important job – managing the audio for several Christmas events. Desiring a simple and effective control interface, he designed a dedicated media keyboard to run the show.
The project began with an Arduino Leonardo, commonly used in projects that aim to create a USB Human Interface Device. [Giovanni] then installed the HID-Project library from [Nicohood]. This was used to enable the device to emulate media buttons typically found on keyboards, something the standard Arduino HID libraries were unable to do. It’s a useful tool, and one that can be implemented on even standard Arduino Unos when used in combination with the HoodLoader2 bootloader.
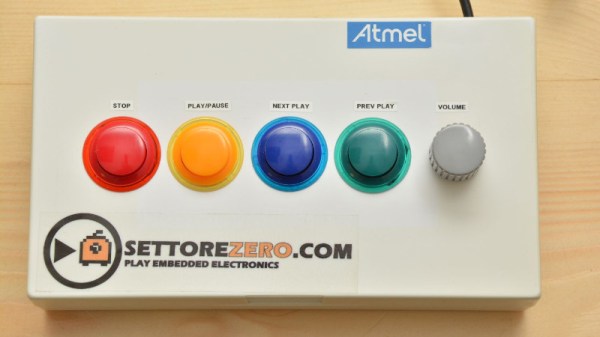
For ease of use and a little bit of cool factor, arcade buttons were used for the media functions. Simple to wire up, cheap, and with a great tactile feel, they’re a popular choice for fun human interface projects. It’s all wrapped up in a neat plastic box with Dymo labels outlining the functions. It’s a neat and tidy build that should make running the Christmas show a cinch!