Some of you may remember that the ship’s computer on Star Trek: Voyager contained bioneural gel packs. Researchers have taken us one step closer to a biocomputing future with a study on the potential of ecological systems for computing.
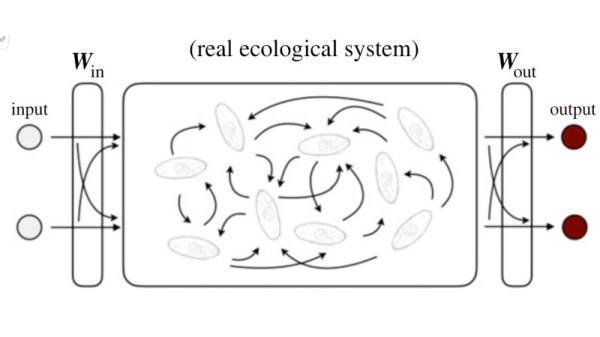
Neural networks are a big deal in the world of machine learning, and it turns out that ecological dynamics exhibit many of the same properties. Reservoir Computing (RC) is a special type of Recurrent Neural Network (RNN) that feeds inputs into a fixed-dynamics reservoir black box with training only occurring on the outputs, drastically reducing the computational requirements of the system. With some research now embodying these reservoirs into physical objects like robot arms, the researchers wanted to see if biological systems could be used as computing resources.
Using both simulated and real bacterial populations (Tetrahymena thermophila) to respond to temperature stimuli, the researchers showed that ecological system dynamics has the “necessary conditions for computing (e.g. synchronized dynamics in response to the same input sequences) and can make near-future predictions of empirical time series.” Performance is currently lower than other forms of RC, but the researchers believe this will open up an exciting new area of research.
If you’re interested in some other experiments in biocomputing, checkout these RNA-based logic gates, this DNA-based calculator, or this fourteen-legged state machine.

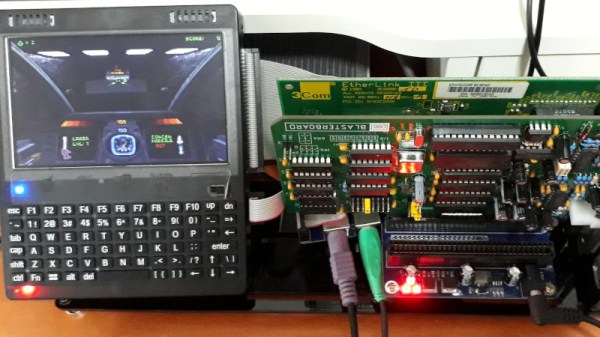
 , setting a bit is simply a logical-OR operation, and resetting a bit is a simple logical-AND operation using the inversion (or one’s complement) bit to reset to form a bitmask. As many will already know, this process is necessary to code for a read or a write I2C operation. A further detail is that I2C uses an open-collector connection scheme, which means that no device on the bus may drive the bus to logical high; instead, they must release the drive by going to the high impedance state, and an external pull-up resistor will pull the bus high. The 6532 RIOT chip (used for I/O on the 65unio) does not have tristate control but instead uses a data direction register (DDR) to allow a pin to be an input. This will do the job just fine, albeit with slightly odd-looking code, until you know what’s going on.