You’d be forgiven for not realizing there’s still a diehard group of people out there carrying around dedicated MP3 players. While they were all the rage a decade or so back, most consumers have since moved over to using their handy dandy pocket supercomputer for playing their music. Plus controlling every other aspect of their personal life and finances, of course. Though that’s another story entirely.
 But as [Conno Brooks] explained to us, there’s a sizable group of open source fanatics who prefer to store their jams on devices running the Rockbox firmware. Only problem is, some of the desirable Rockbox-compatible players are from the Golden Age of dedicated players, and aren’t getting any younger. In a recent blog post, he briefly goes over his ultimately successful attempt to put a new-made battery into his Sansa Clip+, a particularly desirable player that was released in 2009.
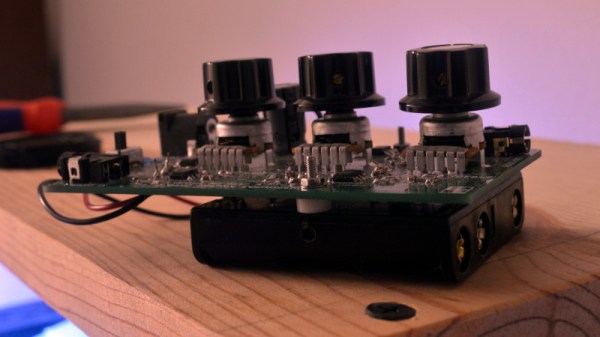
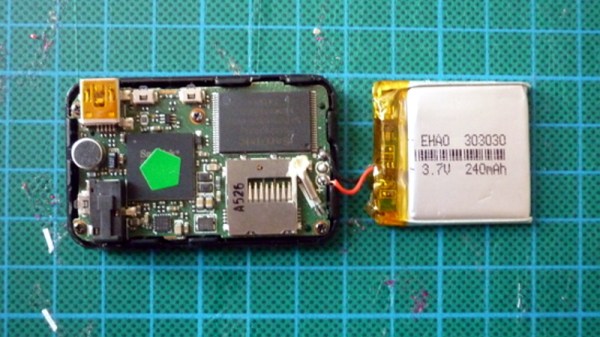
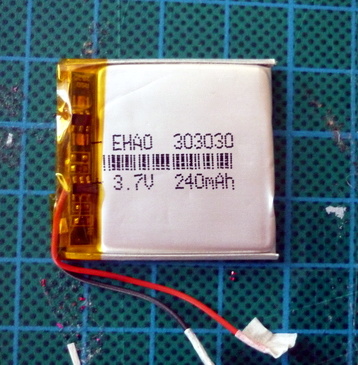
There are a few problems with the procedure that has kept it from being very widespread, according to [Conno]. For one, the Sansa Clip+ is tiny and not easily disassembled without destroying it. Worse, the diminutive 30mm x 36mm x 3mm OEM battery is effectively unobtainium. But ironically he was able to find an even smaller battery which seemed like it should work, assuming he could get it wired up.
The OEM battery on the Clip+ uses three wires, which [Conno] presumed was part of some thermal protection system. He first tried to take the circuit board off the original dead battery and graft it onto the modern cell, but something must have tripped because the resulting Franken-pack didn’t output any voltage. On his second attempt he simply ignored the third wire, and luckily the Clip+ didn’t seem to complain and started up as expected.
[Conno] says there’s some careful flexing required to get the new pack installed and the Clip+ closed properly, and the device’s runtime is somewhat diminished by the new battery’s lower capacity. But if it means another few years of keeping Big Brother out of your digital media habits, he figures it’s a worthy trade.
We’ve actually seen a few hacks now for the Sansa Clip line of players at this point, thanks to its second lease on life as an open source darling; from a slightly less stock-looking battery replacement, to adding a line-in option. When you get sick of listening to Hanson’s discography, you can even boot up what is perhaps the world’s worst port of DOOM.