Biasing That Transistor: The Common Base Amplifier

We’ve previously remarked upon a generation lucky enough to be well-versed in microcontrollers and computersised electronics through being brought up on the Arduino or the Raspberry Pi but unlucky enough to have missed out on basic electronics such as how to bias a transistor, and to address that gap we’ve taken a look at the basics of transistor biasing.

All the circuits we worked with in the previous article had the transistor’s emitter taken to ground, took their input from the base, and their output from the collector. This configuration, called a Common Emitter amplifier is probably the most common, but it is far from the only way to use a transistor. Once you have set up the bias voltage as we described to the point at which the transistor is in its linear region, there are several other ways in which the device can be used as an amplifier. The subject of this article is one of these configurations, so described because it takes the transistor’s base to the ground instead of the emitter, as a Common Base amplifier. Continue reading “Biasing That Transistor: The Common Base Amplifier”

Optocouplers: Defending Your Microcontroller, MIDI, And A Hot Tip For Speed

Deep in the heart of your latest project lies a little silicon brain. Much like the brain inside your own bone-plated noggin, your microcontroller needs protection from the outside world from time to time. When it comes to isolating your microcontroller’s sensitive little pins from high voltages, ground loops, or general noise, nothing beats an optocoupler. And while simple on-off control of a device through an optocoupler can be as simple as hooking up an LED, they are not perfect digital devices.

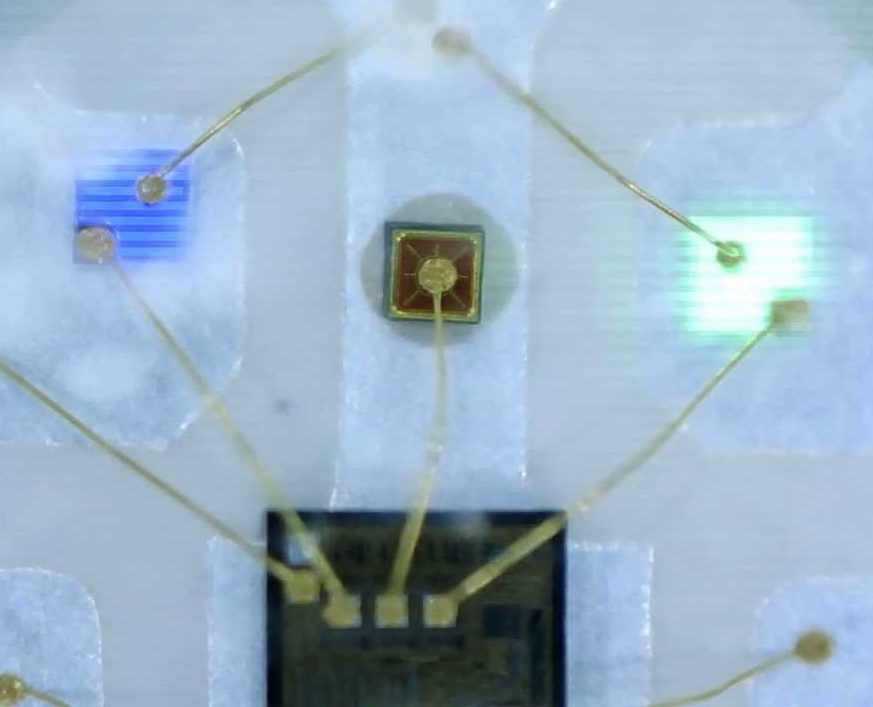
But first a step back. What is an optocoupler anyway? The prototype is an LED and a light-sensitive transistor stuck together in a lightproof case. But there are many choices for the receiver side: photodiodes, BJT phototransistors, MOSFETs, photo-triacs, photo-Darlingtons, and more.

So while implementation details vary, the crux is that your microcontroller turns on an LED, and it’s the light from that LED that activates the other side of the circuit. The only connection between the LED side and the transistor side is non-electrical — light across a small gap — and that provides the rock-solid, one-way isolation.

Continue reading “Optocouplers: Defending Your Microcontroller, MIDI, And A Hot Tip For Speed”

Sophie Wilson: ARM And How Making Things Simpler Made Them Faster & More Efficient

Sophie Wilson is one of the leading lights of modern CPU design. In the 1980s, she and colleague Steve Furber designed the ARM architecture, a new approach to CPU design that made mobile computing possible. They did this by realizing that you could do more, and quicker, with less. If you’ve use a Raspberry Pi, or any of the myriad of embedded devices that run on ARM chips, you’ve enjoyed the fruits of their labor.

It all began for Sophie Wilson with an electric lighter and a slot machine (or fruit machine, as they are called in the UK) in 1978. An aspiring thief had figured out that if you sparked an electric lighter next to the machine, the resulting wideband electromagnetic pulse could trigger the payout circuit. Electronics designer Hermann Hauser had been tasked with fixing the problem, and he turned to Wilson, a student working at his company.

Wilson quickly figured that if you added a small wideband radio receiver to detect the pulse, you could suppress the false payout, foiling the thief. Impressed with this innovation, Hauser challenged Wilson to build a computer over the summer holidays, based in part on a design for an automated cow feeder that Wilson had created at university. Wilson created this prototype computer that looked more like a hand-wired calculator than a modern computer, but the design became the basis for the Acorn System 1, the first computer that Hauser’s new company Acorn Computers launched in 1979. Continue reading “Sophie Wilson: ARM And How Making Things Simpler Made Them Faster & More Efficient”

The Aluminum Wiring Fiasco

Someone who decides to build a house faces a daunting task. It’s hard enough to act as the general contractor for someone else, but when you decide to build your own house, as my parents did in the early 1970s, it’s even tougher. There are a million decisions to make in an information-poor and rapidly changing environment, and one wrong step can literally cast in stone something you’ll have to live with forever. Add in the shoestring budget that my folks had to work with, and it’s a wonder they were able to succeed as well as they did.

It was a close call in a few spots, though. I can recall my dad agonizing over the wiring for the house. It would have been far cheaper to go with aluminum wiring, with the price of copper wire having recently skyrocketed. He bit the bullet and had the electrician install copper instead, which ended up being a wise choice, as houses that had succumbed to the siren call of cheaper wiring would start burning down all over the United States soon thereafter.

What happened in the late 60s and early 70s in the residential and commercial electrical trades was an expensive and in some cases tragic lesson in failure engineering. Let’s take a look at how it all happened.

Continue reading “The Aluminum Wiring Fiasco”

Biasing That Transistor: The Common Emitter Amplifier

If you open up the perennial favourite electronics textbook The Art Of Electronics and turn to the section on transistors, you will see a little cartoon. A transistor is shown as a room in which “transistor man” stands watching a dial showing the base current, while adjusting a potentiometer that limits the collector current. If you apply a little more base current, he pushes up the collector a bit. If you wind back the base current, he drops it back. It’s a simple but effective way of explaining the basic operation of a transistor, but it stops short of some of the nuances of how a transistor works.

Of course the base-emitter junction is a diode and it is not a simple potentiometer that sits between collector and emitter. The “better” description of these aspects of the device fills the heads of first-year electronic engineering students until they never want to hear about an h-paramater or the Ebers-Moll model of transistor function again in their entire lives. Fortunately it is possible to work with transistors without such an in-depth understanding of their operation, but before selecting the components surrounding a device it is still necessary to go a little way beyond transistor man.

Continue reading “Biasing That Transistor: The Common Emitter Amplifier”

Directly Executing Chunks Of Memory: Function Pointers In C

In the first part of this series, we covered the basics of pointers in C, and went on to more complex arrangements and pointer arithmetic in the second part. Both times, we focused solely on pointers representing data in memory.

But data isn’t the only thing residing in memory. All the program code is accessible through either the RAM or some other executable type of memory, giving each function a specific address inside that memory as entry point. Once again, pointers are simply memory addresses, and to fully utilize this similarity, C provides the concept of function pointers. Function pointers provide us with ways to make conditional code execution faster, implement callbacks to make code more modular, and even provide a foothold into the running machine code itself for reverse engineering or exploitation. So read on!

Function Pointers

In general, function pointers aren’t any more mysterious than data pointers: the main difference is that one references variables and the other references functions. If you recall from last time how arrays decay into pointers to their first element, a function equally decays into a pointer to the address of its entry point, with the () operator executing whatever is at that address. As a result, we can declare a function pointer variable fptr and assign a function func() to it: fptr = func;. Calling fptr(); will then resolve to the entry point of function func() and execute it.

Admittedly, the idea of turning a function into a variable may seem strange at first and might require some getting used to, but it gets easier with time and it can be a very useful idiom. The same is true for the function pointer syntax, which can be intimidating and confusing in the beginning. But let’s have a look at that ourselves.

Continue reading “Directly Executing Chunks Of Memory: Function Pointers In C”

Accessing Blockchain On ESP8266 Using The NodeMCU Board

Blockchains claim to be public, distributed, effectively immutable ledgers. Unfortunately, they also tend to get a little bit huge – presently the Bitcoin blockchain is 194GB and Ethereum weighs in at 444GB. That poses quite an inconvenience for me, as I was looking at making some fun ‘Ethereum blockchain aware’ gadgets and that’s several orders of magnitude too much data to deal with on a microcontroller, not to mention the bandwidth cost if using 3G.

Having imagined a thin device that I could integrate into my mobile phone cover (or perhaps… a wallet?) dealing with the whole blockchain was clearly not a possibility. I could use a VPS or router to efficiently download the necessary data and respond to queries, but even that seemed like a lot of overhead, so I investigated available APIs.

As it turns out, several blockchain explorers offer APIs that do what I want. My efforts get an ESP8266 involved with the blockchain began with two of the available APIs: Ethplorer and Etherscan.

Continue reading “Accessing Blockchain On ESP8266 Using The NodeMCU Board”