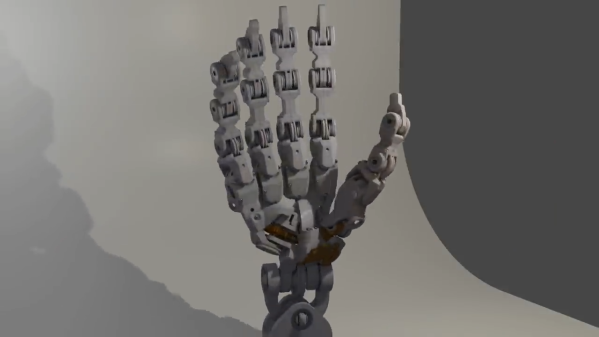
[Will Cogley] is slowly but surely crafting a beautiful bionic hand. (Video, embedded below.) The sheer amount of engineering and thought that went into the design is incredible. Those who take their hands for granted often don’t consider the different ways that their digits can move. There is lateral movement, rotation, flexion, and extension. Generally, [Will] tries to design mechanisms with parts that can be 3D printed or sourced easily. This constrains the hand to things like servos, cable actuation, or direct drive.
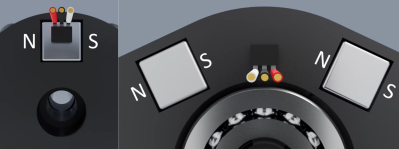
However, the thumb has a particularly tricky range of motion. So for the thumb [Will] designed to use a worm geared approach to produce the flexing and extension motion of the thumb. These gears need to be machined in order to stand up to the load. A small side 3d printed gear that connects to the main worm gear is connected to a potentiometer to form the feedback loop. Since it isn’t bearing any load, it can be 3d printed. While there are hundreds of little tiny problems still left to fix, the big problems left are wire management, finalizing the IP (Interphalangeal) joints, and attaching the whole assembly to the forearm.
All the step files, significants amounts of research, and definitions are all on [Will’s] GitHub. If you’re looking into creating any sort of hand prosthetic, the research and attention [Will] has put into this is work incorporating into your project. We’ve seen bionic hands before as well as aluminum finger replacements, but this is a whole hand with fantastic range and fidelity.