Blazing Fast Raspberry Pi Display Driver Will Melt Your Face Then Teach You How

Reader [poipoi] recently wrote into our tip line to tell us about an “amazingly fast” Raspberry Pi display driver with a README file that “is an actual joy to read”. Of course, we had to see for ourselves. The fbcp-ili9341 repo, by [juj], seems to live up to the hype! The software itself appears impressive, and the README is detailed, well-structured, educational, and dare we say entertaining?

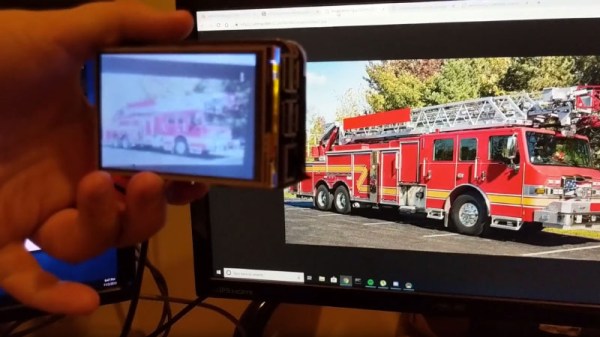
The driver’s main goal is to produce high frame rates — up to around 60 frames per second — over an SPI bus, and it runs on various Raspberry Pi devices including the 2, 3 and Zero W. Any video output that goes to the Pi’s HDMI port will be mirrored to a TFT display over the SPI bus. It works with many of the popular displays currently out there, including those that use the ILI9341, ILI9340, and HX8357D chipsets.

The techniques that let [juj] coax such frame rates out of a not-terribly-fast serial bus are explained in detail in the README’s How it Works section, but much of it boils down to the fact that it’s only sending changed pixels for each frame, instead of the full screen. This cuts out the transmission of about 50% of the pixels in each update when you’re playing a game like Quake, claims the author. There are other interesting performance tweaks as well, so be sure to check out the repo for all the details.

There’s a video comparing the performance of fbcp-ili9341 to mainline SPI drivers after the break.

Continue reading “Blazing Fast Raspberry Pi Display Driver Will Melt Your Face Then Teach You How”

Stock Looking PSP Hides A Raspberry Pi Zero

We don’t see that many PSP hacks around these parts, perhaps because the system never attained the same sort of generational following that Nintendo’s Game Boy line obtained during its heyday. Which is a shame, as it’s really a rather nice system with plenty of hacking potential. Its big size makes it a bit easier to graft new hardware into, the controls are great, and there’s no shortage of them on the second-hand market.

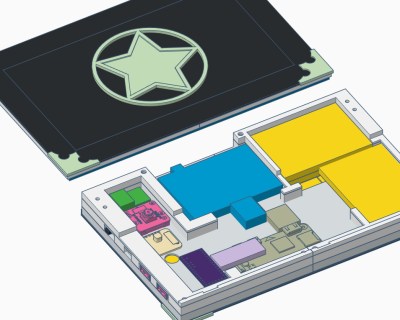
Hopefully, projects like this incredible “PiSP” from [Drygol] will inspire more hackers to take a second look at Sony’s valiant attempt at dethroning Nintendo as the portable king. With his usual attention to detail, he managed to replace the PSP’s original internals with a Pi Zero running RetroPie, while keeping the outside of the system looking almost perfectly stock. It wasn’t exactly a walk in the park, but we’d say the end definitely justifies the means.

The first half of the project was relatively painless. [Drygol] stripped out all the original internals and installed a new LCD which fit so well it looks like the thing was made for the PSP. He then added a USB Li-ion charger board (complete with “light pipe” made out of 3D printer filament), and an audio board to get sound out of the usually mute Pi Zero. He had some problems getting everything to fit inside of the case. The solution was using flat lithium batteries from an old Nokia cell phone to slim things down just enough to close up the PSP’s case with some magnets.

What ended up being the hardest part of the build was getting the original controls working. [Dyrgol] wanted to use the original ZIF connector on the PSP’s motherboard so he wouldn’t have to modify the stock ribbon cable. But it was one of those things that was easier said than done. Cutting out the section of PCB with the connector on it was no problem, but it took a steady hand and a USB microscope to solder all the wires to its traces. But the end result is definitely a nice touch and makes for a cleaner installation.

We’ve covered the exciting world of PSP homebrew, and even DIY batteries built to address the lack of original hardware, but it’s been fairly quiet for the last few years. Here’s hoping this isn’t the last we’ve seen of Sony’s slick handheld on these pages.

Continue reading “Stock Looking PSP Hides A Raspberry Pi Zero”

E-ink Typewriter Is Refreshingly Slow

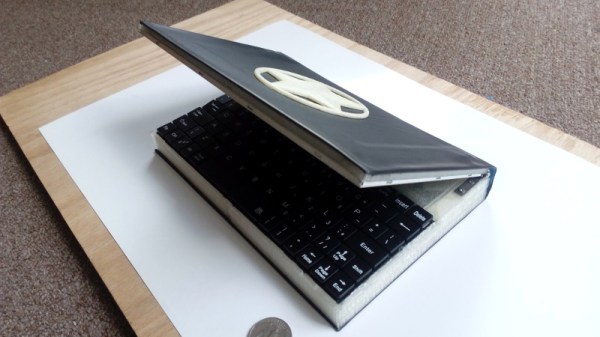
It’s pretty hard to use the internet to complete a task without being frequently distracted. For better or worse, there are rabbit holes at every turn and whilst exploring them can be a delight, sometimes you just need to focus on a task at hand. The solution could be in the form of distraction-blocking software, razor-sharp willpower, or a beautifully crafted modern “typewriter”. The constraint and restriction of a traditional typewriter appealed to [NinjaTrappeur], but the inability to correct typos and share content online was a dealbreaker. A hybrid was the answer, with a mechanical keyboard commanding an E-ink display driven by a Raspberry Pi.

The main point of interest in this build is the E-ink screen. Though it’s easy to acquire theses displays in small sizes, obtaining a screen greater than four inches proved to be a challenge. Once acquired, driving the screen over SPI was easy, but the refresh rate was horrific. The display takes three seconds to redraw, and whilst [NinjaTrappeur] was hoping to implement a faster “partial refresh”, he was unable to read the appropriate values from the onboard flash to enable manual control of the drawing stages. Needless to say, [NinjaTrappeur] asks if people have had success driving these displays at a more usable rate, and would love to hear from you if so.

Some auxiliary hacks come in the form of terminal emulator adaptation, porting the E-ink screen library from C++ to C, and capturing the keyboard input. A handmade wooden case finishes it off.

If it’s old-school typewriters that float your boat, we’ve got you covered: this solenoid-actuated typewriter printer eventually became a musical instrument, and this daisy wheel machine produces ASCII art from a live camera.

[Via Boing Boing]

R3-14, The Personal Assistant Two Years In The Making

One of the great things about hacking together projects these days is how many powerful subsystems are readily available to reuse. [Sanjeet] took full advantage of a whole slate of reusable pieces when he built R3-14 — a personal assistant robot that you can see in action in the video below.

Many people started out in electronics building something simple like a crystal radio or an LED cube. But how far could you get if your projects had to begin at the most basic level, by drawing out copper wire, fabricating coils, capacitors, semiconductor devices, and batteries? Even if you know how to do all those things, it would take a lot of time, so there is no shame in using off-the-shelf components. By the same token, [Sanjeet] uses Google Assistant, 433 MHz RF transmitters, and a Raspberry Pi as components in this build. Along the way, he also contributed some reusable pieces himself, including an LED library for the PI and a library to allow Siri to control a Raspberry Pi.

Continue reading “R3-14, The Personal Assistant Two Years In The Making”

Contest Results: Raspberry Pis Put On A Show

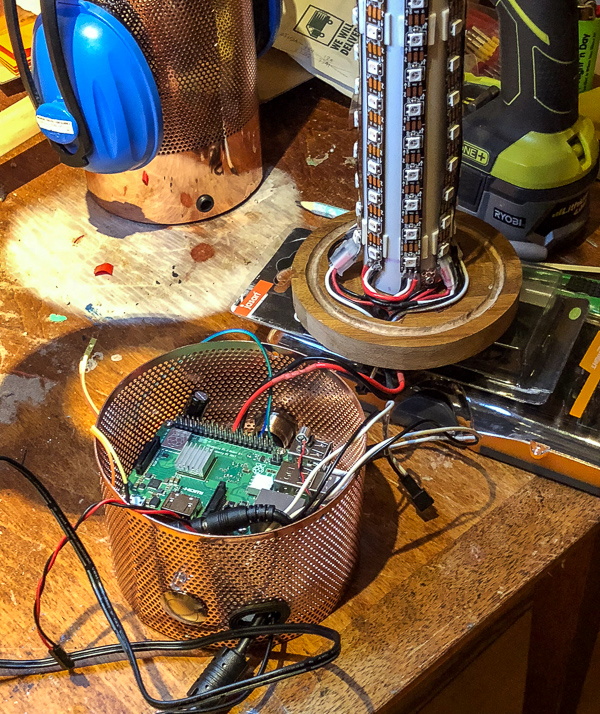
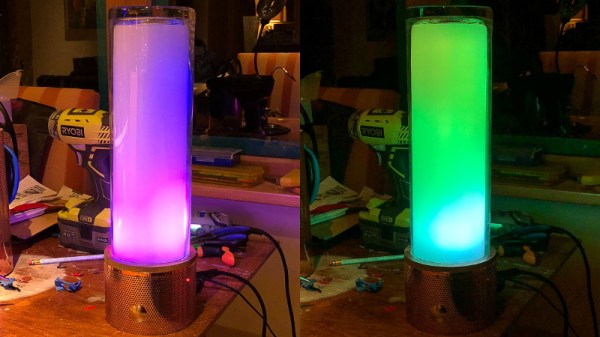
Some of the most satisfying projects of all are the ones that do something visual. All the network routers, data loggers, and thermostats are great. But we are visual creatures and even a humble blinking LED is enough to give you a little rush even compared to finding a large prime number. We wanted to see what our community could do visually with a Raspberry Pi so we challenged you with the Visualize it with Pi contest.

As always, the competition was brisk, with a lot of great projects. This contest showed off the trend towards using LED modules and assemblies to add visuals to projects. Why not? They are cheap enough and a well-integrated module can make a project simple to wire and integrate.

We didn’t see as many media-related projects as you might expect, although there was one tied into Stranger Things, one to Tron, and the virtual reality lighting project did have some Star Wars images. Projects ranged from the practical storage box labels to the whimsical lemonade bottle that strobes to the beat of the music. If none of that is hardcore enough for you, there was even a Raspberry Pi-controlled radio telescope. You can find all the entries over on Hackaday.io. Now let’s see which entries managed to turn the head of the judging panel.

Continue reading “Contest Results: Raspberry Pis Put On A Show”

Dirty Video Mixing With The Raspberry Pi Zero

Don’t get too excited now, we aren’t talking about that kind of dirty video. There’s plenty of other places on the Internet you can go to find that sort of thing. No, this video mixer is “dirty” because it combines two composite video streams into one garbled up mess that’s best viewed on an old CRT TV. Why, you may ask? Because rock and roll, that’s why.

Created by [Luke Blackford] as a visual for his band’s performances, the “Dirty Pi” is an exceptionally simple way to create some wild imagery with two Raspberry Pi Zeros. It might not be the most practical of devices, but if you want so throw some creepy looking video up on screens all over the house (say for an upcoming Halloween party), this is a fantastic way to do it on the cheap.

The idea is simple: connect the oft-forgotten composite video outputs of two Pi Zeros to a potentiometer, which then leads to the display. Play different videos on the Pis with the media player of your choice, and twiddle the potentiometer to create ghosting and interference. If you want to get that true 1980’s retro feel, put the whole thing into an old VHS cassette like [Luke] did, and you’re ready to rock.

Those who’ve been around the block a few times might recognize this trick as a variation of the [Karl Klomp] Dirty Video Mixer, and [Luke] tells us he likes this project because he was able to pull it off without writing any code or even doing any complex wiring, though he does imagine a future version where he adds some remote control functionality.

If you like your video mixers with more smarts and less dirt, we’ve covered a very slick build using the LM1881 in the past.

Continue reading “Dirty Video Mixing With The Raspberry Pi Zero”

Another Drawbot Uses A Pi And Web Sockets

There’s something about art. Cavemen drew on walls. People keep programming drawing robots. One we’ve seen recently is [Andy’s] Drawbot that uses WiFi and WebSockets to draw on just about any flat surface. What’s more, the Johnson County Library has a great write-up about how they built one and if you want a go at it, you’ll find their instructions very helpful. The video below is pretty inspirational, too.

What makes this build especially interesting is that it uses a drive system with two fixed points attached with suction cups.  There are a variety of 3D printed parts — some just for the build and some are older parts repurposed.

Continue reading “Another Drawbot Uses A Pi And Web Sockets”