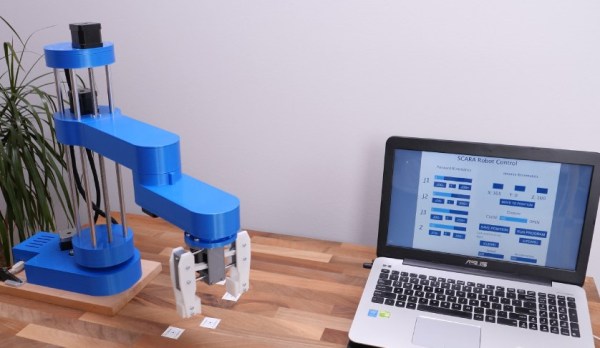
We’ve all seen videos of blisteringly fast SCARA arms working on assembly lines, and more than a few of us have fantasied about having that same kind of technology for the home shop. Unfortunately, while the prices for things like 3D printers and oscilloscopes have dropped lower than what many would have believed possible a decade ago, high-performance robotics are still too pricey for the home player.
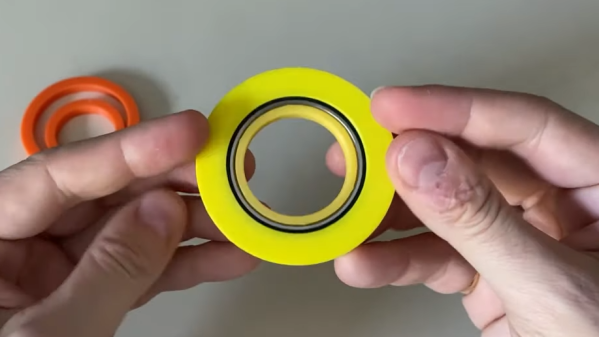
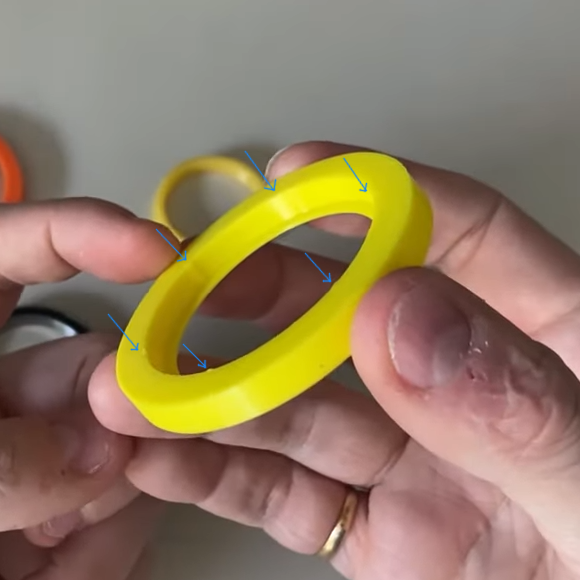
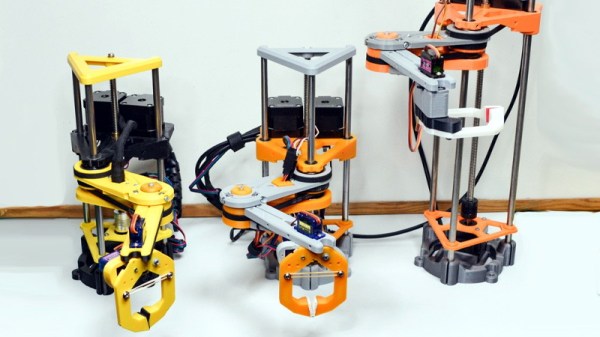
Unless of course, you’re willing to build it yourself. The PyBot designed by [jjRobots] is an open source robotic arm that should be well within the means of the average hardware hacker. One could argue that this is a project made entirely possible by desktop 3D printing; as not only are most of the structural components printed, but most of the mechanical elements are common 3D printer parts. Smooth rods, linear bearings, lead screws, and NEMA 17 motors are all exceptionally cheap these days thanks to the innumerable 3D printer kits that make use of them.
Those who’ve researched similar projects might notice that the design of this arm has clearly been influenced by the Mostly Printed SCARA (MPSCARA). But while that robot was designed to carry an extruder and act as a 3D printer, [jjRobots] intends for the PyBot to be more of a general purpose platform. By default it features a simple gripper, but that can easily be changed out for whatever tool or gadget you have in mind.
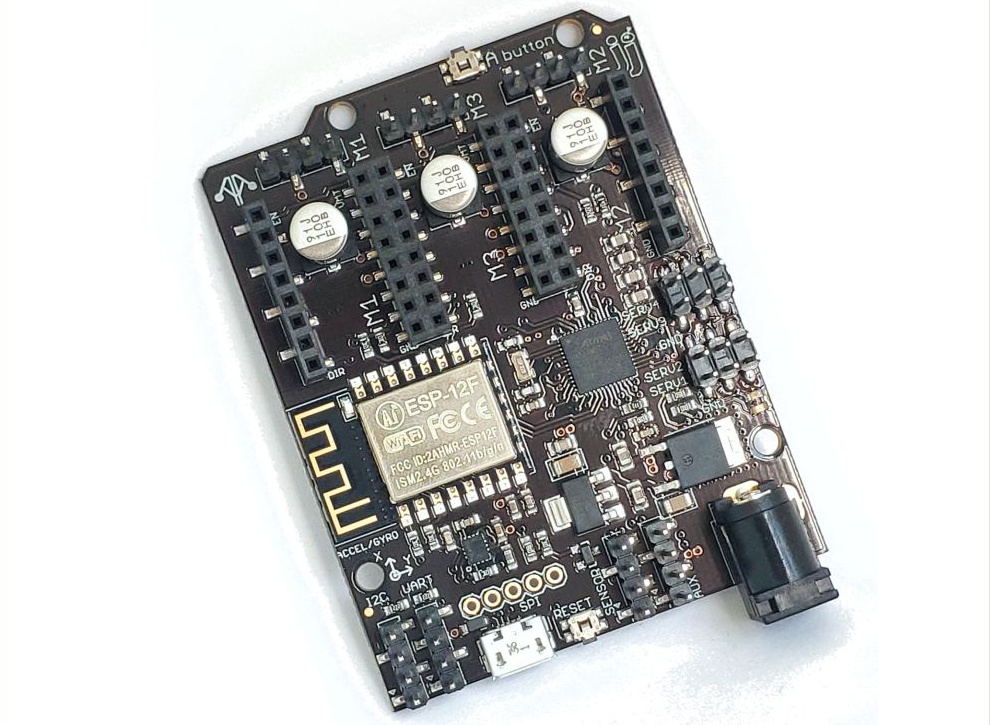
In the base of the arm is a custom control board that combines an Arduino M0, an ESP8266, and a trio of stepper motor drivers. But if you wanted to build your own version from the parts bin, you could certainly wire up all the principle components manually. As the name implies, the PyBot is controlled by Python tools running on the computer, so it should be relatively easy to get this capable arm to do your bidding.
We’ve seen some impressive 3D printed robotic arms over the years, but the simplicity of the PyBot is particularly compelling. This looks like something that you could reasonably assemble and program over a weekend or two, and then put to work in your ad-hoc PPE factory.