In one of those weird twists of fate, there’s currently a very high chance that anyone who owns a 3D printer has made a boat with it. In fact, they’ve probably printed several of them, so many that they might even have a shelf filled with little boats in different colors and sizes. That’s because it’s a popular benchmark to make sure the printer is well calibrated. But if you’re going to spend hours printing out a boat, why not print one that’s got some punch?
 This 3D printable jet boat designed by [Jotham B] probably isn’t a great print to check your desktop machine’s calibration on, in fact you’re going to want to make sure you’ve got everything dialed in before taking on this challenge. If the classic “Benchy” is the beginners boat, then this is certainly for the 3D printing veterans. But if you’ve got the skills to pull it off, and some RC gear laying around to outfit it with, this could be a great project to end your summer on.
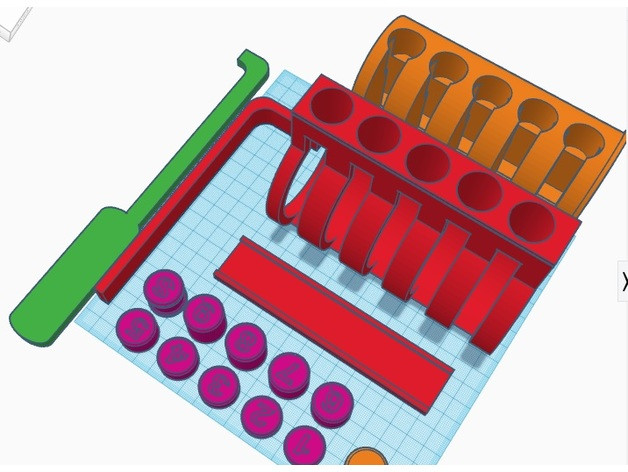
Unless you’ve got an exceptionally tall printer, the 460mm long hull will need to be printed in several pieces and then grafted back together. You could potentially use glue, but something a bit more robust like welding the parts together with a soldering iron is a better bet to make sure your printed boat doesn’t do its best Titanic reenactment out on the lake.
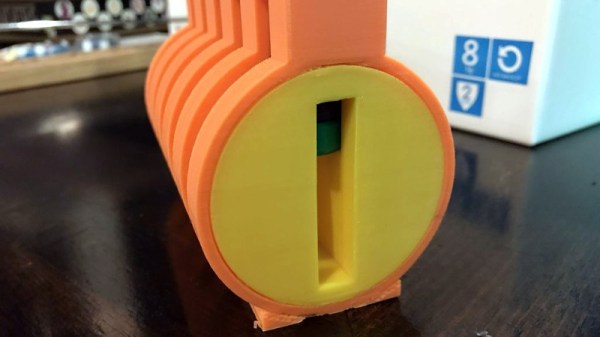
[Jotham] recommends printing the impeller at 0.15mm layer height, as you’ll want all the detail you can muster to provide a smooth surface. You’ll also need to use supports, so expect to spend a fair bit of time cleaning it up post-print. The rest of the model can be printed at 0.3mm, which is going to save a lot of time on the hull. All told, it will take about half a roll of filament to print all the parts for the boat (assuming no mistakes), which puts the pre-electronics cost at around $10 USD.
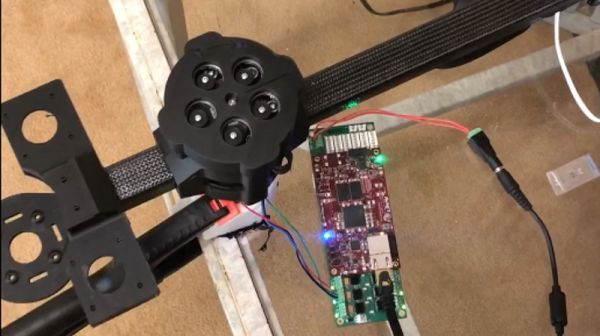
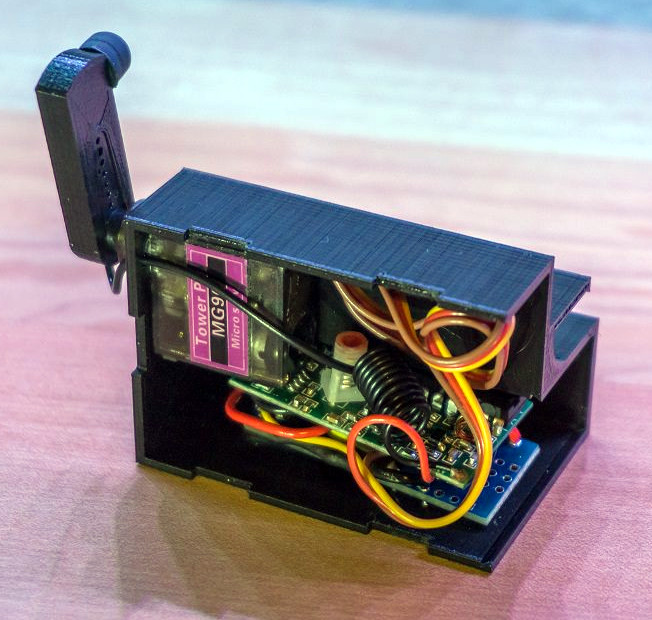
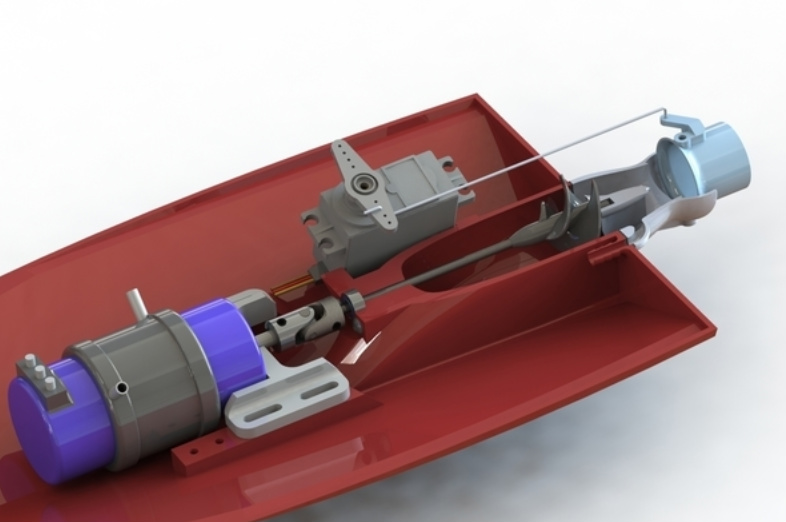
Speaking of electronics, you’ll need a RC receiver, a servo for steering, an electronic speed controller (ESC), and a suitable motor. [Jotham] used a 3674 brushless motor with a 120A water-cooled ESC, but notes that the setup is way overpowered. In the video after the break you can see the boat spends as much time airborne as it does in the water, which might look cool, but isn’t exactly efficient.
If you want to round out your 3D PLA fleet, we’ve also seen a printed FPV lifeboat as well as a hydrofoil that “flies” through the water.
[Thanks to Aidan for the tip.]