The Pinebook Pro is a considerably more capable machine than the $99 Pinebook released in 2017, but the open source laptop still isn’t exactly a powerhouse by modern standards. The system is intended to compete with mid-range Chromebooks, and to that end, few would argue it’s not worth the $199 price tag. But there’s still room for improvement, and at this price point that makes it a hardware hacker’s delight.
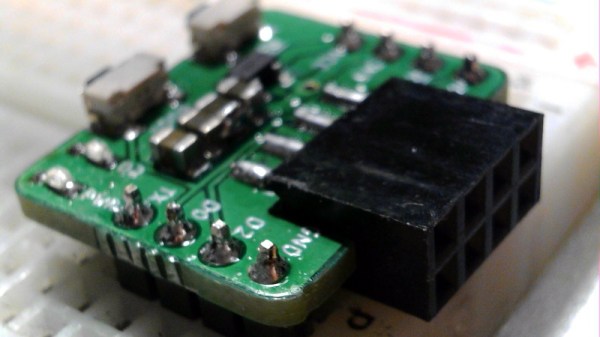
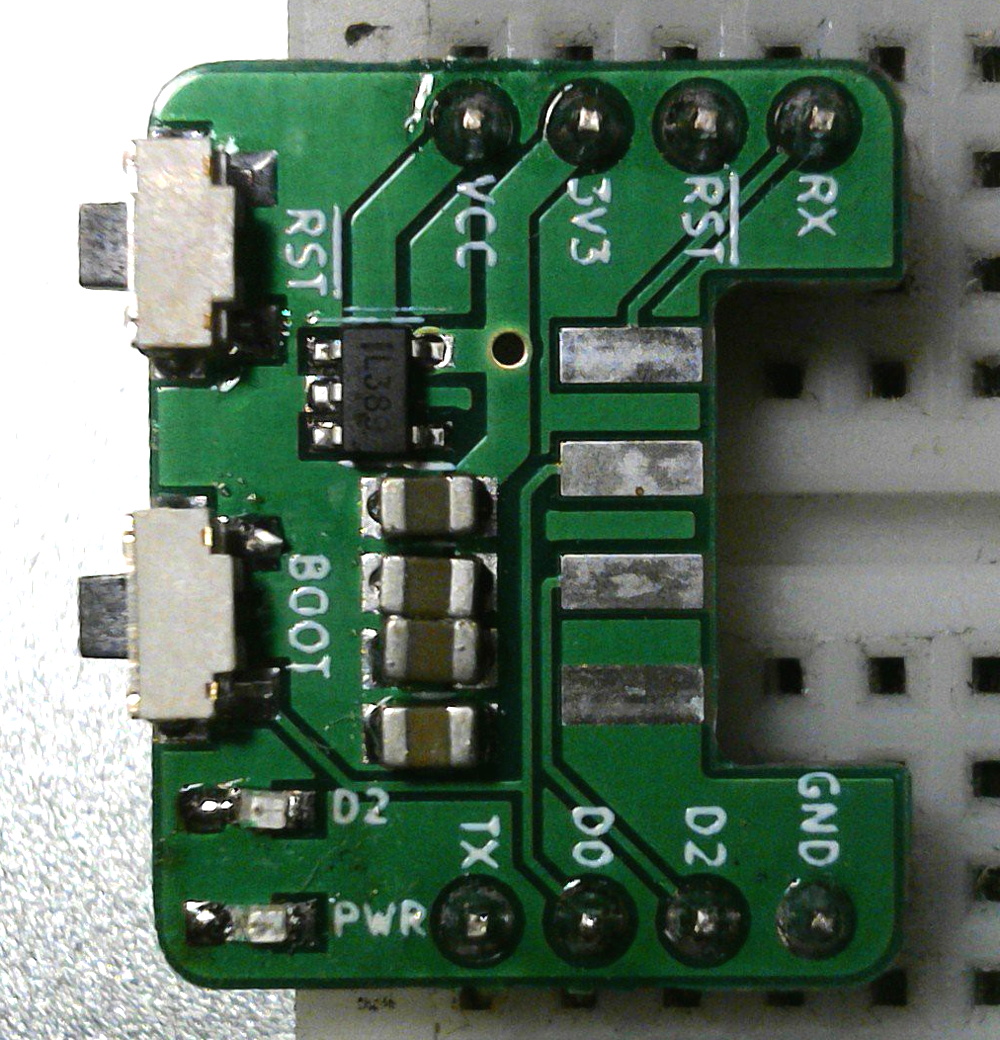
 [TobleMiner] has recently released the design files for a drop-in adapter that allows you to install M.2 wireless cards like the Intel AX200 in the Pinebook Pro. With the latest-and-greatest WiFi 6 technology onboard, transfer rates as high as 600 Mbps have been demonstrated on this relatively low-cost Linux laptop. It sounds like there’s a possibility the adapter will be offered officially through the Pine store at some point in the future, but in the meantime, you can always spin up your own copy if you feel the need for speed on your Pinebook Pro.
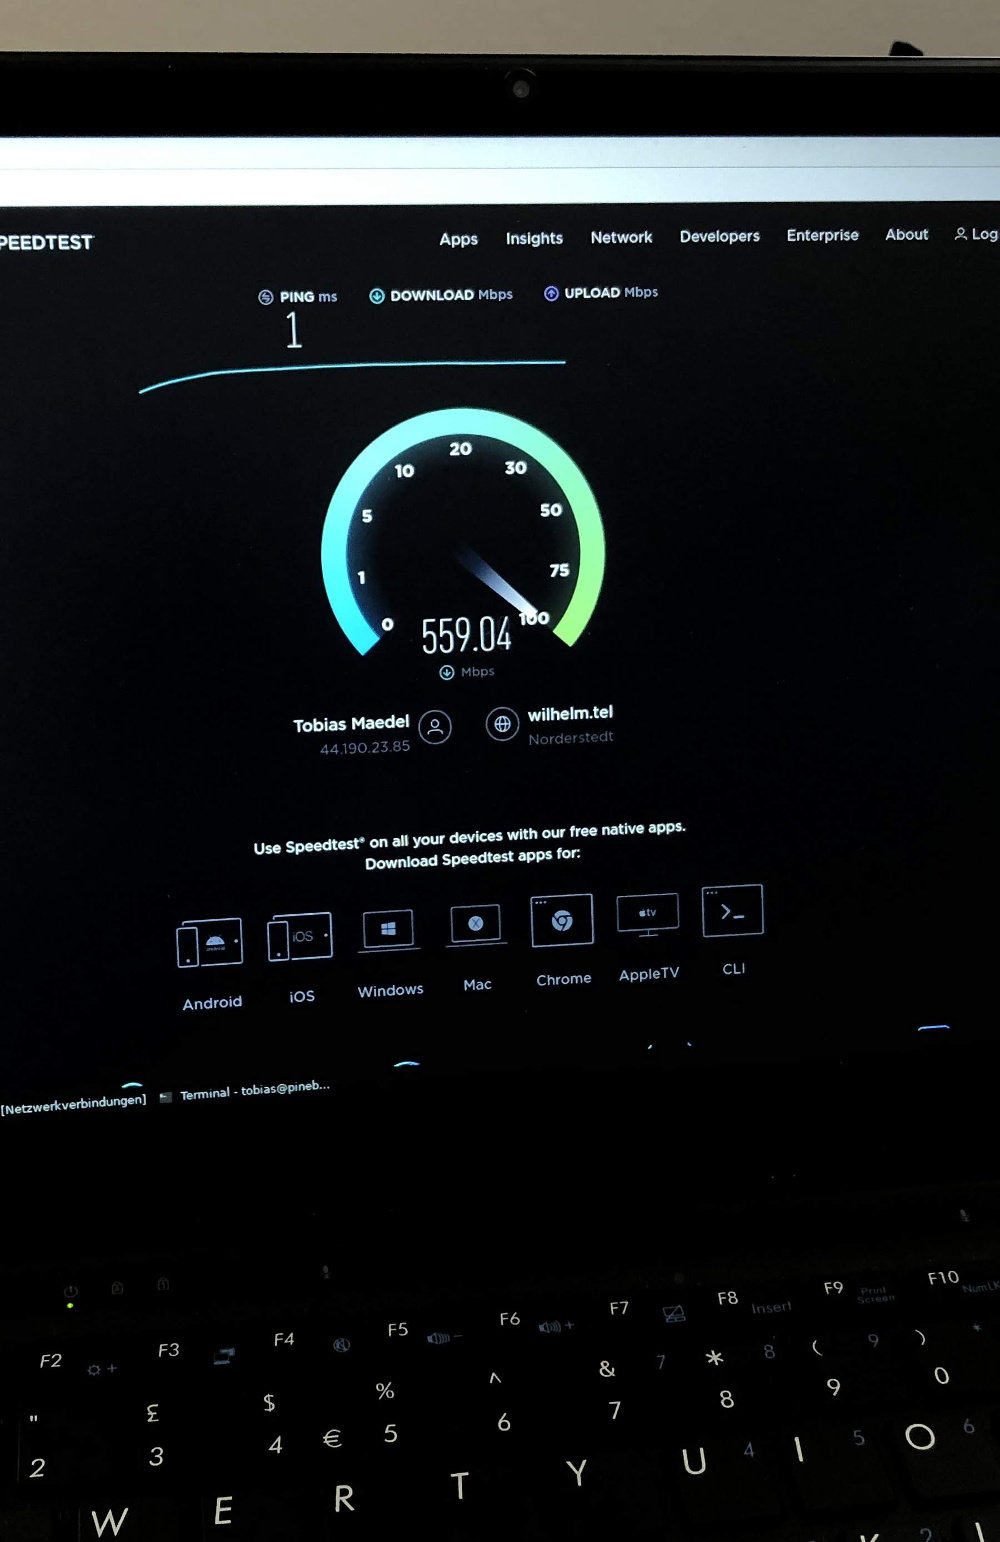
The adapter takes the place of the official M.2 SSD upgrade board, which means users will need to choose between expanded storage and an upgraded wireless card. But [TobleMiner] hints that a version of the adapter with a second M.2 slot should be possible in the future. The design also features pads to install an optional voltage regulator, as testing has shown that the Pinebook Pro’s 3.3 V line can fluctuate a bit depending on battery level.
We took a close look at the original Pinebook when it was released, and came away cautiously optimistic. The Pro model appears to be an improvement in every way imaginable, and upgrades like this show just what’s possible when users are free to explore their hardware.