We’ve mentioned previously the challenges that come with maintaining vintage computers which in some cases are pushing 40 years old. Components, even high quality ones, eventually fail and need to be replaced. Now if it’s a fairly popular vintage machine, replacement parts usually aren’t too hard to come by. But what if you’re dealing with a machine that’s not just vintage, but was also such a commercial flop that parts are scarce?
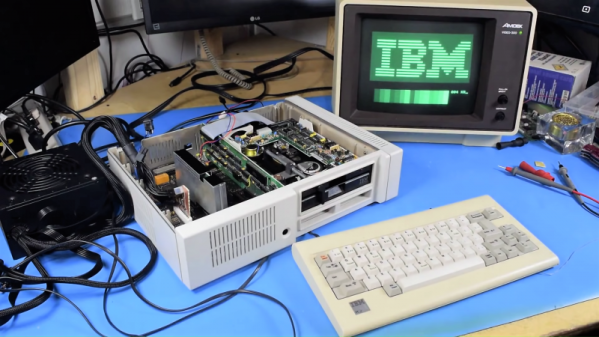
 Such is the life for anyone who owns one of the 500,000 IBM PCJrs that Big Blue managed to get out of the door during the year or so the product was on the market. As [AkBKukU] found, a replacement AC adapter for the odd-ball computer was going to cost more than what he paid for the thing, so he set to work on creating an adapter so he could use a modern ATX PSU on the machine. After a couple of months of ironing out the kinks, the design is finally ready for consumption.
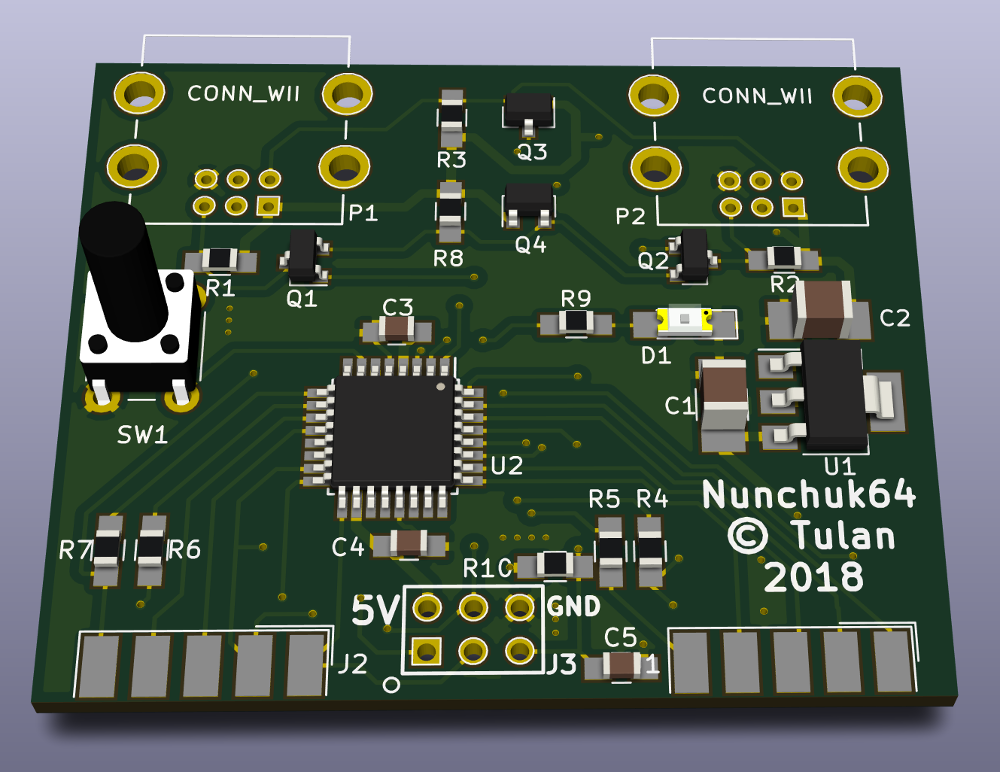
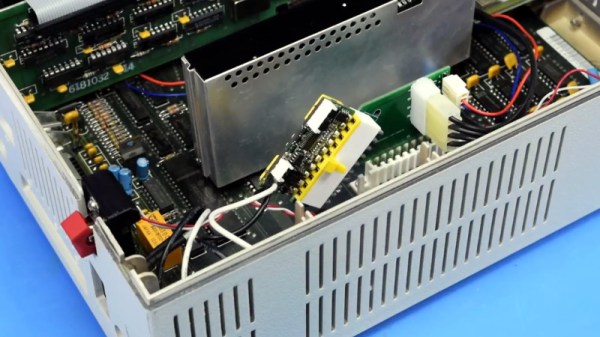
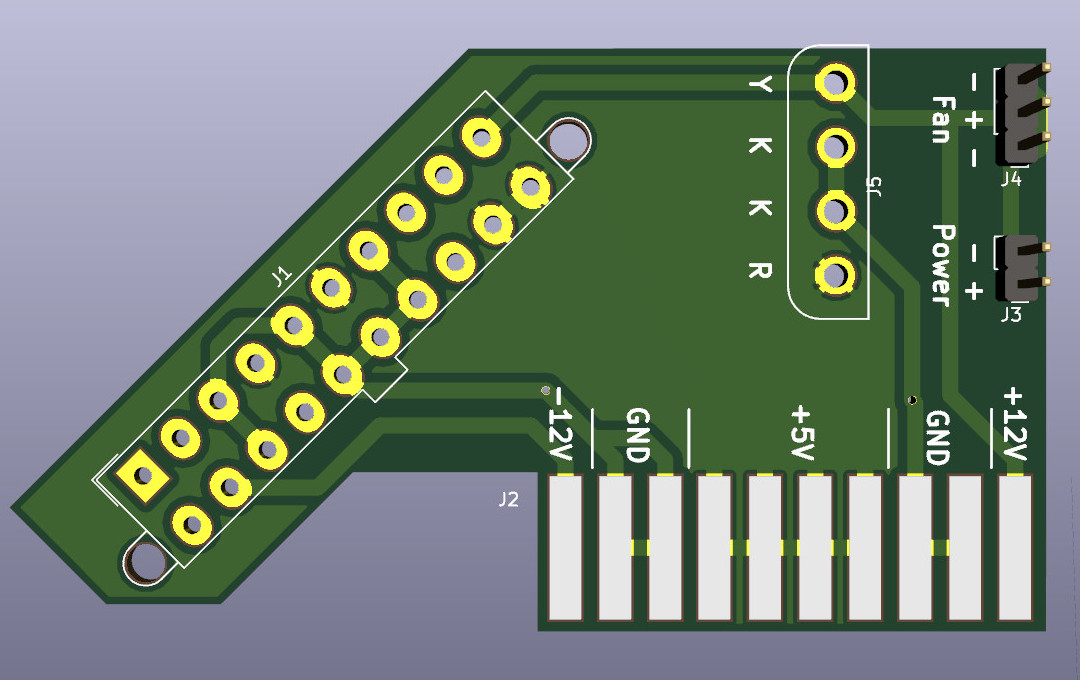
In the end, the PCB design itself is quite simple. It’s really just a matter of switching around some pins from the standard ATX plug to the edge connector on the PCJr. There’s also a connector for powering a floppy drive, as well as headers for a fan and power switch.
[AkBKukU] has come up with two ways to use the adapter. You can either go with a standard ATX PSU, in which case it will need to sit outside the machine due to its size, or use a PicoPSU which allows you to keep the whole thing internal. If you don’t mind spending the cash, the PicoPSU method is a much cleaner installation that still provides plenty of power. Depending on which route you take, there are different 3D printed plates to adapt the computer’s rear panel to fit the new hardware.
All the files to build your own version are in the GitHub repository, and [AkBKukU] is doing some low volume runs of both kits and assembled adapter. If this project looks familiar, it’s because we reported on it back when it was still a hand-scratched PCB that didn’t always work as expected.
[Thanks to Gregg for the tip.]
Continue reading “ATX Adapter For The IBM PCJr Now Available”