Chances are good that a fair number of us have been roped into “one of those” projects before. You know the type: vague specs, limited budget, and of course they need it yesterday. But you know 3D-printers and Raspberduinos and whatnot; surely you can wizard something together quickly. Pretty please?
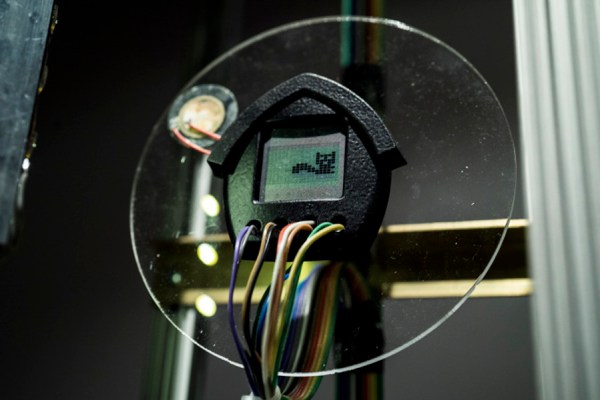
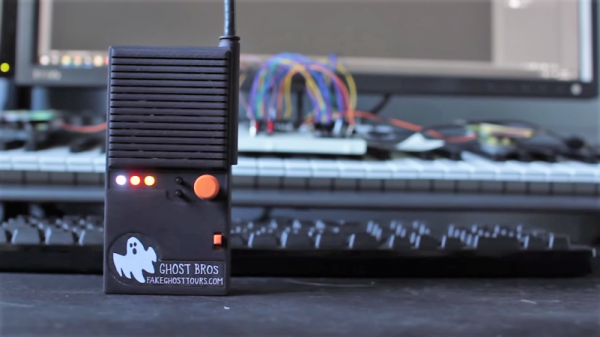
He might not have been quite that constrained, but when [Sean Hodgins] got tapped to help a friend out with an unusual project, rapid prototyping skills helped him create this GPS-enabled faux-walkie talkie audio player. It’s an unusual device with an unusual purpose: a comedic walking tour of Vancouver “haunted houses” where his friend’s funny ghost stories are prompted by location. The hardware to support this is based around [Sean]’s useful HCC module, an Arduino-compatible development board. With a GPS module for localization and a VS1053 codec, SD card reader, and a small power amp for the audio end, the device can recognize when the user is within 50 meters of a location and play the right audio clip. The housing is a 3D-printed replica of an old toy walkie-talkie, complete with non-functional rubber ducky antenna.
[Sean]’s build looks great and does the job, although we don’t get to hear any of the funny stuff in the video below; guess we’ll have to head up to BC for that. That it only took two weeks start to finish is impressive, but watch out – once they know you’re a wizard, they’ll keep coming back. Continue reading “Faux Walkie-Talkie For Comedy Walking Tour Is A Rapid Prototyping Win”