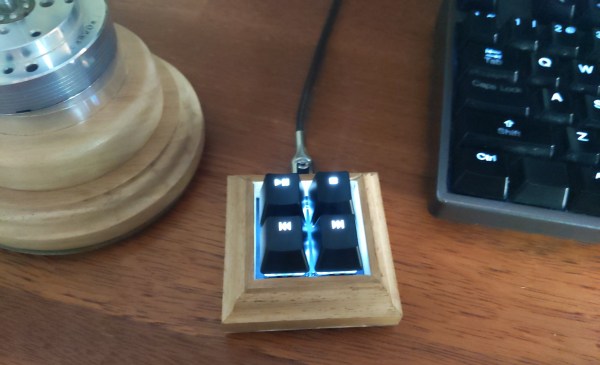
There’s a certain kind of joy that comes in throwing something together from spare parts, or from finding utility in a proof of concept for another project. [Clewsy] is cooking up something clacky and built this baby keeb to prove some stuff out, such as reading a key matrix. Now it’s become a music/media controller that looks great next to a giant matching volume knob.
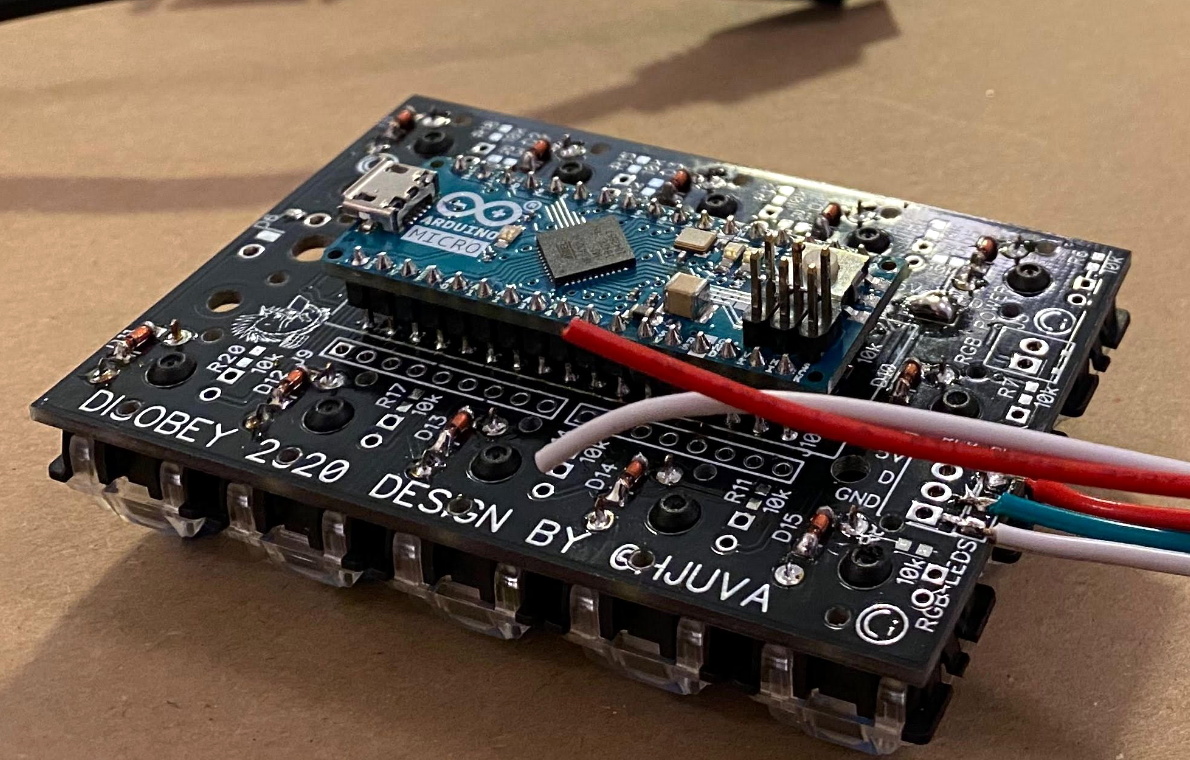
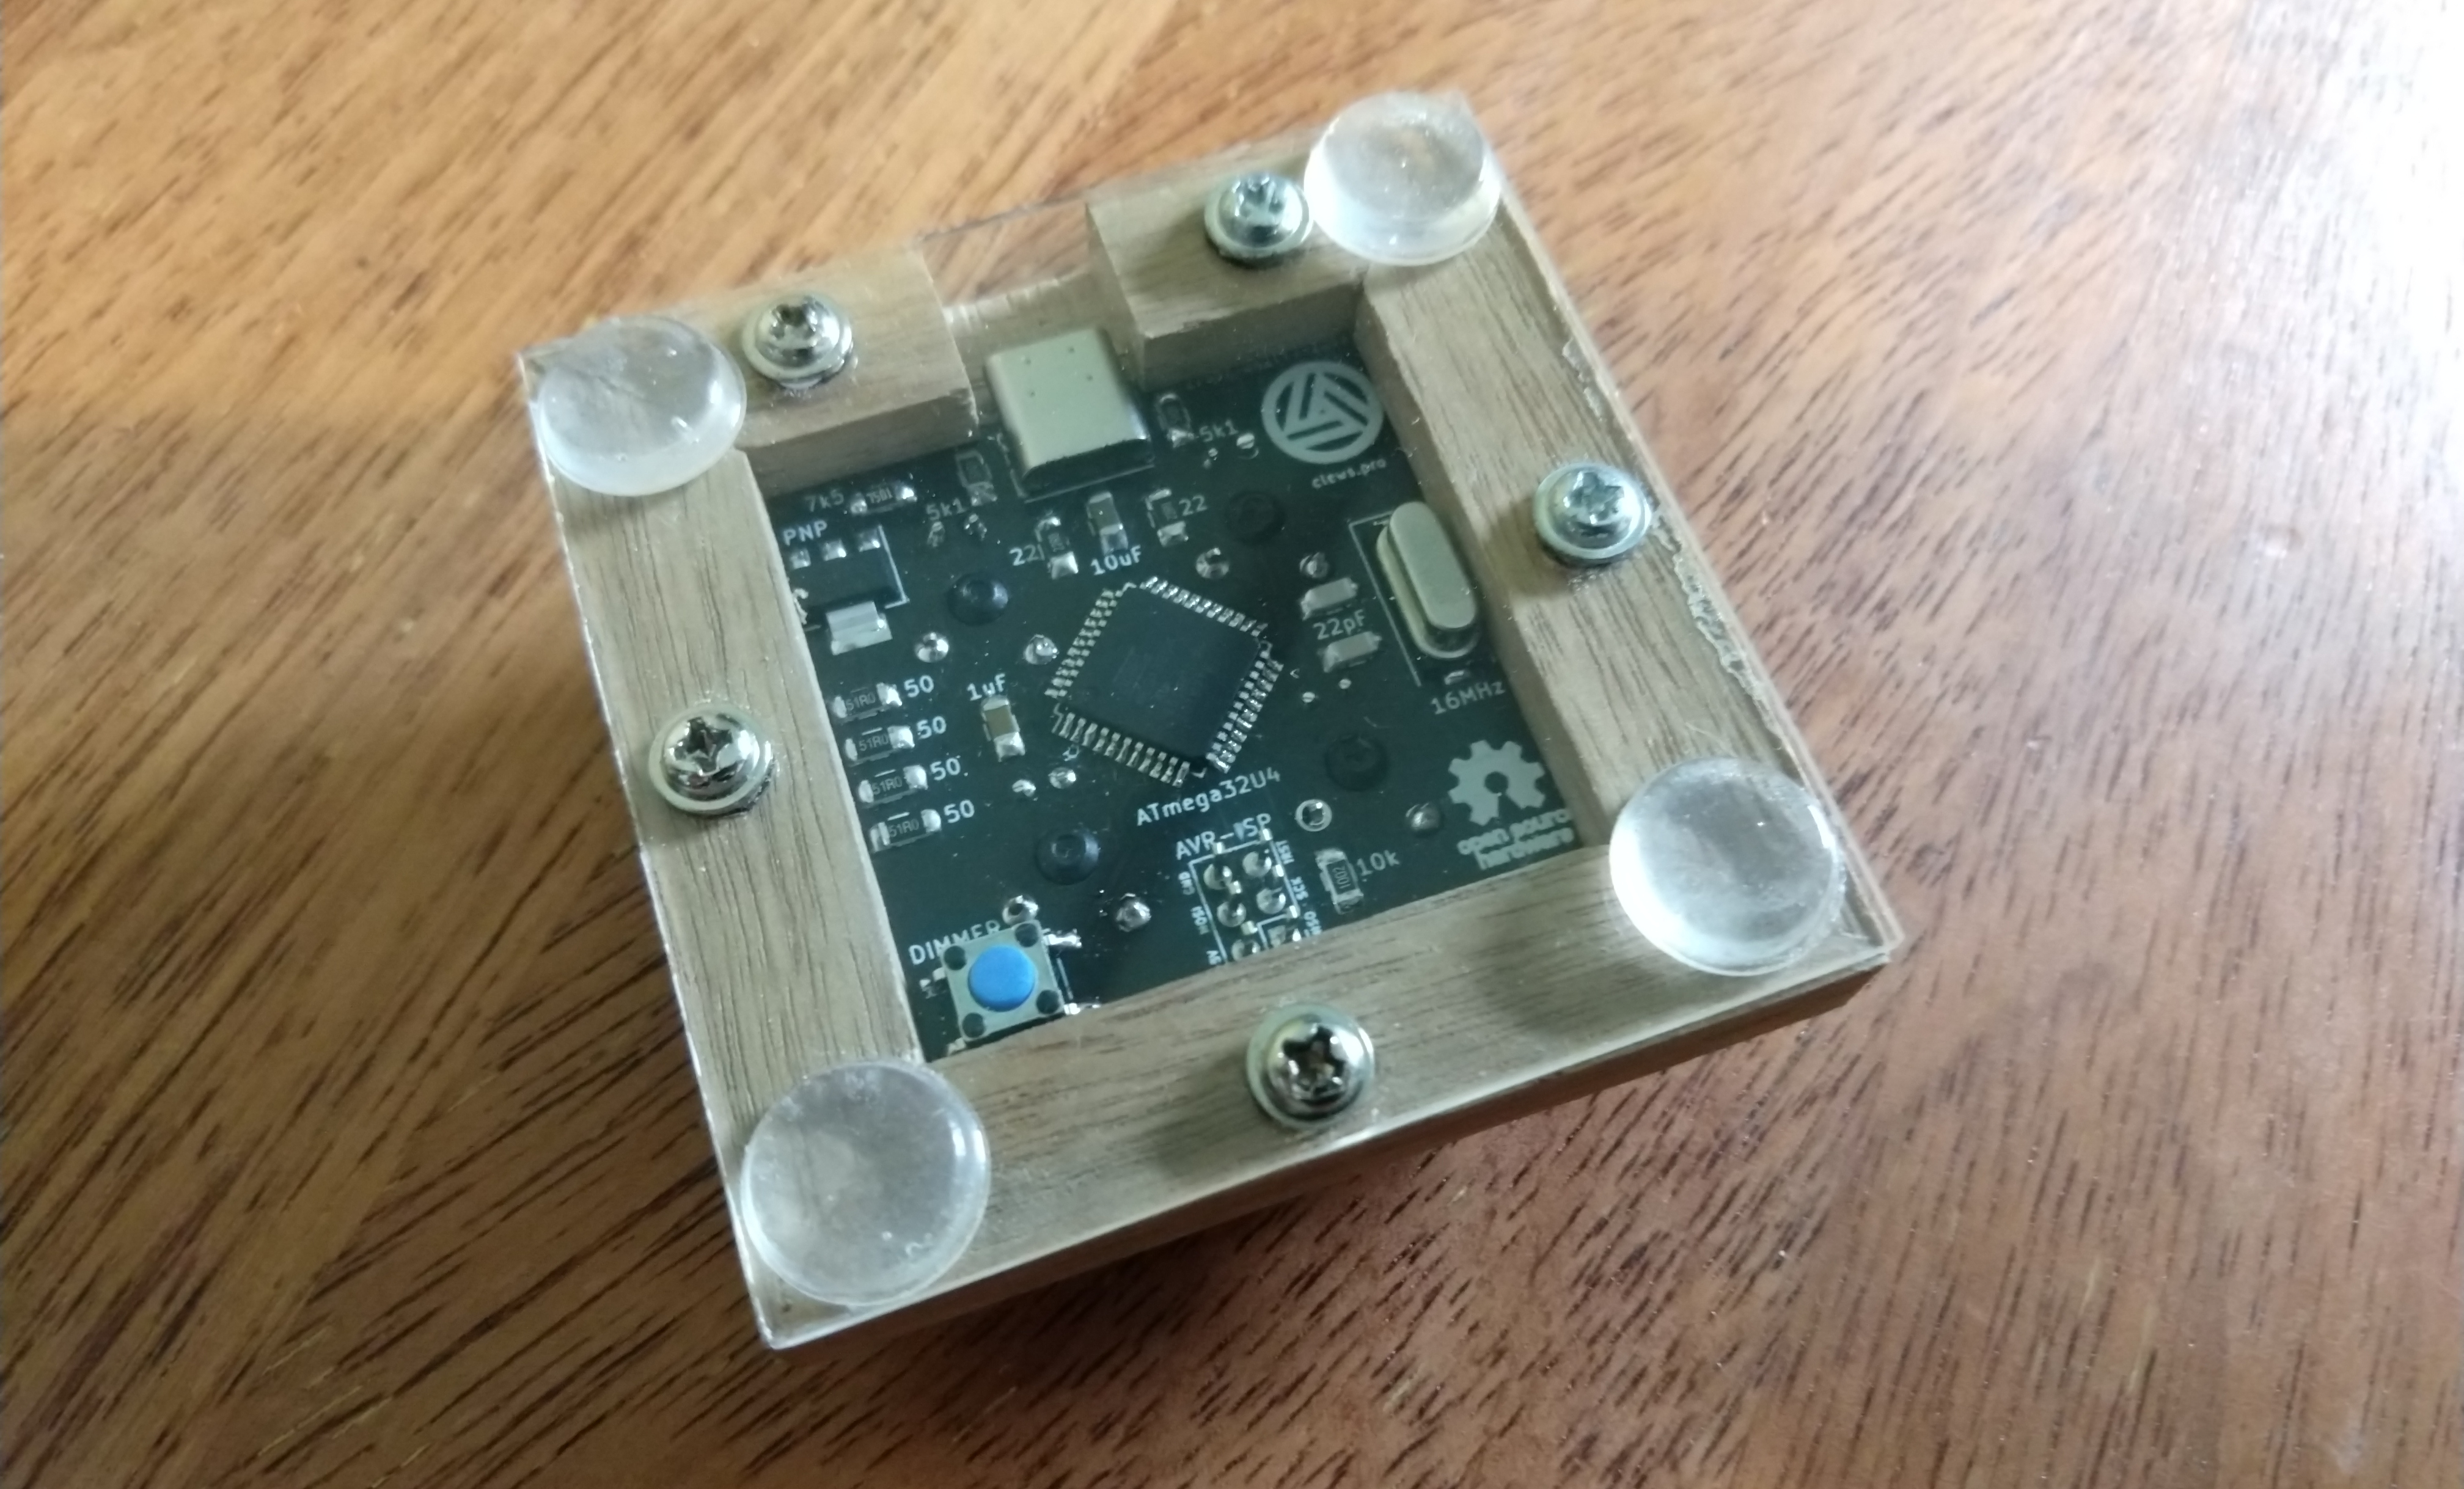 Beneath the gently backlit Gateron blues is a custom ATMega32u4-based board, which is viewable through the clear acrylic bottom plate. That’s a nice touch. We’re not sure if the wood came from a picture frame, but if not, they seem like a great candidates for enclosure material.
This keeb looks fantastic, and we are partial to both the clear and the chrome keycaps. We can only hope [Clewsy] sends the details of the next build our way.
If you want to get started building keyboards, you can’t go wrong with a macro keyboard like this one. If you have way more than four macros in mind, build something bigger, like a custom game pad with a joystick.