Xbox Needs No TV

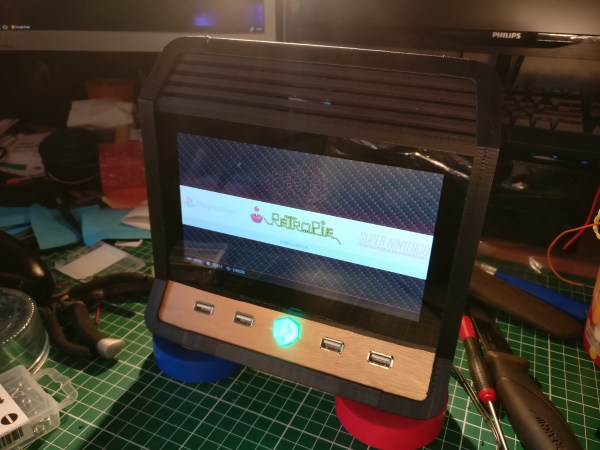
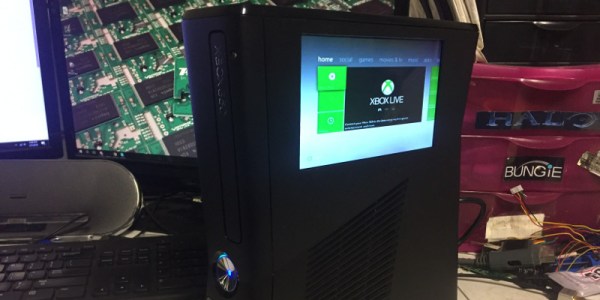
If you want a custom video game system, you could grab a used computer, throw an emulator on it, and build yourself a custom arcade cabinet. On the other hand, if you’d rather not deal with emulators, you can always use a console and modify it into your own tiny arcade cabinet using the original hardware. That’s what the latest project from [Element18592] does, using an Xbox 360 Slim and a small LCD screen to make a mini-arcade of sorts.

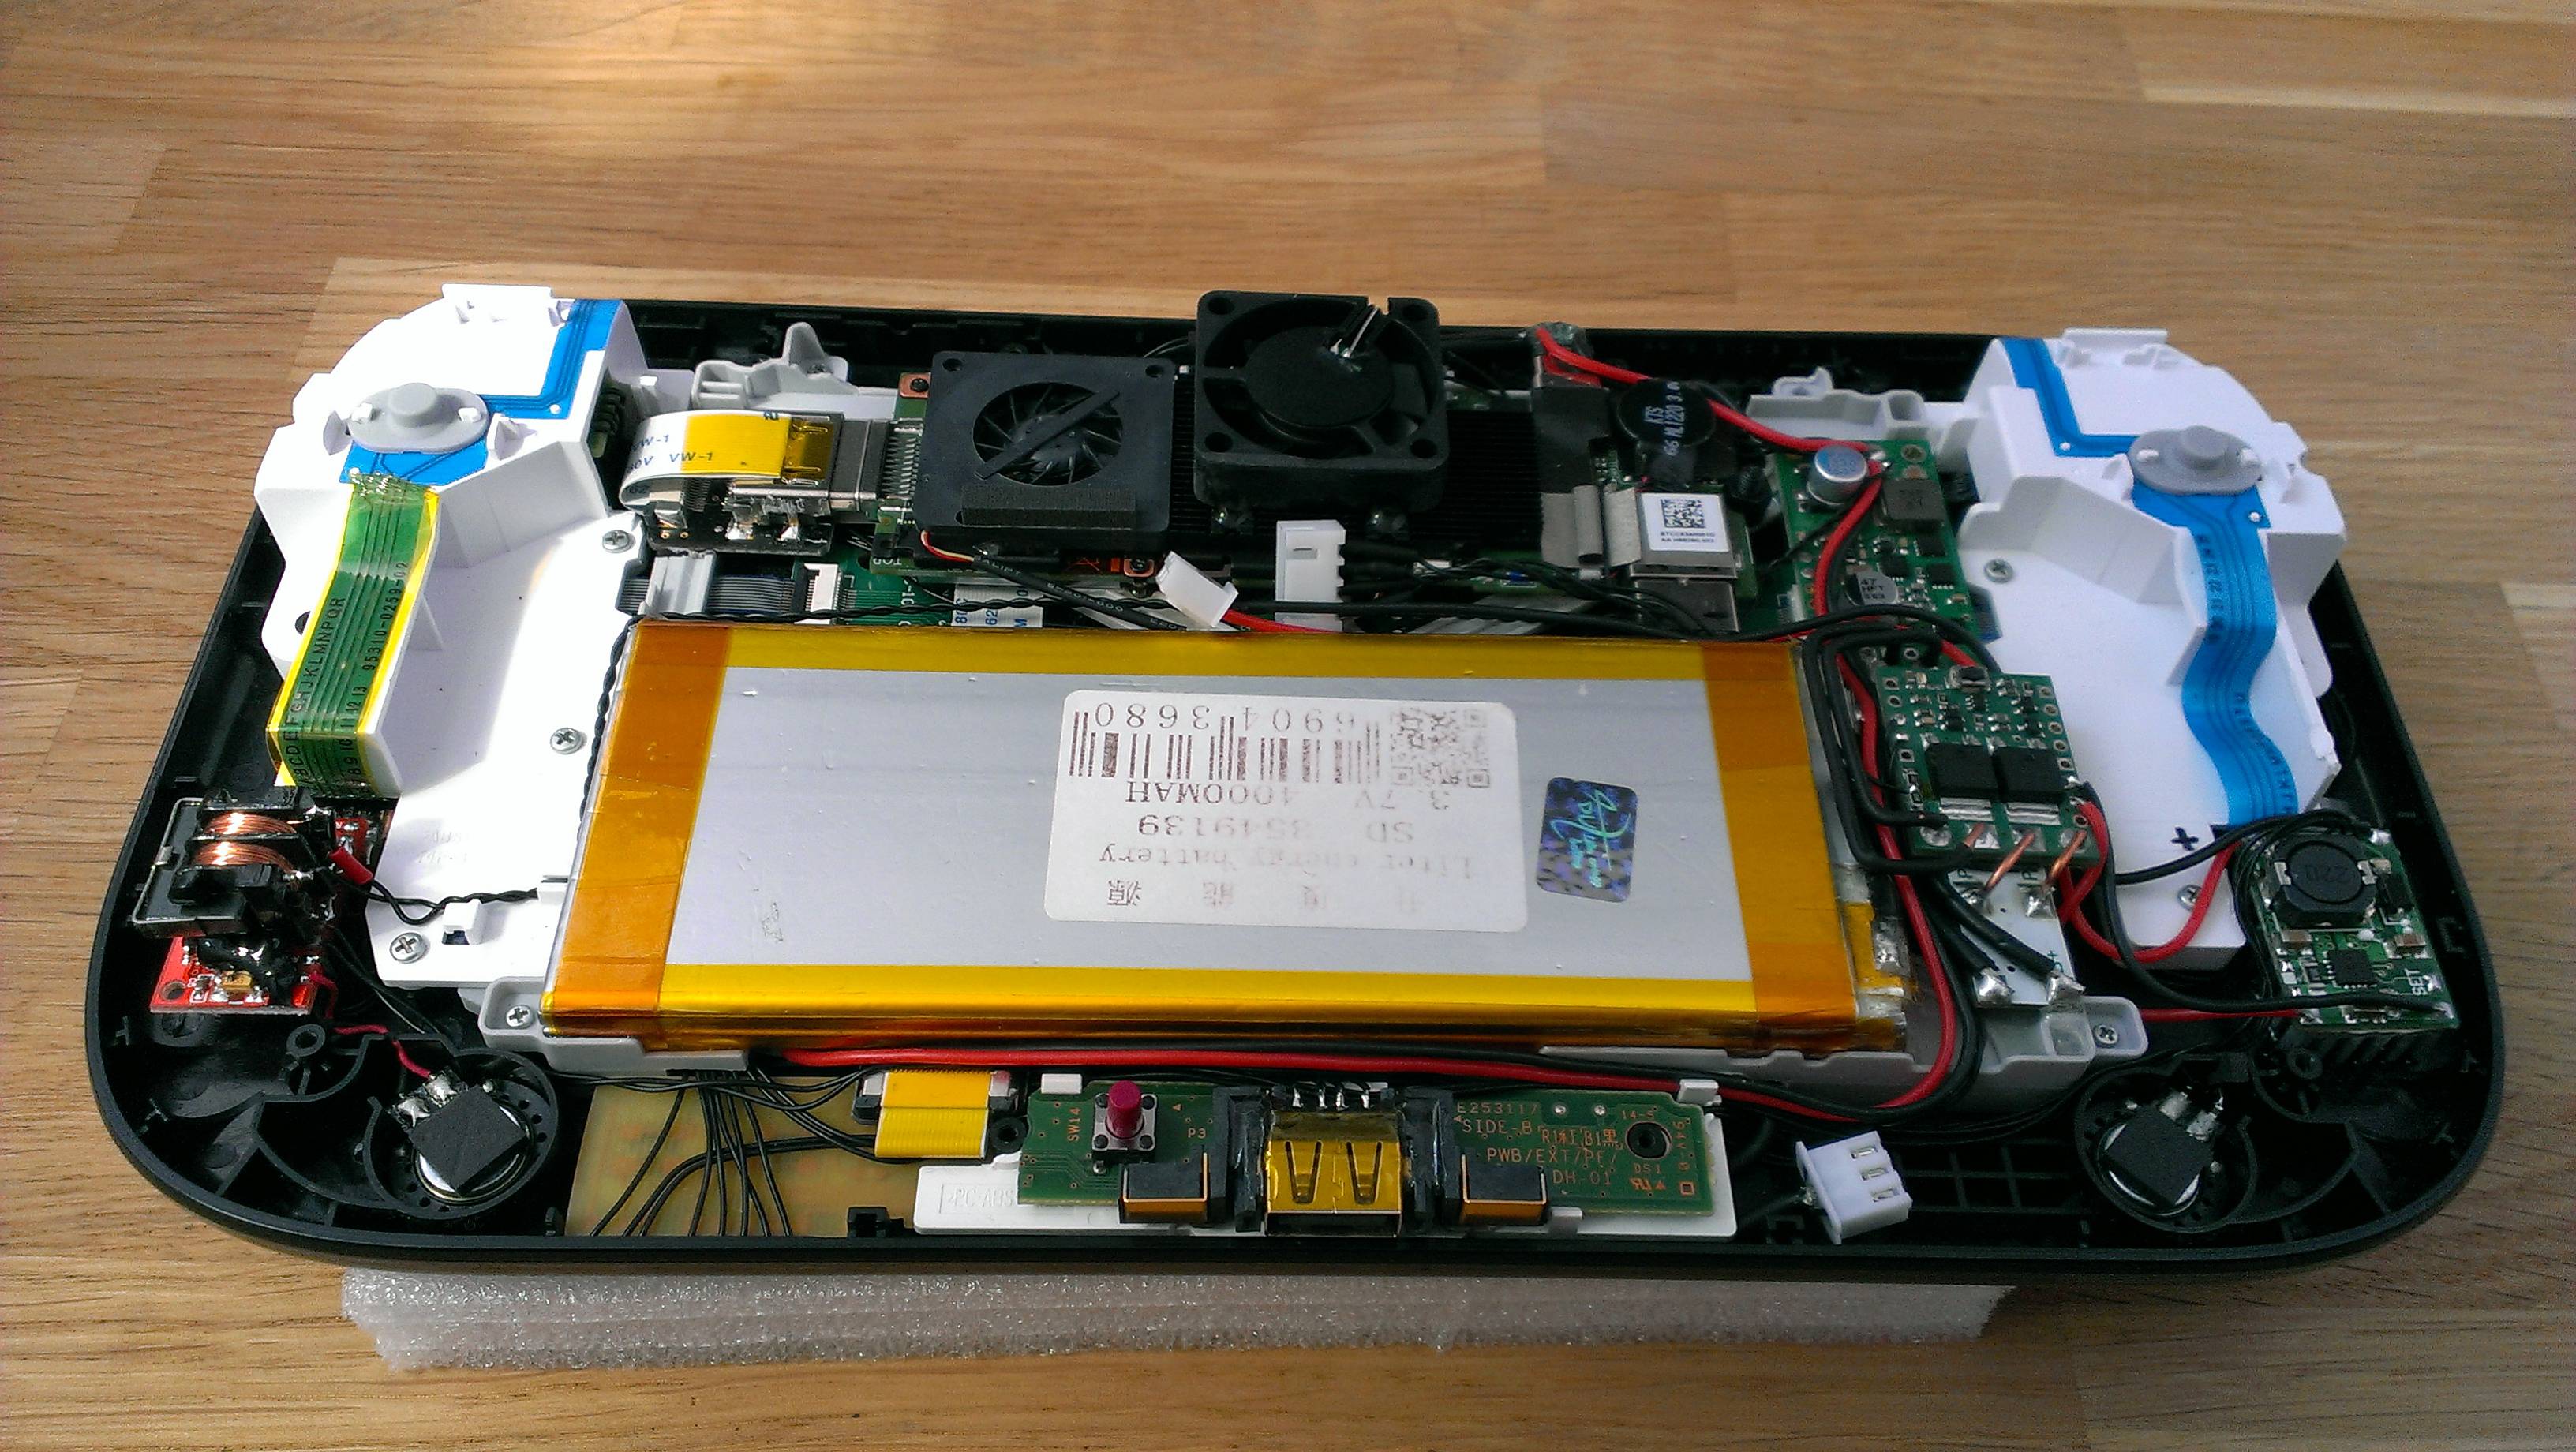
The build uses a 7″ TFT LCD and a Flexible Printed Circuit (FPC) extension board. The screen gets 12V power from the Xbox and another set of leads are soldered directly to the composite output on the motherboard. The project also makes use of a special switch which can enable or disable the built-in monitor and allow the Xbox to function with a normal TV or monitor.

Admittedly, he does point out that this project isn’t the most practical to use. But it is still a deceptively simple modification to make to the Xbox compared to some of the more complicated mods we’ve seen before. The fact that almost anyone could accomplish this with little more than some soldering is an impressive feat in the world of console mods.

Continue reading “Xbox Needs No TV”

More Than Just An Atari Look-Alike

The Raspberry Pi has been a boon for hackers with a penchant for retro gaming. Redditor [KaptinBadkruk] Wanted to get on board the game train and so built himself an Atari 2600-inspired Raspberry Pi 3 console!

A key goal was the option to play Nintendo 64 titles, so [KaptinBadkruk] had to overclock the Pi and then implement a cooling system. A heatsink, some copper pads, and a fan from an old 3D printer — all secured by a 3D printed mount — worked perfectly after giving the heatsink a quick trim. An old speaker and a mono amp from Adafruit — and a few snags later — had the sound set up, with the official RPi touchscreen as a display.

After settling on an Atari 2600-inspired look, [KaptinBadkruk] laboured through a few more obstacles in finishing it off — namely, power. He originally intended for this  project to be portable, but power issues meant that idea had to be sidelined until the next version. However — that is arguably offset by [KaptinBadkruk]’s favourite part: a slick 3D Printed item box from Mario Kart front and center completes the visual styling in an appropriately old-meets-new way.

That item block isn’t the first time a lightshow has accompanied an Atari console, but don’t let that stop you from sticking one in your pocket.

[Via /r/DIY]

Play A Few Games Of Smash Brothers On The Go With A Portable Wii

How would you approach a build that required you to hack apart a perfectly good console motherboard? With aplomb and a strong finish. [jefflongo] from [BitBuilt.net] — a forum dedicated to making consoles portable — has finished just such a task, unveiling his version of a portable Wii to the world.

While this bears the general appearance of a portable GameCube, it’s what inside that counts. A heavily modified   Wii motherboard — to reduce size — forms this portable’s backbone, and it includes two infrared LEDs on its faceplate for Wii Remotes.  A single player can use the built-in controller, but [jefflongo] has included four GameCube controller ports for maximum multiplayer mayhem. Although he’ll likely plan on taking advantage of the built-in AV Out port to play on a TV and charge port for those extended gaming sessions, four 3400mAh batteries — with an estimated four hour battery life — should keep him satisfied on the go until he can recharge.

While the electronics display an impressive amount of work, but the final piece is a sight to behold. Check out the demo video after the break!

Continue reading “Play A Few Games Of Smash Brothers On The Go With A Portable Wii”

Finally – A Big-Screen Vectrex

The Vectrex is in no way the most popular console of all time, but it is one of the more unique. Eschewing typical raster-based rendering, it instead relies on a vector-based display. Since the average home television of the era would be completely unable to display such signals, the Vectrex had its screen built in. This got [Arcade Jason] wondering – would it be possible to hook the Vectrex up to a bigger screen?

First, a suitable monitor had to be found. The 19V2000 turned out to be a good candidate – much larger at 19 inches, and found in a variety of arcade cabinets from years past. From there, the project became a matter of identifying the signal outputs of the Vectrex. [Arcade Jason] took the liberty of modifying the levels of the signals on the Vectrex board itself, and then fixing the now-overscanned image on the original screen by adjusting the onboard trimpots. With the Vectrex’s X and Y signals now boosted somewhat, they were wired up to the inputs of the larger arcade screen. For the Z signal, things got even hackier – a Walmart “Computer Amplifier”, typically used for speakers, was instead pressed in to service to amplify the signal.

There are plenty of wires running all over the carpet in this video, but the fact is, it works brilliantly. Future plans involve upgrading to an even larger 23 inch monitor, and possibly even experiments with color vector displays. It just goes to show that the Vectrex, even today, maintains a die-hard following.

Perhaps you’d like to try this, but need to fix your original Vectrex screen first? Never fear – that’s possible, too.


Why Only Use One Controller When You Can Use ALL Of Them?

After booting up his RetroPie system, [jfrmilner] had the distinct feeling that something was off. Realizing that the modern Xbox 360 controller didn’t fit right when reliving the games of his youth, he rounded up all his old controllers to make sure he always had the right gamepad for the game.

Wanting to keep the controllers unmodified — so they could still be used on the original systems — he had to do a bit of reverse-engineering and source some controller sockets before building his controller hub. Using shift-in registers, shift-out registers, and some multiplexers, he designed a large circuit selector — which acts as a shield for an Arduino Micro — so all the controllers remain connected. A potentiometer allows him to select the desired controller and a few arcade buttons which access RetroPie shortcuts really round out the hub. Check out the demo after the break!

Continue reading “Why Only Use One Controller When You Can Use ALL Of Them?”

A Wii U That Is Both Computer And Console.

Legendary sudomod forum user [banjokazooie] has once again demonstrated their prowess in Wii U console modification — this time by transforming it into a powerhouse portable computer!

We loved [banjokazooie]’s RetroPie Wii U mod, and happy to see them back again with this build.  What’s in this thing this time around? Buckle up ’cause it’s a ride: an Intel M5 processor core M on their Compute Stick, 4GBs RAM, a 64GB solid-state drive, a 2K LCD touchscreen, Bluetooth, WiFi, a 128GB SD card slot, two 3.7V 4000 mAh batteries, a Pololu 5V,6A step-down voltage regulator, a Teensy 2.0++ dev board, a battery protection PCB, a USB DAC sound card, stereo amp, a USB hub for everything to plug into, and a TP5100 battery charging board. Check it out!

Continue reading “A Wii U That Is Both Computer And Console.”

Game Gear, Console Edition

What if the Game Gear had been a console system? [Bentika] answered that question by building a consolized version of this classic handheld. For those not in the know when it comes to 1980s Sega consoles, the Game Gear is technically very similar to the Master System. In fact, the Game Gear can even play Master System games with a third-party adapter. However, the reverse isn’t the case as the screen aspect ratios were different and the Game Gear had a larger palette, which meant the Master System wasn’t compatible with Game Gear titles.

Sega’s decision to omit an AV connection meant that Game Gear games were forever locked into a tiny LCD screen. [EvilTim] changed that with his AV board, so [Bentika] decided to take things to their natural conclusion by building a proper console version of the Game Gear.

He started by ditching the screen and wiring in [EvilTim’s] video adapter board. The cartridge slot was then removed and reconnected atop the PCB. This turned the system into a top loader. [Bentika] then went to work on the case. He used Bondo to fill in the holes for the d-pad and buttons. After a spray paint finish failed, [Bentika] went back to the drawing board. He was able to get paint color matched to the original Game Gear gray at a household paint store. Careful priming, sanding, and painting resulted in a much nicer finish for this classic build. Check out [Bentika’s] video after the break!

Continue reading “Game Gear, Console Edition”