[Becky] had some PS4 controllers that were sadly no longer functional. However, most of the buttons and joysticks still appeared to be okay. Thus, she set about designing a replacement PCB to breathe new life into these formerly bricked gamepads.
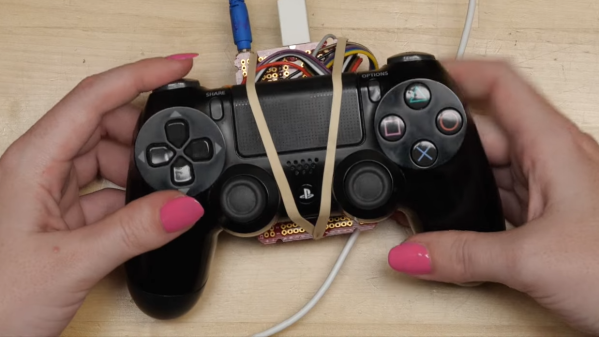
In the case of the PS4 controller, most of the buttons are of a membrane type, that talk to the main board inside via a series of contacts on a flex cable. Thus, [Becky] designed her PCB to interface with that to read most of the buttons. A breadboard and an LED came in handy to figure out which pads corresponded to which buttons on the controller. Replacement joysticks were sourced off Amazon to solder directly on to the replacement PCB.
[Becky] also took advantage of Fusion 360’s design tools to 3D print a simulcra of the final design. This helped get the fit just right inside the gamepad’s shell. Continue reading “Interfacing Broken PS4 Controllers With A Replacement PCB”