On today’s episode of “Will It Antenna?”, [Ben Eadie (VE6SFX)] designs and tests an antenna made entirely of tape, and spoiler alert — it works pretty well.
By way of background, the basic design [Ben] uses here is known as a J-pole, a popular “my first antenna” design for amateur radio operators looking to go beyond the stock whip antenna that comes with that cheap handy-talkie you just can’t resist buying as soon as you get your license. Usually, though, hams will build their J-poles from rigid materials, copper water pipe being a typical choice. Copper has the advantage of being easily sourced, and also results in a self-supporting, weather-resistant antenna that’s easy to mount outdoors. However, copper is getting to be egregiously expensive, and a couple of meters of water pipe isn’t exactly amenable to portable operation, if that’s your jam.
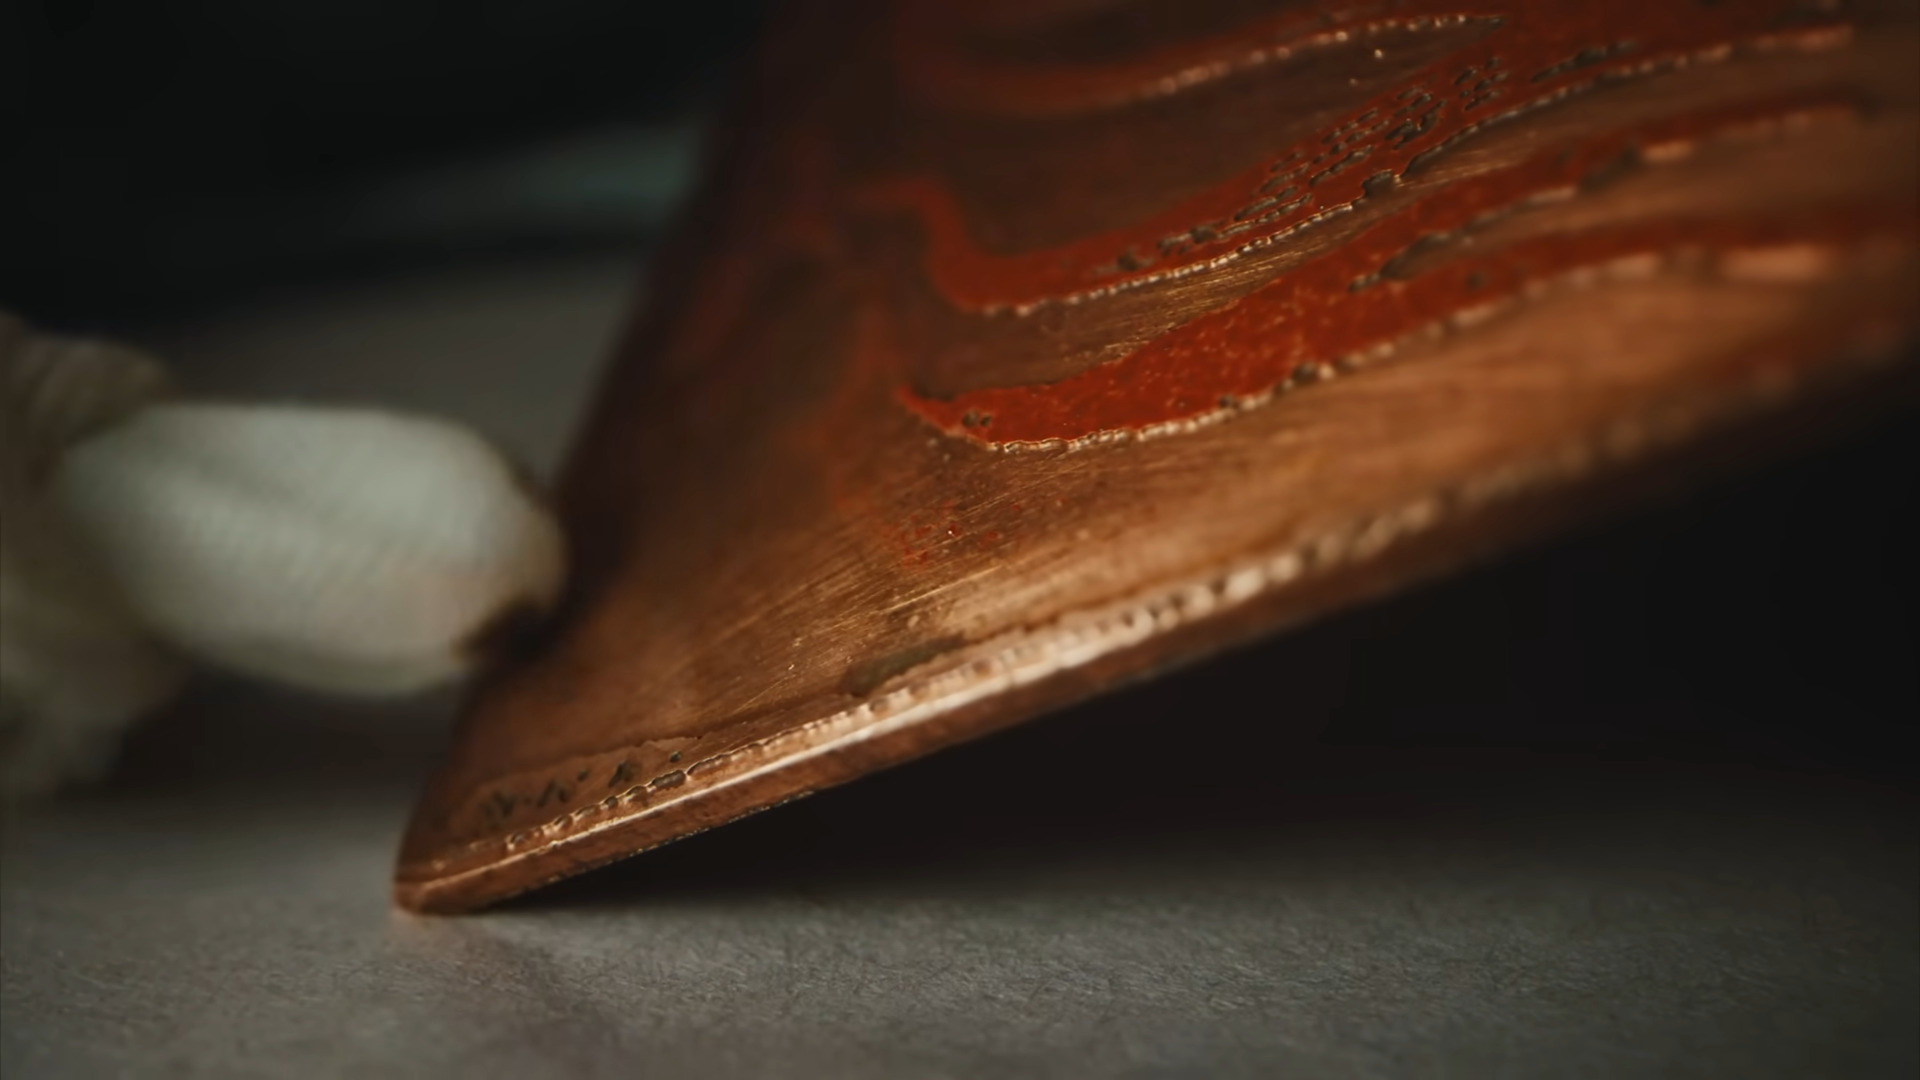
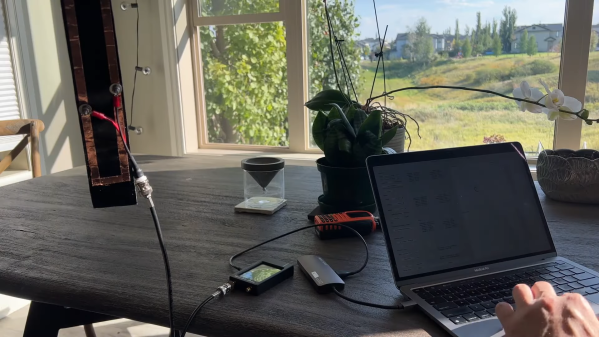
To solve those problems, [Ben] decided to keep his copper use to a minimum with a roll of copper foil tape. He doesn’t provide any specs on the tape, but it looks like it’s about 6 mm (1/4″) wide and judging by a quick Amazon search, probably goes for about $10 a roll. He starts the build with a couple of strips of plain old duck tape — we’ve already had the “duck vs. duct” argument — laid out with the sticky sides together. The copper foil is applied to the duck tape backing using dimensions from any of the J-pole calculators available online. Dimensions are critical to getting good performance from a J-pole, and this is where [Ben]’s tape design shines. Element too long? No problem, just peel up a bit and tear some off. Did you go too far and make an element too short? Easy — just stick on an extension piece of foil. Tuning the location of the feedline connection was a snap, too, with movable terminals held in place with magnets.
Once everything was tuned up, [Ben] soldered down the feed points and covered the foil with a protective layer of duck tape. The antenna performed swimmingly, and aside from costing almost nothing to build, it weighs very little, rolls up to fit in a pack for field operations, and can easily be hoisted into a tree for better coverage. Looks like we’ll be putting in an order for some copper tape and building one of these too. Continue reading “This Packable Ham Radio Antenna Is Made From Nothing But Tape” →