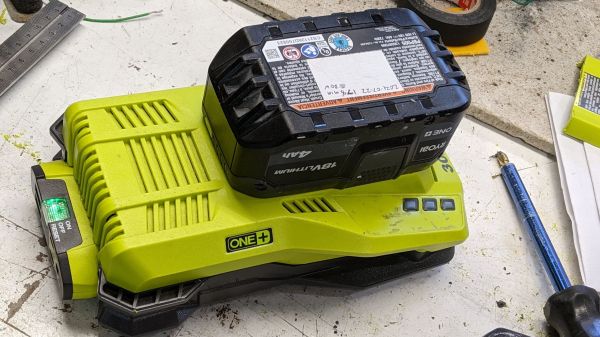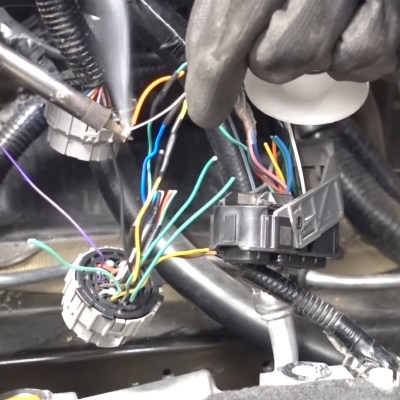
There was a time when a mains inverter was a heavy, expensive, and not particularly powerful item, but thanks to switch-mode technology we are now spoiled for choice. Most inverters still work with 12 V or 24 V supplies though, so when [Chris Jones] was looking for one to run from 36 V batteries, he found a limited supply. Sadly the Greenworks model he ended up with was affordable, but locked to a particular battery by means of a serial line between battery and inverter. Buy the special battery? No, he did what any hacker would do, and modified the inverter to do without it.
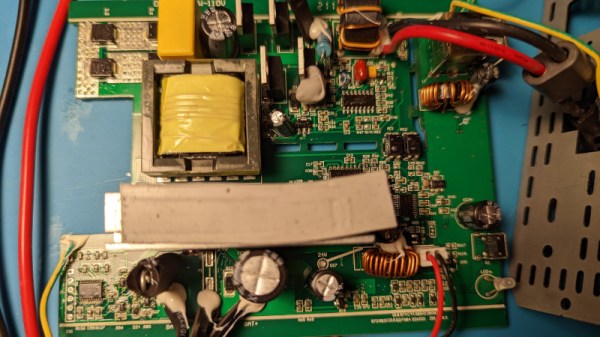
Tracing the serial link led to a mystery chip, probably a microcontroller but without available data. It in turn had a line to an 8051 derivative that seemed to be the brains of the operation. Acting on a hunch he pulled down the line with a resistor, and as if by magic, a working inverter appeared.
As you might expect, here at Hackaday we abhor such tricks by manufacturers, and thus any moves to circumvent them are to be applauded. It would be extremely interesting were anyone to have the Greenworks battery to subject to some reverse engineering of the profile.
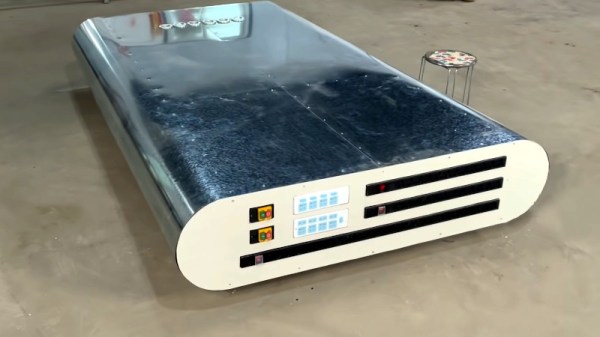
Meanwhile if this is a little complex for you, there is a much simpler way to make a rough and ready inverter.