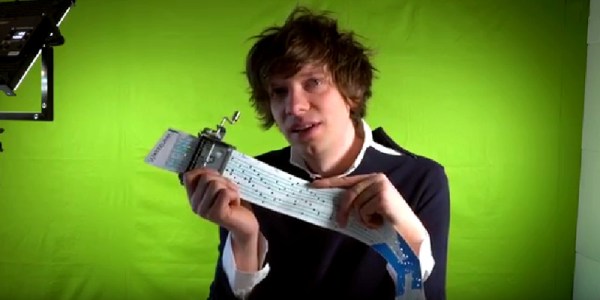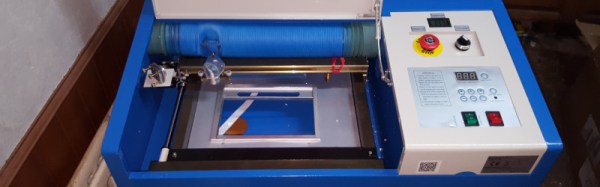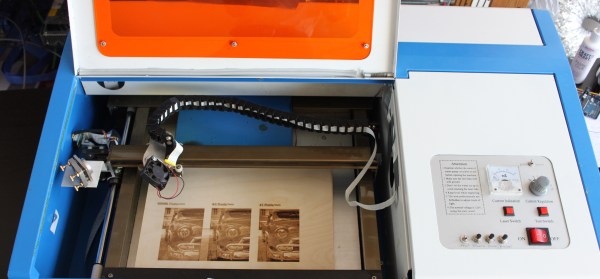
[Paul de Groot] wrote in to let us know about a drop-in controller replacement he designed for those economical K40 laser engravers that are everywhere on eBay. With the replacement controller, greatly improved engraving results are possible along with a simplified toolchain. Trade in the proprietary software and that clunky security dongle for Inkscape and a couple of plugins! [Paul] felt that the work he accomplished was too good to keep to himself, and is considering a small production run.
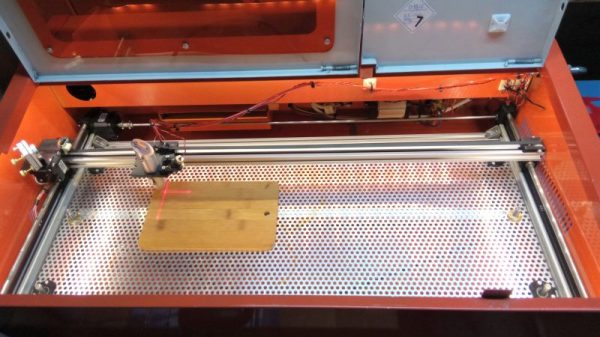
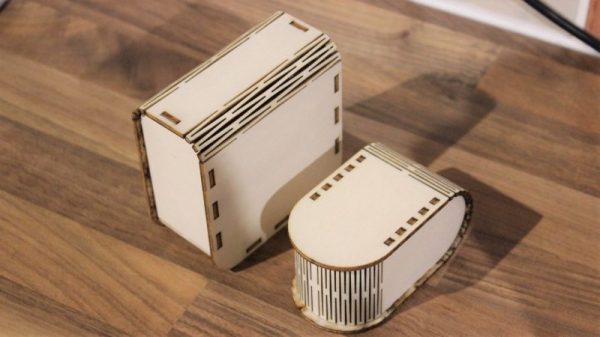
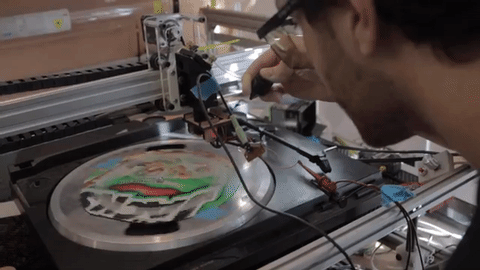
Laser engravers are in many ways not particularly complex devices; a motion controller moves the head in x and y, and the laser is turned on or off when needed. But of course, the devil is in the details and there can be a surprising amount of stuff between having a design on your screen and getting it cut or engraved in the machine. Designing in Inkscape, exporting to DXF, importing the DXF to proprietary software (which requires a USB security dongle to run), cleaning up any DXF import glitches, then finally cutting the job isn’t unusual. And engraving an image with varying shades and complex dithering? The hardware may be capable, but the stock software and controller? Not so much. It’s easy to see why projects to replace the proprietary controllers and software with open-source solutions have grown.
Cheap laser engravers may come with proprietary controllers and software, but they don’t need to stay that way. Other efforts we have seen in this area include LaserWeb, which provides a browser-based interface to a variety of open-source motion controllers like Grbl or Smoothieware. And if you’re considering a laser engraver, take a few minutes to learn from the mistakes of other people.