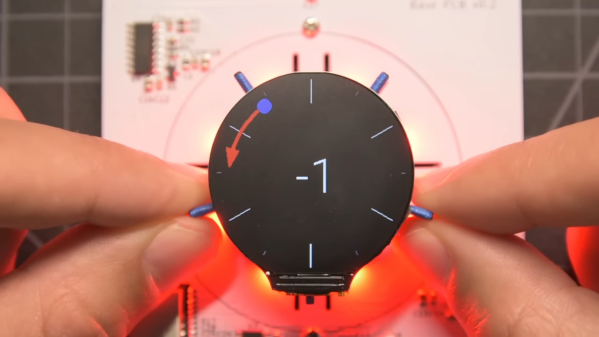
[Dan Julio]’s gCore (short for Gadget Core) is aimed at making GUI-based portable and rechargeable gadgets much easier to develop. gCore is the result of [Dan]’s own need for a less tiresome way to develop such hardware.
[Dan] found that he seemed to always be hacking a lot of extra circuitry into development boards just to get decent power management and charge control. To solve this, he designed his own common hardware platform for portable gadgets and the gCore was born.
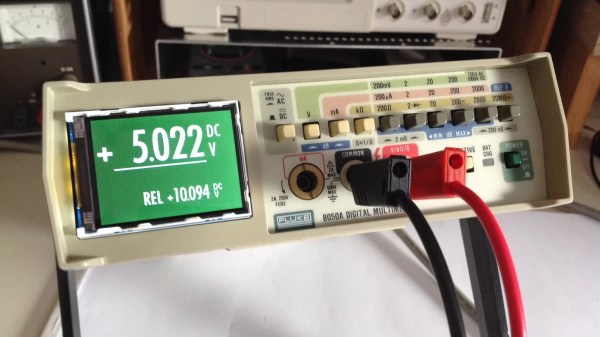
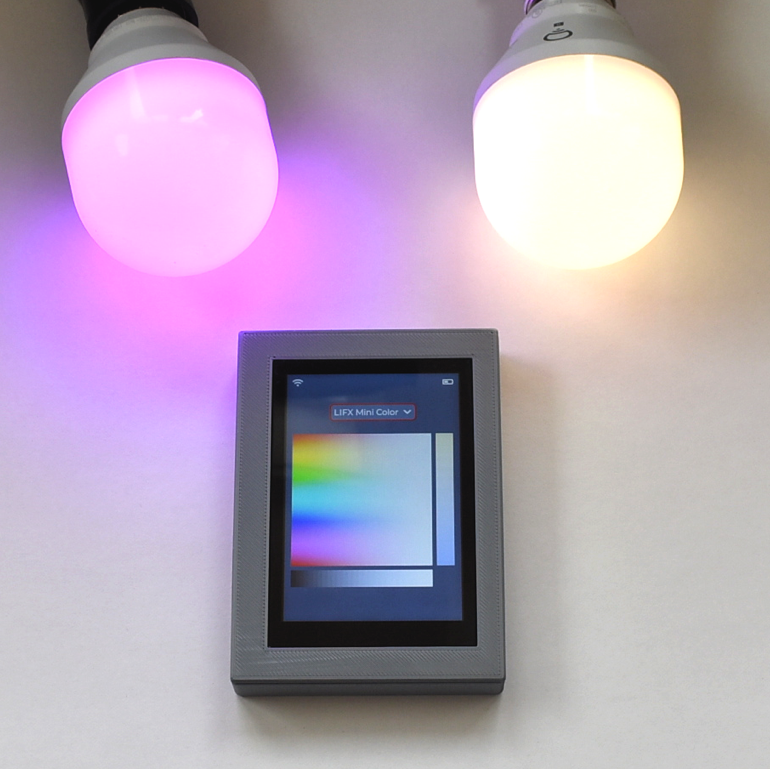
While the color touchscreen is an eye-catching and useful addition, the real star of his design is the power management and charging features. Unlike most development hardware, the gCore intelligently shares load power with charging power. Power on and power off are also all under software control.
Sound intriguing? That’s not all the gCore has to offer, and you can learn more from the project page at hackaday.io (which has a more in-depth discussion of the design decisions and concept.) There are also some additional photos and details on [Dan]’s website.
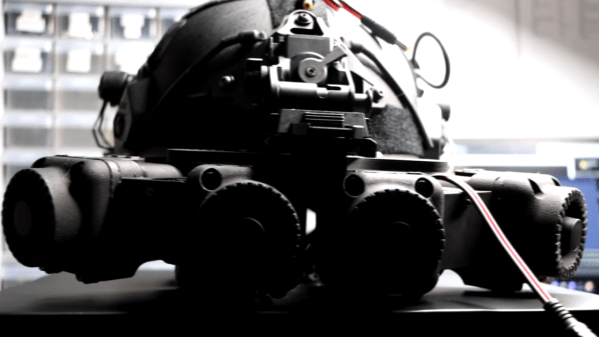
[Dan] is no stranger to developing hardware. The tcam-mini thermal imager (and much more) is his work, and we have no doubt the gCore’s design and features are informed directly by [Dan]’s actual, practical development needs.