We can’t get enough of hacker-con badges. BSides Cape Town, held Last December, featured an IR-equipped badge that immersed attendees in a game while they chatted.
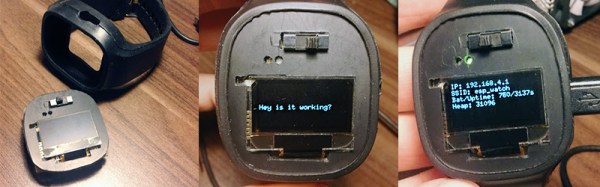
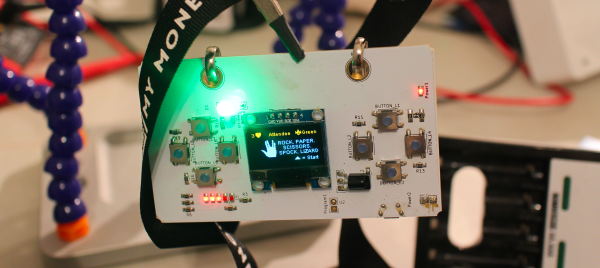
A group led by [AndrewMohawk] and [ElasticNinja] designed the badge around an ESP8266 and 128×64 OLED display, with eight buttons, an IR receiver and transmitter, five “level” LEDs, an RGB LED, and a 600 mAh LiPo that charged over USB.
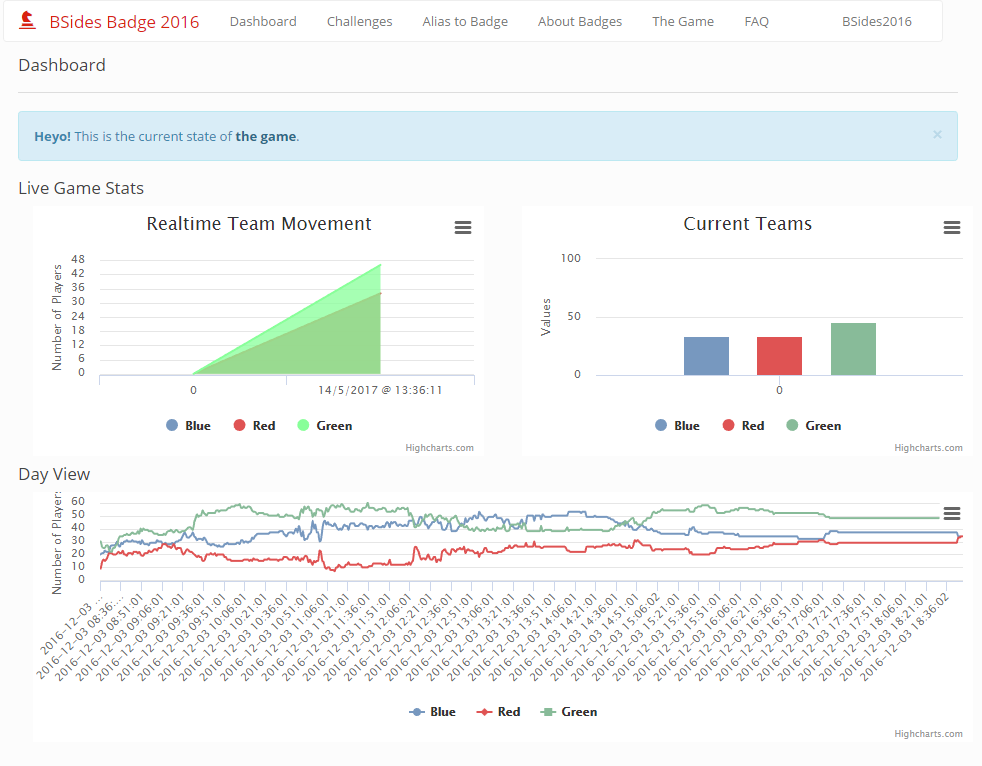 The hardware was designed specifically to play an organic game so that the organizers could watch the interaction between the badges in real time. Each badge was randomly sorted into a faction, either red, blue, or green—identifiable by an RGB LED glowing on the badge. There was also a series of five LEDs signifying your level in the game. When two or more badges got close to each other, enough for the IR to link, the badge with the lowest level was converted to the faction of the winner.
Of course, the badge displayed attendees’ handles and contained a list of convention programming. It also presented attendees with a series of challenges, which could be unlocked to play Pong or Rock/Paper/Scissors/Lizard/Spock, scan for wireless networks, and run animations.