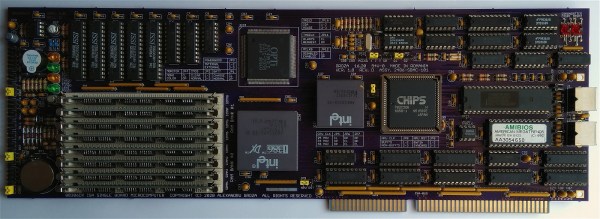
[Alessandro Carminati] spends the day hacking Linux kernels, and to such an end needed a decent compilation machine to chew through the builds. One day, this machine refused to boot leaving some head-scratching to do, and remembering the motherboard diagnostics procedures of old, realized that wasn’t going to work for this modern board. You see, older ISA-based systems were much simpler, with diagnostic POST codes accessible by sniffing the bus with an appropriate card inserted, but the modern motherboard doesn’t even export the same bus anymore.
Do modern machines even run a POST test at all, or are there other standards? After firing up a Linux machine and dumping the first meg of memory address space, it clearly contained some of the BIOS code. [Alessandro] looked at a disassembly of the BIOS update image and saw a similar structure, with POST code data sent to port 0x80 just like machines of old.
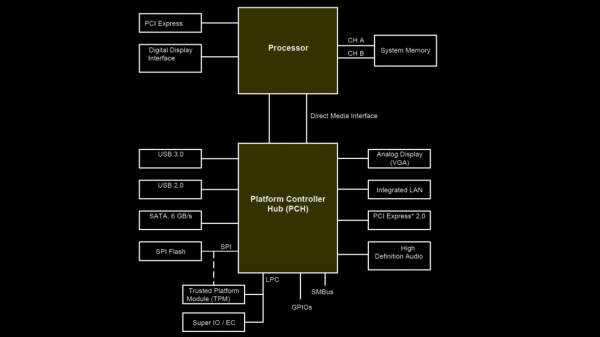
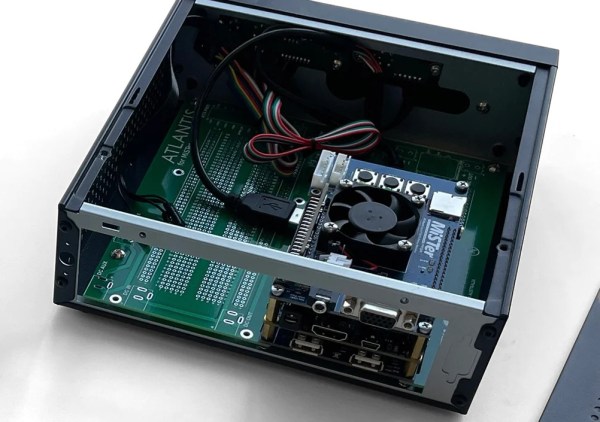
But instead of an ISA CPU bus, we have the Low Pin Count (LPC) bus which is used to hook up the ‘super IO’ functions, controlling things such as fans, temp sensors, and other system management functions. It also serves as the connection for the TPM feature, which usually appears as one of the motherboard connectors intended to be user-accessible. It turns out that POST codes can be accessed from this point with an appropriate POST card that can talk LPC.
Continue reading “Can You Use A POST Card With A Modern BIOS?”
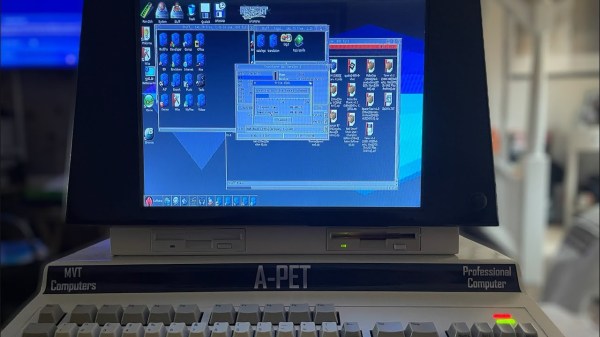
 The case design started with measurements taken from an original Commodore PET, of which [Mjnurney] has three. Then, it was modified and extended to make room for a proper keyboard. The case also mounts a 14″ IPS display, two 15W speakers, and a gas strut enabling the case to be propped open for easy maintenance. It’s actually made out of real sheet metal, too!