3D Printed VirtuScope Is A Raspberry Pi 4 Cyberdeck With A Purpose

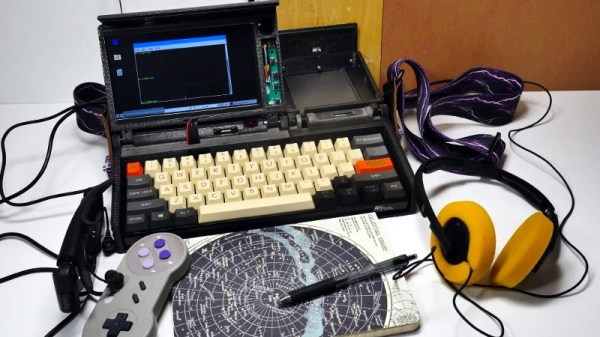
William Gibson might have come up with the idea for the cyberdeck in 1984, but it’s only recently that technology like desktop 3D printing and powerful single board computers have enabled hackers and makers to assemble their own functional versions of these classic cyberpunk devices. Often the final product is little more than a cosplay prop, but when [Joe D] (better known on the tubes as [bootdsc]) started designing his VirtuScope, he wanted to create something that was actually practical enough to use. So far, it looks like he’s managed to pull it off.

Many of the cyberdeck builds we see are based around the carcass of a era-appropriate vintage computer, which looks great and really helps sell the whole retro-future vibe. Unfortunately, this can make the projects difficult and expensive to replicate. Plus there’s plenty of people who take offense to gutting a 30+ year old piece of hardware just so you can wear it around your neck at DEF CON.
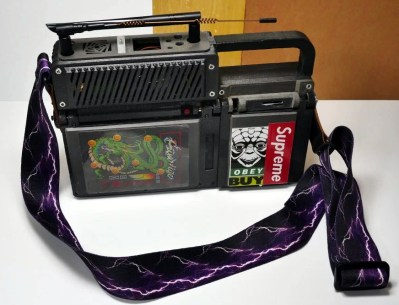
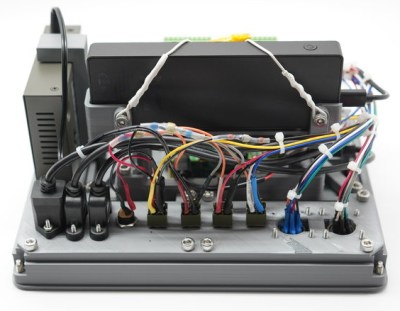
[bootdsc] deftly avoided this common pitfall by 3D printing the entire enclosure for the VirtuScope, and since he’s shared all of the STLs, he’s even made it so anyone can run off their own copy. The majority of the parts can be done on any FDM printer with a 20 x 20 x 10cm build area, though there are a few detail pieces that need the resolution of an SLA machine.

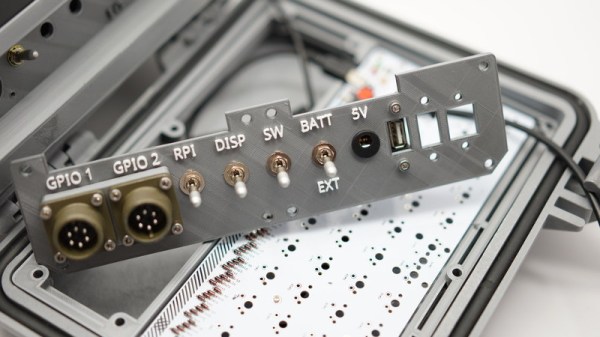
Under the hood the VirtuScope is using the Raspberry Pi 4, which [bootdsc] says is key to the build’s usability as the latest version of the diminutive Linux SBC finally has enough computational muscle to make it a viable for daily computing. Granted the seven inch LCD might be a tad small for marathon hacking sessions, but you could always plug in an external display when you don’t need to be mobile. For your wireless hacking needs, the VirtuScope features an internal NooElec SDR (with HF upconverter) and a AWUS036AC long-range WiFi adapter; though there’s plenty of room to outfit it with whatever kind of payload you’d find useful while on the go.

Documentation for this project is still in the early stages, but [bootdsc] has already provided more than enough to get you started. He tells us that there are at least two more posts coming that will not only flesh out how he built the VirtuScope, but explain why it’s now become his portable SDR rig of choice. We’re excited to see more details about this build, and hope somebody out there is willing to take on the challenge of building their own variant.

In the past we’ve seen partially 3D printed cyberdecks, and at least one that also went the fully-printed route, but none of them have been quite as accessible as the VirtuScope. By keeping the geometry of the printed parts simple and utilizing commonly available components, [bootdsc] may well have laid the groundwork for hackerdom’s first “mass produced” cyberdeck.

Continue reading “3D Printed VirtuScope Is A Raspberry Pi 4 Cyberdeck With A Purpose”

Trimmed Dreamcast Board Makes For Perfect Portable

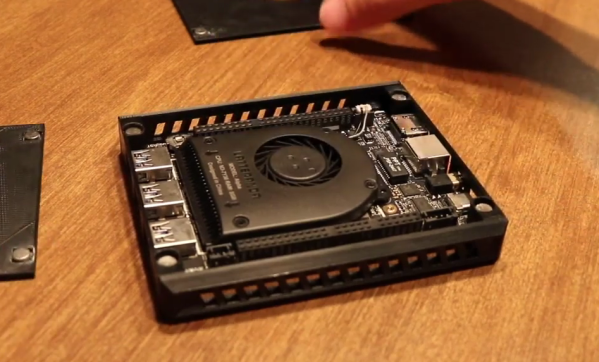
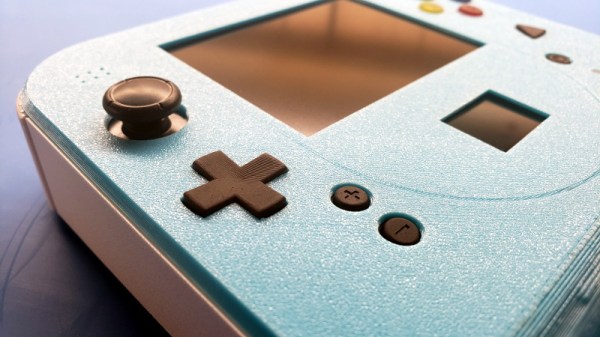
In the last year or so we’ve been seeing an array of portable game system builds based around “trimmed” Wii motherboards which have literally been cut down to a fraction of their original size. It turns out that most of the board is dedicated to non-essential functions, with the core Wii system contained within one specific area that can be isolated with a steady hand. But as [Gman] shows in his latest build, the same concept can also be applied to the Sega Dreamcast.

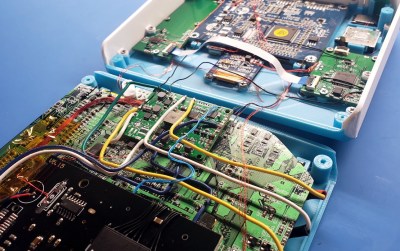
But of course, there’s a bit more to it than just taking a hacksaw to a Dreamcast motherboard. [Gman] had to supplement the trimmed system with quite a bit of additional hardware, such as a power management board he originally designed for portable Wii projects.

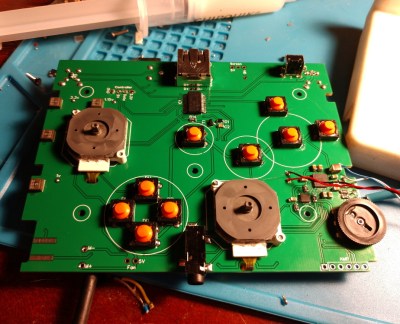
Other components were specifically built for this project. For example there’s a custom PCB that handles emulating the Dreamcast controller using a PIC32MZ microcontroller. He’s also using a LM49450 to pull digital audio from the motherboard over I2S, completely bypassing the analog output.

While not currently functioning, [Gman] also included an SPI OLED display and the hardware necessary to emulate basic functionality of the system’s unique Visual Memory Unit (VMU) right in the front of the system. We’re looking forward to seeing him revisit this feature in the future when he’s got the software side of things worked out.

The Nintendo 2DS inspired enclosure is completely 3D printed. A Prusa i3 with textured PEI bed was used to achieve the gorgeous dappled look on the system’s front panel, while the buttons were done on a Form 2 SLA printer. With a mold made from the printed buttons, [Gman] was able to cast the final pieces using a variety of colors until he found a combination he was happy with.

If you’re not Team Sega and would rather hack up your own tiny versions of Nintendo’s hardware, look no further than this fully functional trimmed Wii built into an Altoids tin.

A Wii Playing The GameCube, Disguised As A Game Boy SP

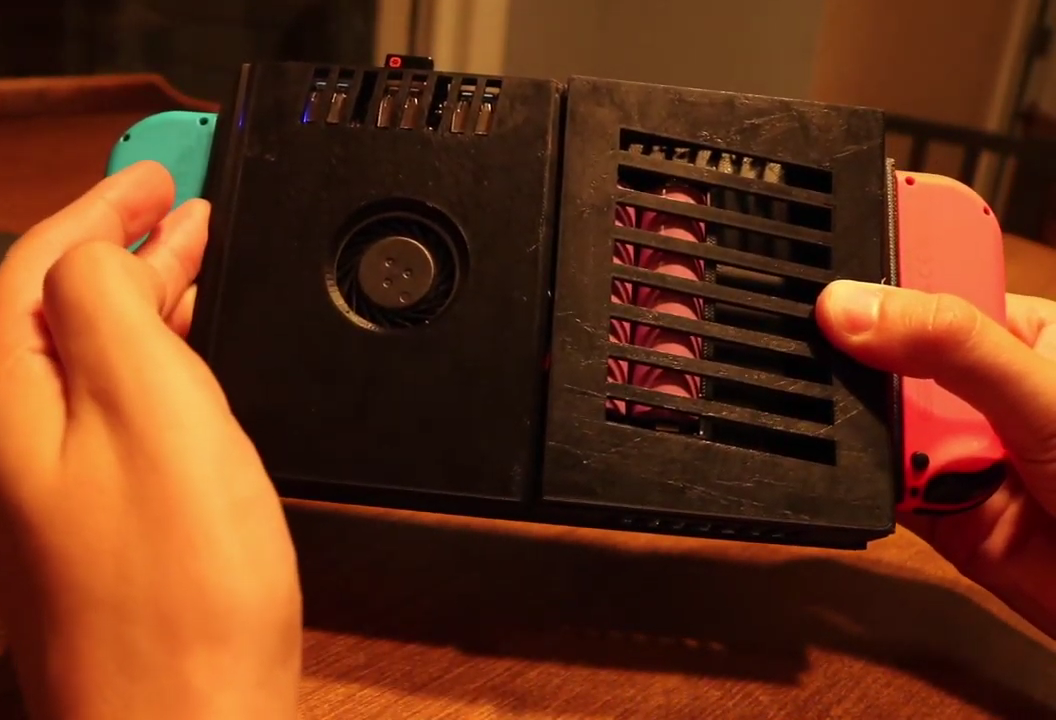
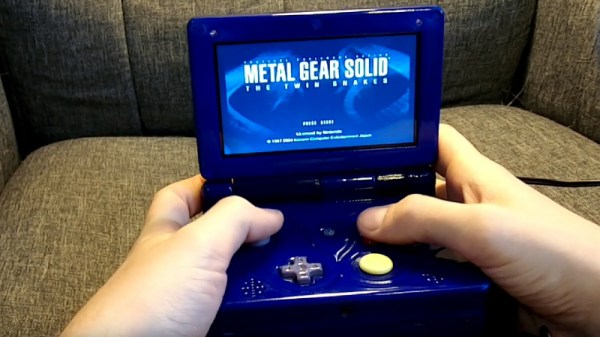
It may be hard to believe, but thanks to the expert work of Nintendo aficionado [Bill Paxton], the Game Boy Advance SP and GameCube lovechild that you see before you started its life as a Wii. That means not only can it play commercial GameCube and Wii games, but also has access to the wide library of homebrew games and emulators available for those systems.

To create this marvel, [Bill] first had to expertly cut away extraneous components from the Wii’s motherboard. He then mated the “trimmed” PCB to a new board that holds the controls as well as some other ancillary components such as the audio amplifier and USB port. He even managed to squeeze a battery in there, as demonstrated in the video after the break.

Finally, he designed a 3D printed enclosure that incorporates GameCube-style controls (complete with printed buttons) into the classic clamshell Game Boy SP shape. Because of the complexity of the design, [Bill] decided to have it professionally printed at Shapeways rather than trying to run it off of his home printer, which he says helps sells the professional look. It did take him some trial and error before he got the hang of painting the printed material to his satisfaction, but we think the end result was certainly worth the effort.

It probably won’t come as a huge surprise to find that this isn’t the first time [Bill] has pulled off a stunt like this. A few years back he created a very similar “GameCube SP”, but by the looks of it, this revised attempt improves on the original version in every way possible.

Continue reading “A Wii Playing The GameCube, Disguised As A Game Boy SP”

Testing A Battery-Powered Mini Spot Welder

Did you ever see a thin metal tab bonded to a battery terminal with little pock marks? That’s the work of a spot welder. Spot welding is one of those processes that doesn’t offer much in the way of alternatives; either one uses a spot welder to do the job right, or one simply does without. That need is what led [Erwin Ried] to purchase a small, battery-powered spot welder from a maker in Korea and test it out on nickel strips.

The spot welder [Erwin] used is the work of a user by the name of [aulakiria] (link is Korean, machine translation here) and is designed to be portable and powered by batteries commonly used for RC. [Erwin] is delighted with the results, and demonstrates the device in the video embedded below.

Spot welder projects see a lot of DIY, some of which are successful while others are less so. Our own [Sean Boyce] even gave making a solar-powered spot welder a shot, the results of which he described as “nearly practical!”

Continue reading “Testing A Battery-Powered Mini Spot Welder”

A Practical Portable Wii Emerges From The Memes

A few months ago, [Shank] built what will almost certainly go down in history as the world’s smallest portable Nintendo Wii. As it turns out, the Wii motherboard is home to a lot of unnecessary hardware, and with a careful hand and an eye for detail, it’s possible to physically cut it down to a much smaller unit; allowing this particularly tenacious hacker to put an actual Wii, along with everything else required to make it portable, into an Altoids tin.

As you might expect, between the cramped controls, comically short battery life, and the fact that the whole thing got hot to the touch during use, it was a miserable excuse for a portable console. But the incredible response the project received inspired [Shank] to dust off an earlier project: a far more practical portable Wii that he calls PiiWii. This time around the handheld is a more reasonable size, a useful battery life, and proper controls. It even has an integrated “Sensor Bar” so you can use real Wii Remotes with it. It might not be the prettiest portable console conversion we’ve ever seen, but it certainly ranks up there as one of the most complete.

[Shank] actually “finished” the PiiWii some time ago, but in his rush to complete the project he got a little overzealous with the hot glue and ended up with a device that was difficult to diagnose and fix when things started to go wrong. He shelved the project and moved on to his Altoids tin build, which helped him refine his Wii shrinking skills. With a clearer head and some more practical experience under his belt, the PiiWii was revamped and is clearly all the better for it.

Unlike previous Wii portables we’ve seen, there’s no attempt at adding GameCube controller ports or video out capability. It’s built to be a purely handheld system, and that focus has delivered a system that’s roughly the size of the original Game Boy Advance. Beyond the cleverly sliced Wii motherboard, the inside of the PiiWii features a 3.5 inch display, a custom designed audio amplifier PCB, four 3400 mAh cells which deliver a run time of around four hours, a 3DS “slider” analog stick, and a generous helping of Kapton tape in place of hot glue.

If there’s any criticism of the PiiWii, it’s likely going to be about the system’s boxy exterior. But as [Shank] explains, there’s an excellent reason for that: it’s literally built into a project box. He simply took a commercially available ABS project box, the Polycase SL 57, and made all his openings on the front with a laser cutter. Other than the fact taking a laser to ABS releases hydrogen cyanide, he found it a good way to quickly knock out a custom enclosure.

Last year we took a look his ridiculously small Altoids tin Wii, and while that was an impressive project to be sure, we’re glad he revisited the PiiWii and showed that a portable Wii can be more than just a novelty. Compared to other systems, the Wii doesn’t seem to get the portable treatment that often, so we’re always glad to see somebody come in and do the concept justice.

Continue reading “A Practical Portable Wii Emerges From The Memes”

A Scratch Instrument For Ants

If you think that this scratch instrument looks as though it should be at least… three times larger in order to be useful, you’d be wrong. This mighty pocket-sized instrument can really get the club hopping despite its diminuitive size. Despite that, the quality of the build as well as its use of off-the-shelf components for almost every part means that if you need a small, portable turntable there’s finally one you can build on your own.

[rasteri] built the SC1000 digital scratch instrument as a member of the portabilist scene, focusing on downsizing the equipment needed for a proper DJ setup. This instrument uses as Olimex A13-SOM-256 system-on-module, an ARM microprocessor, and can use a USB stick in order to load beats to the system. The scratch wheel itself uses a magnetic rotary encoder to sense position, and the slider is miniaturized as well.

If you want to learn to scratch good and learn to do other things good too, there’s a demo below showing a demonstration of the instrument, as well as a how-to video on the project page. All of the build files and software are open-source, so it won’t be too difficult to get one for yourself as long as you have some experience printing PCBs. If you need the rest of the equipment for a DJ booth, of course that’s also something you can build.

Continue reading “A Scratch Instrument For Ants”

Building Portable Linux Devices: Never Been Easier, But Still Hard

We live in a Golden Age of single-board computers. There was a time when a portable computer that was any good was a relatively rare and expensive device, certainly not something you could expect to replicate for yourself. A Psion, or later a Palm or perhaps a WinCE device would have been a lot more than an impulse purchase, and could not easily have been replicated using the components then available to the experimenter.

Thanks to spin-offs from technology developed for set-top boxes and mobile phones we can now buy any one of a pile of different boards that have almost equivalent power to a desktop computer. The experimenter can leverage that computing power to create their own small portables. Zerophone creator Arsenijs Picugins spoke about the tricky parts of designing a LInux portable at the recent Hackaday Superconference. You’ll find his talk below the break, which makes for a fascinating primer for those tempted to walk in his footsteps.

Zerophone – a Raspberry Pi Smartphone

Minor Details of Portables are the Majority of the Build

In theory, it’s pretty easy to use one of these boards to make a portable computer. Take one of the smaller members of the Raspberry Pi or Beaglebone families, add a battery and a display, and away you go. But as always the devil is in the detail, and for a truly successful build there are a wealth of variables to attend to.

In his talk, Arsenijs takes us through the challenges of power supplies, connectors, and interfaces. In particular there is considerable challenge to running an SBC from a battery small enough to be portable, as efficiency concerns and the ability to easily recharge make for a critical set of choices. Then we learn of another pitfall, that of using USB as a default interface. Power loss in converting 5V to 3.3V that is inconsequential for a desktop computer is a battery-killer in a small device, so we’re pointed at the array of alternatives.

Zerophone screen menu [via @ZeroPhoneOSHW]

Screen Size is a Tricky Spec to Settle

If you’ve been tempted by one of those cheap Raspberry Pi touch screens, you’ll certainly understand that while a full desktop on a screen the size of a playing card looks cool, the reality is almost unusable. Your device will require a user interface that fits its form factor, which from his experience, Arsenijs suggests is best achieved through the medium of buttons rather than a touchscreen on smaller screens. There are a variety of UI and display libraries he introduces us to which make the whole process significantly easier.

Arsenijs’ Zerophone Raspberry Pi smartphone was a finalist in the 2017 Hackaday Prize, and remains an exemplary portable project from which many others can gain inspiration. We are privileged that he was able to bring his experience to speak at the Superconference, and his talk makes for a fascinating watch.

Continue reading “Building Portable Linux Devices: Never Been Easier, But Still Hard”