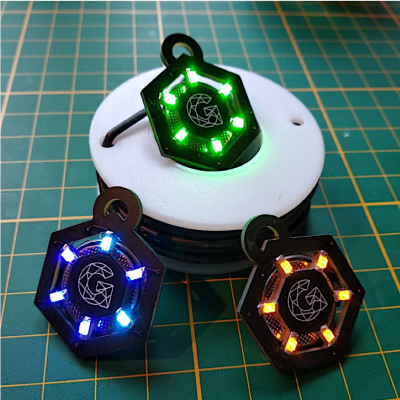
[Gautchh] wanted to make something nice for his girlfriend. Being the DIY enthusiast he is, he thought a hand-made gift would resonate with her better than something he could pick up from the store. Enter NeckLight, a glow in the dark PCB necklace. He was first inspired by another project he ran across on Instructables, then decided to put his own little spin on the design. It’s cool how that works. Interestingly enough, it was his first time using Fusion 360, but you probably wouldn’t know that if you took a look at the results.
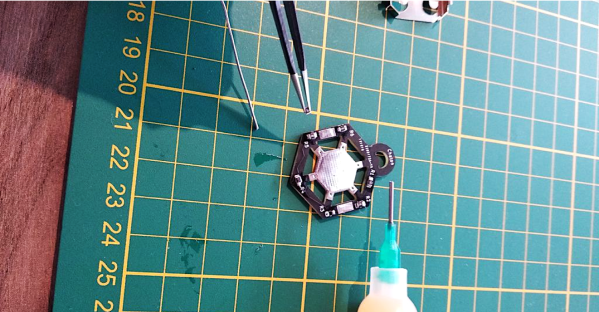
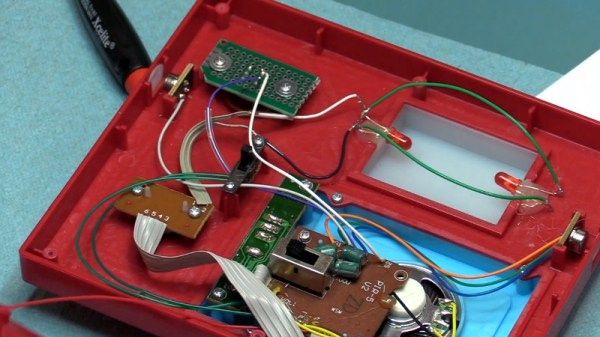
Aside from soldering, the trickiest part of this project was trying to get the LED intensities just right. [Gautchh] found the best way to do this was experimentally by testing each LED color with a series of resistors. He wanted to ensure he could get the color intensity and the LED current just right. Finally, with a touch of acetone, he was done (though he might want to try some alternatives to acetone next time).
[Gautchh] also thinks that this project would be a really nice way for beginners to learn surface mount (SMD) soldering. We’ve seen a few cool SMD LED projects before. Who could forget those competitive soldering challenges over at DEF CON?
Anyway. Thanks, [Gautchh]. We hope your girlfriend, and your dog, enjoyed their gifts.
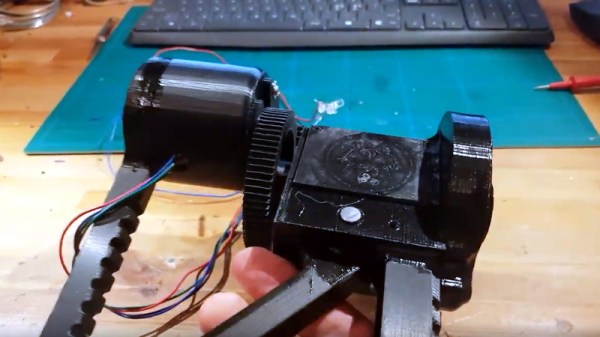


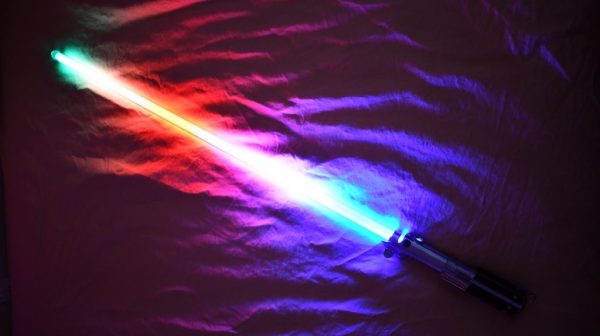
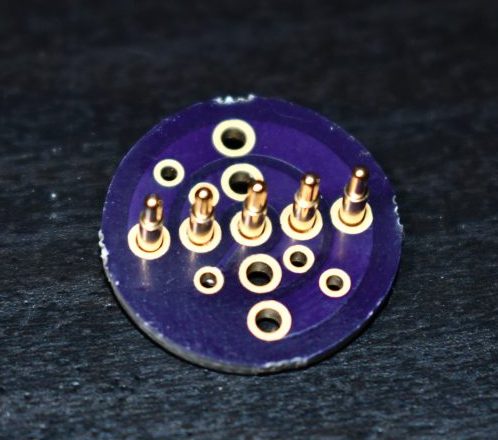
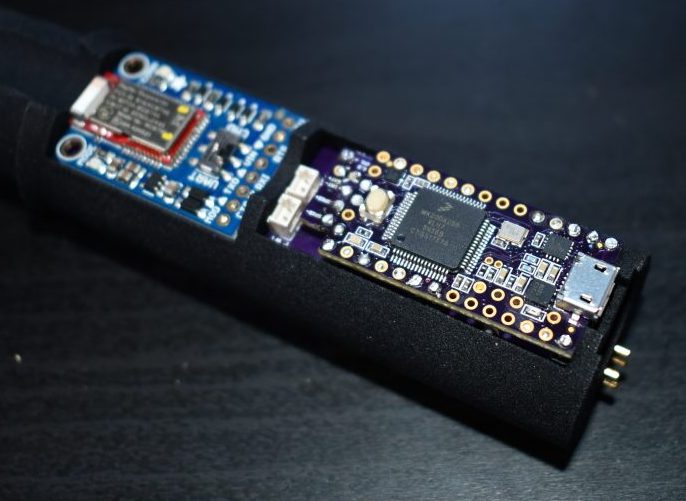 The hilt is filled with an assembly of 18650’s and a Teensy mounted with a custom shield, all fit inside a printed midframe. The whole build is all about robust design that’s easy to assemble. The main board is book-ended by perpendicular PCBs mounted to the ends, one at the top to connect to the blade and one at the bottom to connect to a speaker. Towards the bottom there is space for an optional Bluetooth radio to allow remote RGB control.