The lengths the retrocomputing devotee must go to in order to breathe new life into old gear can border on the heroic. Tracing down long-discontinued parts, buying multiple copies of the same unit to act as organ donors for the one good machine, and when all else fails, improvising with current productions parts to get that vintage look and feel.
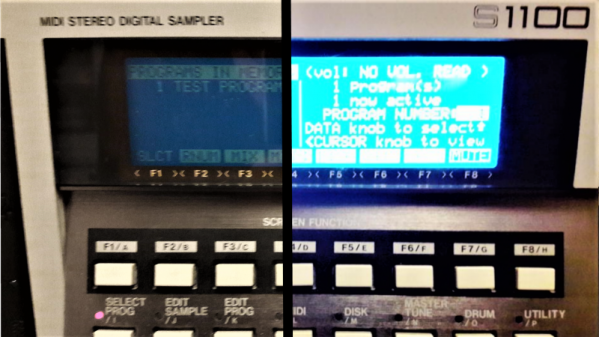
This LCD display backlighting fix for a vintage audio sampler falls into that last category, which was pulled off by [Inkoo Vintage Computer]. The unit in question is an Akai S1100 sampler, a classic from the late 1980s that had already been modified to replace the original floppy drive with a USB reader when the backlight on the LCD began to give out. Replacements for the original electroluminescent backlight are available, but [Inkoo] opted for a cheaper way out. An iPhone 6s 6 Plus backlight was an inexpensive option, if it could be made to fit. Luckily, [Inkoo] was able to trim the diffuser without causing any electrical issues. A boost converter was needed to run the backlight from the sampler’s 5 V DC rail, and interfacing the backlight’s flexible circuitry to the 80s-era copper wiring was a bit fussy, but the results were great. The sampler’s LCD is legible again, and looks just like it might have in the studio back when [Depeche Mode] and [Duran Duran] were using it to crank out hits.
As much as we like this repair, it doesn’t imply that EL is a dead technology. Far from it – [Ben Krasnow] is using it to create unique displays, and EL wire makes for some dazzling wearables. It doesn’t last forever, but while it does, it’s pretty neat stuff.