In a time when cameras have been reduced to microchips, it’s ironic that the old view camera, with its bellows and black cloth draped over the viewscreen for focusing, endures as an icon for photography. Such technology appears dated and with no application in the modern world, but as [Ben Krasnow] shows us, an old view camera is just the thing when you want to make homemade microchips. (Video, embedded below.)
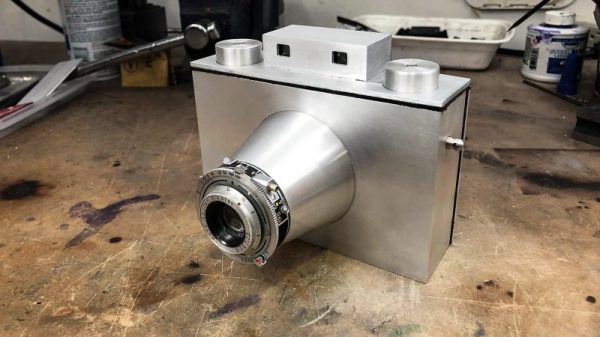
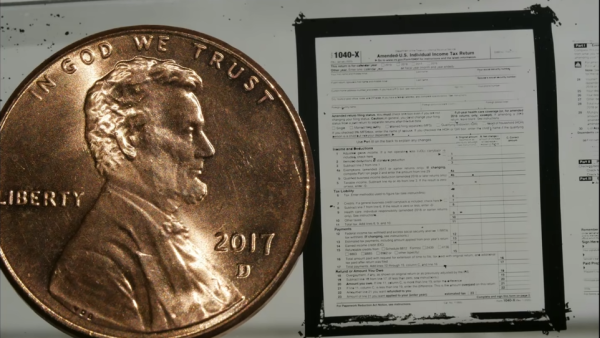
Granted, the photolithography process [Ben] demonstrates in the video below is quite a bit upstream from the creation of chips. But mastering the process on a larger scale is a step on the way. The idea is to create a high-resolution photograph of a pattern — [Ben] chose both a test pattern and, in a nod to the season, an IRS tax form — that can be used as a mask. The camera he chose is a 4×5 view camera, the kind with lens and film connected by adjustable bellows. He found that modifications were needed to keep the film fixed at the focal plane, so he added a vacuum port to the film pack to suck the film flat. Developing film has always been magical, and watching the latent images appear on the film under the red light of the darkroom really brings us back — we can practically smell the vinegary stop solution.
[Ben] also steps through the rest of the photolithography process — spin coating glass slides with photoresist, making a contact print of the negative under UV light, developing the print, and sputtering it with titanium. It’s a fascinating process, and the fact that [Ben] mentions both garage chip-maker [Sam Zeloof] and [Justin Atkin] from the Thought Emporium means that three of our favorite YouTube mad scientists are collaborating. The possibilities are endless.
Continue reading “[Ben Krasnow] Rolls Old School Camera Out For Photolithography”