The Teensy platform is very popular with hackers — and rightly so. Teensys are available in 8-bit and 32-bit versions, the hardware has a bread-board friendly footprint, there are a ton of Teensy libraries available, and they can also run standard Arduino libraries. Want to blink a lot of LED’s? At very fast update rates? How about MIDI? Or USB-HID devices? The Teensy can handle just about anything you throw at it. Driving motors is easy using the standard Arduino libraries such as Stepper, AccelStepper or Arduino Stepper Library.
But if you want to move multiple motors at high micro-stepping speeds, either independently or synchronously and without step loss, these standard libraries become bottlenecks. [Lutz Niggl]’s new TeensyStep fast stepper control library offers a great improvement in performance when driving steppers at high speed. It works with all of the Teensy 3.x boards, and is able to handle accelerated synchronous and independent moves of multiple motors at the high pulse rates required for micro-stepping drivers.
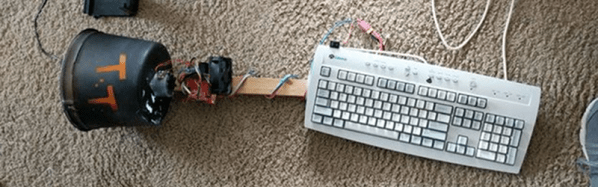
The library can be used to turn motors at up to 300,000 steps/sec which works out to an incredible 5625 rpm at 1/16 th micro-stepping. In the demo video below, you can see him push two motors at 160,000 steps/sec — that’s 3000 rpm — without the two arms colliding. Motors can be moved either independently or synchronously. Synchronous movement uses Bresenham’s line algorithm to plan motor movements based on start and end positions. While doing a synchronous move, it can also run other motors independently. The TeensyStep library uses two class objects. The Stepper class does not require any system resources other than 56 bytes of memory. The StepControl class requires one IntervallTimer and two channels of a FTM (FlexTimer Module) timer. Since all supported Teensys implement four PIT timers and a FTM0 module with eight timer channels, the usage is limited to four StepControl objects existing at the same time. Check out [Lutz]’s project page for some performance figures.
As a comparison, check out Better Stepping with 8-bit Micros — this approach uses DMA channels as high-speed counters, with each count sending a pulse to the motor.
Thanks to [Paul Stoffregen] for tipping us off about this new library. Continue reading “TeensyStep – Fast Stepper Library For Teensy” →