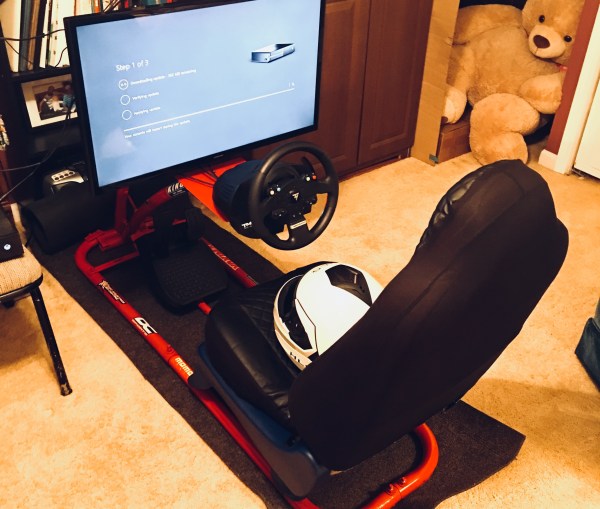
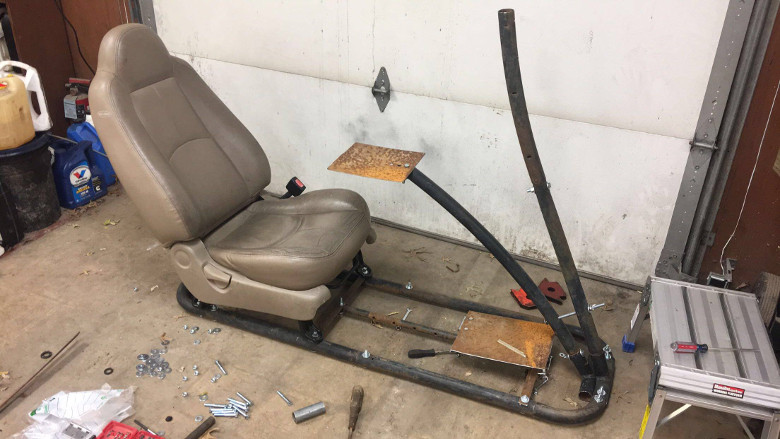
Paradise means something different for everyone, it could be a sitting by a fire on a rainy night or lying on a sun-kissed beach. But for us, and makers like [liltreat4you], it’s a well stocked scrap pile out behind the house. After buying a racing wheel and pedals for his Xbox, he took a trip out to his little slice of paradise and found nearly all the hardware he needed to build a professional looking race simulator. According to his breakdown, most of the money he spent on this build ended up going into that sweet red paint job and the speed-enhancing stickers.
Not all of us are as lucky as [liltreat4you], and we probably won’t just happen upon a driver’s seat out of a Mazda, or a bunch of perfectly bent metal pipes from an old trampoline out on the back forty. But trolling Craigslist or cruising around for flea markets can still get you parts like these for cheap, so try not to be too discouraged if your backyard isn’t quite as well stocked.
Once he had the metal pipes and seat from the car, the rest of the build came together pretty quickly. After building an oval out of his salvaged pipes, he attached the seat and the arms that would eventually hold the steering wheel and display. A plate was also added at the bottom for the pedals to sit on. By using long bolts, [liltreat4you] was even able to add a degree of adjustment to the wheel position. Being that he got his seat out of a real car, there’s the usual adjustment you’d expect there as well.
Speaking of which, [liltreat4you] casually mentions that you should disconnect the battery of the donor vehicle before taking out the seat, as it’s possible that the removal of the seat or the disconnection of the seat harness can cause the airbags to deploy. We can neither confirm nor deny this, but it’s probably safe advice to follow.
The purists out there may claim that what [liltreat4you] has put together doesn’t quite meet the definition of simulator in its current form. But with the addition of some instrumentation and just a bit of physical feedback, he’ll be well on his way to the complete driving experience.


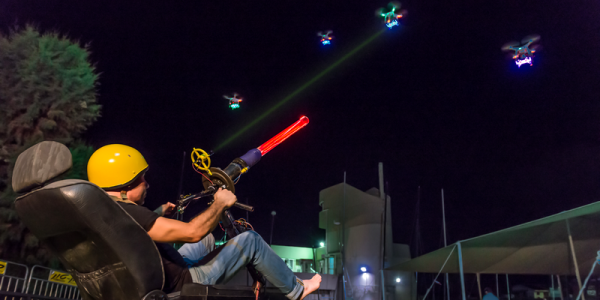
 [Rudeism] didn’t let that stop him.