If you’ve been on the RTL-SDR forums lately you may have seen that a lot of work has been going into the DragonOS software. This is a software-defined radio group that has seen a lot of effort put into a purpose-built Debian-based Linux distribution that can do a lot of SDR out of the box. The latest and most exciting project coming from them involves a method for using the software to receive and demodulate analog video.
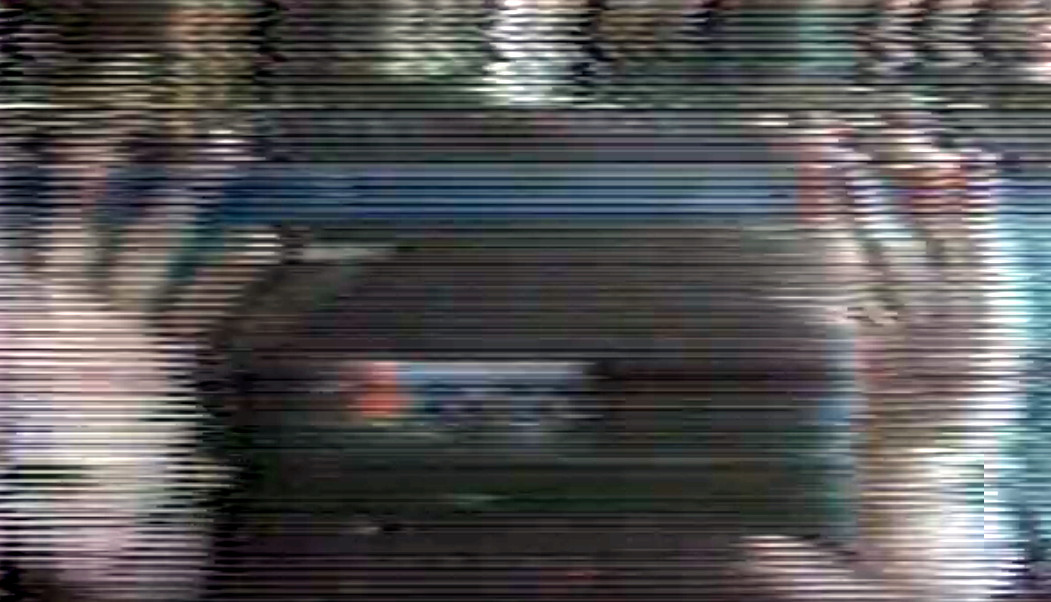
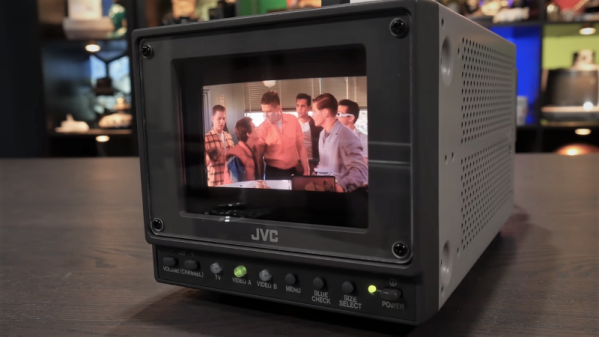
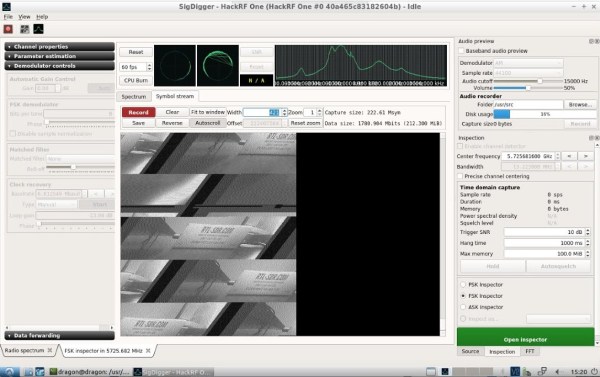
[Aaron]’s video (linked below) demonstrates using a particular piece of software called SigDigger to analyze an incoming analog video stream from a drone using a HackRF. (Of course any incoming analog signal could be used, it doesn’t need to be a drone.) The software shows the various active frequency ranges, allows a user to narrow in on one and then start demodulating it. While it has to be dialed in just right to get anything that doesn’t look like snow, [Aaron] is able to get recognizable results in just a few minutes.
Getting something like this to work completely in software is an impressive feat, especially considering that all of the software used here is free. Granted, this wouldn’t be as easy for a digital signal like most TV stations broadcast, but there’s still a lot of fun to be had. In case you missed the release of DragonOS, we covered it a few weeks ago and it’s only gotten better since then, with this project just as one example.
Continue reading “Receive Analog Video Radio Signals From Scratch”