Electric guitars were the hip new thing back in the mid-century. The electrification of the common and portable guitar opened up a lot of avenues in terms of sound and technique. Specifically, the use of the pickup, an electromagnetic device which converts the vibrations of the guitar strings into electrical signals, increased the number of ways that a musician can alter the guitar’s sound on-the-fly. Some guitars have several rows of pickups which can be used in any number of ways, but this custom guitar has a single pickup which can be moved around the guitar’s body instead.
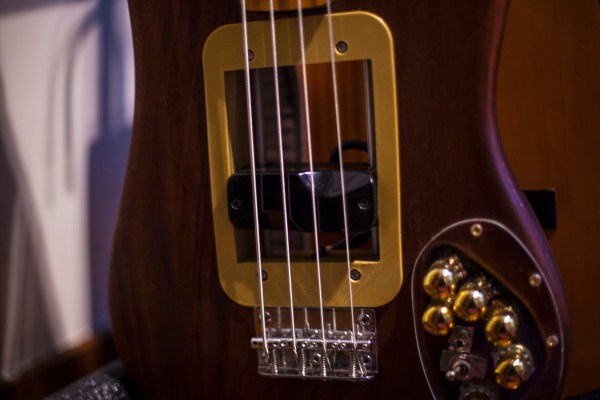
[Breno] was gifted this Dolphin bass guitar to start learning after years of playing a regular guitar, and while they aren’t known for high-quality instruments this guitar seemed to play and sound well enough to attempt this modification. First, a hole had to be cut all the way through the guitar’s body in order to accommodate the build. The pickup for this guitar is then mounted on two rods which allow it to move in various positions along the strings, and a second set of adjustments can be made to bring the pickups closer or further away from the strings. Some additional custom circuitry was added to control it and also to handle the volume and tone knobs, and while this was being added [Breno] and his friend [Arthur] decided this would be a great time to build some effects into the guitar’s now-custom electronics as well.
While this was largely a project for [Breno] to understand in greater depth the effect of moving the pickups around an electric guitar, the finished product looks ready to play some live shows. The addition of some extras like the effects really adds some punch to this guitar and it looks to be completely original. The nearest thing we could find is this guitar which uses hot-swappable pickups but even those are mounted in fixed locations.