Looking at a wind turbine from first principles, it’s essentially a set of wings that generate lift in much the same way an airplane wing does. Putting the wings on a rotor and calling them “blades” is not a huge step away from that. But there’s no reason the wing has to rotate, or for that matter be attached to a fixed platform, in order to generate electricity. Anything that generates lift can be used, and this company is demonstrating that with their kite-powered wind generators.
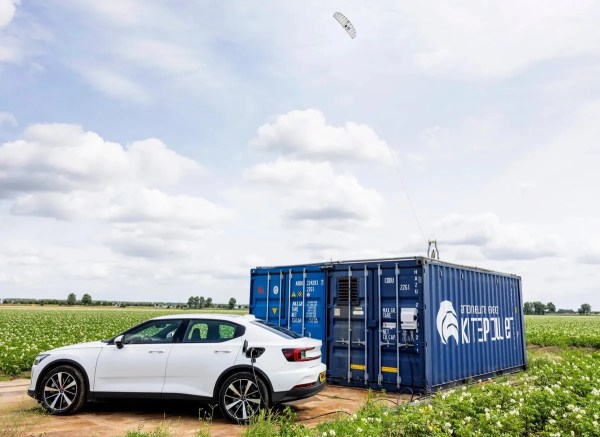
Like other wind energy producers that have used kites to generate electricity, this one is similar in that the kite is flown in a figure-8 pattern downwind where it can harness energy the most efficiently, pulling out a tether which is tied to a generator. When fully extended, it is flown to a position where the wind doesn’t strike the kite as strongly and the tether is reeled in. Unlike other kite generators we’ve seen, though, this one is offered as a turnkey system complete with battery backup and housed in a self-contained shipping unit, allowing it to be deployed quickly to be used in situations where something like a diesel generator would be impossible to get or where the fuel can’t be obtained.
The company, called Kitepower, does note that these aren’t replacements for traditional wind turbines and would be used more for supporting microgrids. There are still some advantages to using kites over fixed turbine blades though: kites can reach higher altitude where the wind is stronger, and they require less materials for a given amount of energy production, often making them even more environmentally friendly and possibly more economical as well. Surprisingly enough, kites can also be used to generate energy even in places where there’s no wind at all.