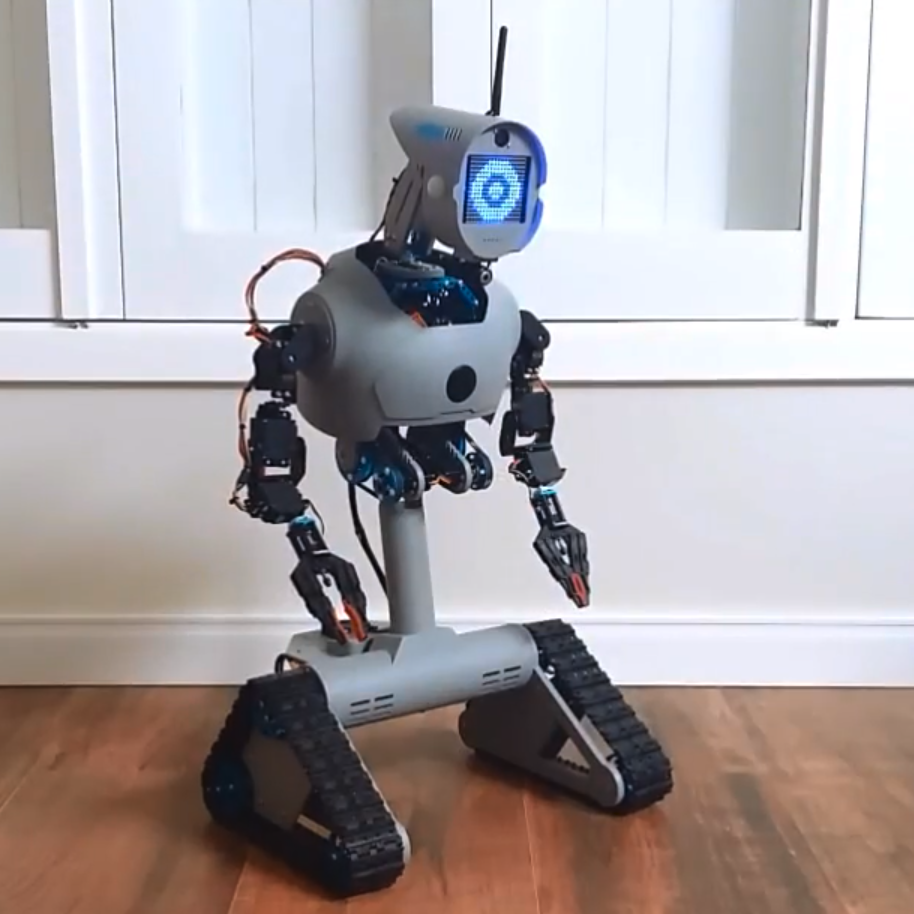
 [Dickel]’s robot MDi #4 has been in progress for several years, but what we wanted to draw your attention to is the way the parts have been fabricated and what kind of remarkable results are possible with careful design, measurement, cutting, and finishing. Much of MDi #4 was made by hand-cutting and drilling sheets of high impact polystyrene (HIPS) with a utility knife and layering them as needed. Epoxy and aluminum provide gap filling and reinforcement of key sections, and fiberglass took care of one of the larger sections.
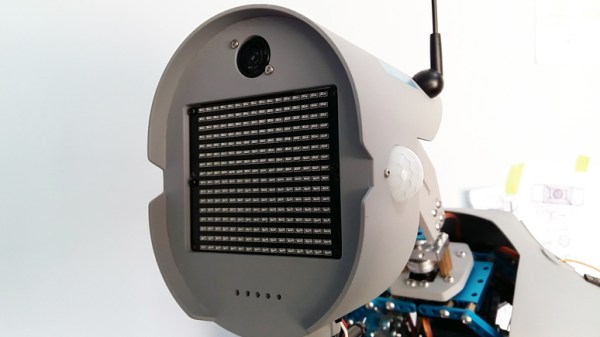
The process [Dickel] follows is to prototype using cardboard first. Parts are then designed carefully in CAD, and printed out at a 1:1 scale and glued to sheets of polystyrene. Each sheet is cut and drilled by hand as necessary. Layers are stacked and epoxied, embedding any hardware needed in the process. Two examples of embedding hardware include sealing captive nuts into parts with epoxy, or using aluminum to add reinforcement. After some careful sanding, the pieces look amazing.
Scroll down a bit on that project page and you’ll see plenty of great photos of the process [Dickel] used. A video highlighting the head and a video showing the careful work that goes into making each part are embedded below.