[David Brown]’s entry for The Hackaday Prize is a design for a tool that normally exists only as an expensive piece of industrial equipment; out of the reach of normal experimenters, in other words. That tool is a 6-axis micro manipulator and is essentially a small robotic actuator that is capable of very small, very precise movements. It uses 3D printed parts and low-cost components.
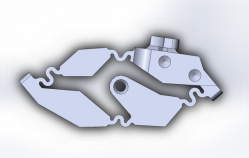
The manipulator consists of six identical actuators, each consisting of a single piece of SLS 3D printed nylon with a custom PCB to control a motor and read positional feedback. The motor moves the central pivot point of the 3D printed assembly, which in turn deflects the entire piece by a small amount. By anchoring one point and attaching the other, a small amount of highly controllable movement can be achieved. Six actuators in total form a Gough-Stewart Platform for moving the toolhead.
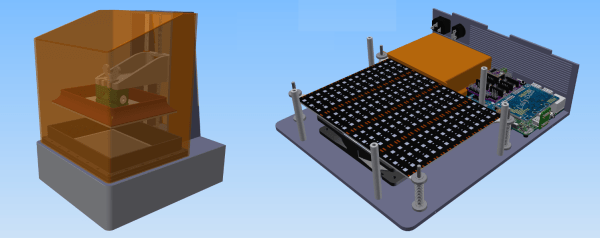
Interestingly, this 6-Axis Micro Manipulator is a sort of side project. [David] is interested in creating his own digital UV exposer, which requires using UV laser diodes with fiber optic pig tails attached. In an industrial setting these are created by empirically determining the optimal position of a fiber optic with regards to the laser diode by manipulating it with a micro manipulator, then holding it steady while it is cemented in place. Seeing a distinct lack of micro manipulators in anything outside of lab or industrial settings, and recognizing that there would be applications outside of his own needs, [David] resolved to build one.