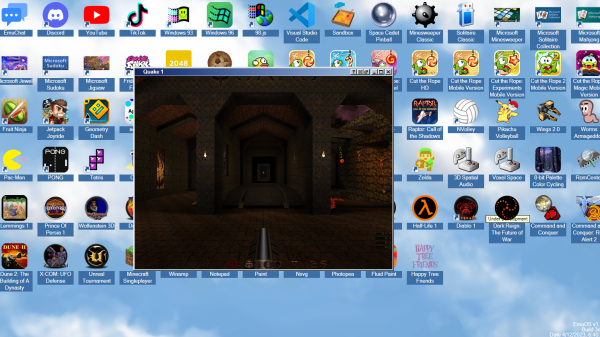
[Emupedia]’s work to preserve computer history by way of making classic and abandoned games and software as accessible as possible is being done in a handy way: right in your browser with EmuOS.
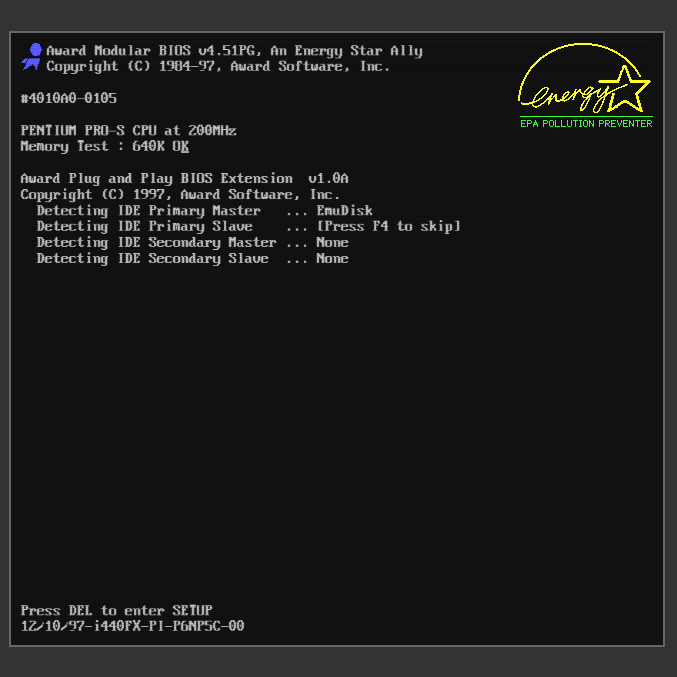
Doing things this way has powerful “Just Works” energy. Visit that link in a modern browser and in no time at all you’ll be looking at a Windows 95 (or Windows 98, or Windows ME) desktop, filled with a ton of shortcuts to pre-installed and ready-to-run classic software. Heck, you can even keep it simple and be playing the original Microsoft Solitaire in no time flat. There is also a whole ton of DOS software waiting to be fired up, just double-click the DOSBox icon, and browse a huge list. The project is still in development, so not everything works, but the stuff that does is awfully slick.
Here’s some additional background that goes into more detail about the project and its capabilities, but if you’d prefer to just click around to explore, here’s the main link again (and here’s a list of mirrors.)
If OS emulation is your thing, don’t miss emulating the IBM PC on an ESP32 microcontroller. And if you’re more into lesser-known vintage operating systems, how about re-inventing PalmOS to run on x86 architecture?