How hard can it be to kill a flash drive? Judging by the look of defeat on [Walker]’s face in the video below, pretty darn hard.
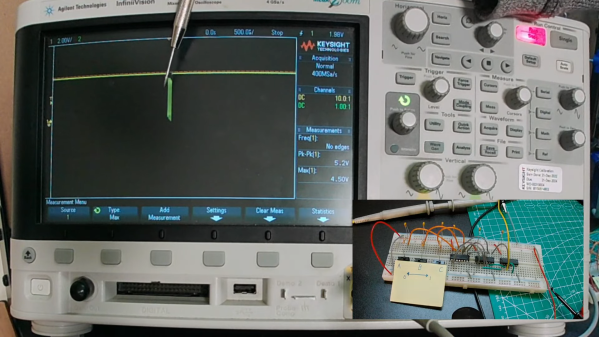
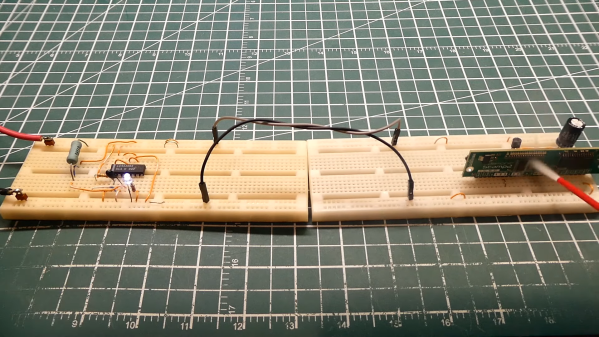
To bring you up to speed, and to give the “Mission: Impossible” reference in the title some context, it might be a good idea to look over our earlier coverage of [Walker]’s Ovrdrive project. It started way back in 2022 with the idea that some people might benefit from a flash drive that could rapidly and covertly render the data stored on it, err, “forensically unavailable.” This would require more than just erasing the data, of course, so [Walker] began looking at ways to physically kill a memory chip. First up was a voltage doubler to apply voltage much greater than the absolute maximum rating of 4.6 V for any pin on the chip. That corrupted some files on the flash chip, enough of a win to proceed to a prototype that actually succeeded in releasing the Magic Smoke.
But sadly, that puff of smoke ended up being a fluke. [Walker] couldn’t repeat the result, at least not with the reliability required by people for whom data privacy is literally a life-or-death matter. To increase the odds of a kill, he came up with an H-bridge circuit to reverse the polarity of the memory chip’s supply. Surely that would kill the chip, and from the thermal camera images, it sure looked promising. But apparently, even 167°C isn’t enough to forensically disable the chip, which kind of makes sense from the point of view of reflow survivability.
What’s next for [Walker]? He says he’s going to team up his overvoltage and reverse-polarity methods for one last shot, but after that, he’s about out of reasonable options. Sure, a thermite charge or a vial of superacid would do the trick, but neither is terribly covert. If you’re going to go that way, you might as well just buy a standard flash drive and throw it in the microwave or a blender. And we need to remember that this may be something the drive’s owner needs to do with jack-booted thugs kicking in the door, or possibly at gunpoint. It wouldn’t do to be too conspicuous under such circumstances. That’s why we like the “rapid power cycling” method of triggering the drive’s self-destruct sequence; it could easily be disguised as shaking hands in a stressful situation.
Who knew that memory chips were this robust? Kudos to [Walker] for getting the project as far as he did, and we’re still rooting for him to make it work somehow.
Continue reading “Fail Of The Week: This Flash Drive Will NOT Self-Destruct In Five Seconds”