Fewer Millimeters Make A Useful ESP32 Devboard

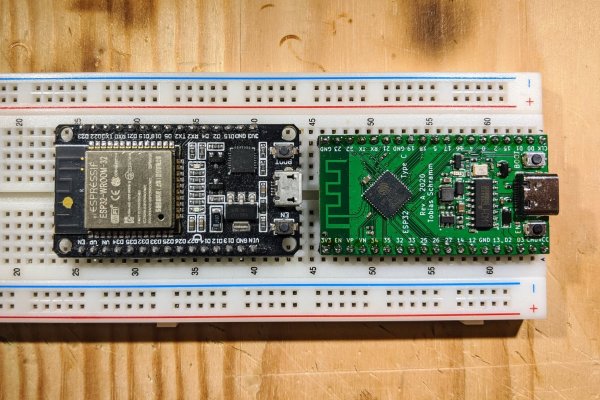
Sometimes the most useful hacks aren’t the flashiest, they’re the ones that improve an already great tool and make something better. Through hole components are still the fastest and perhaps most satisfying way to prototype a new electronics project so it’s extra frustrating when the happy hacker discovers their new devboard is too wide to fit in a standard breadboard. [Tobias] had the same thought and redesigned the standard ESP32 “NodeMCU” style devboard to be almost exactly the same, but narrower.
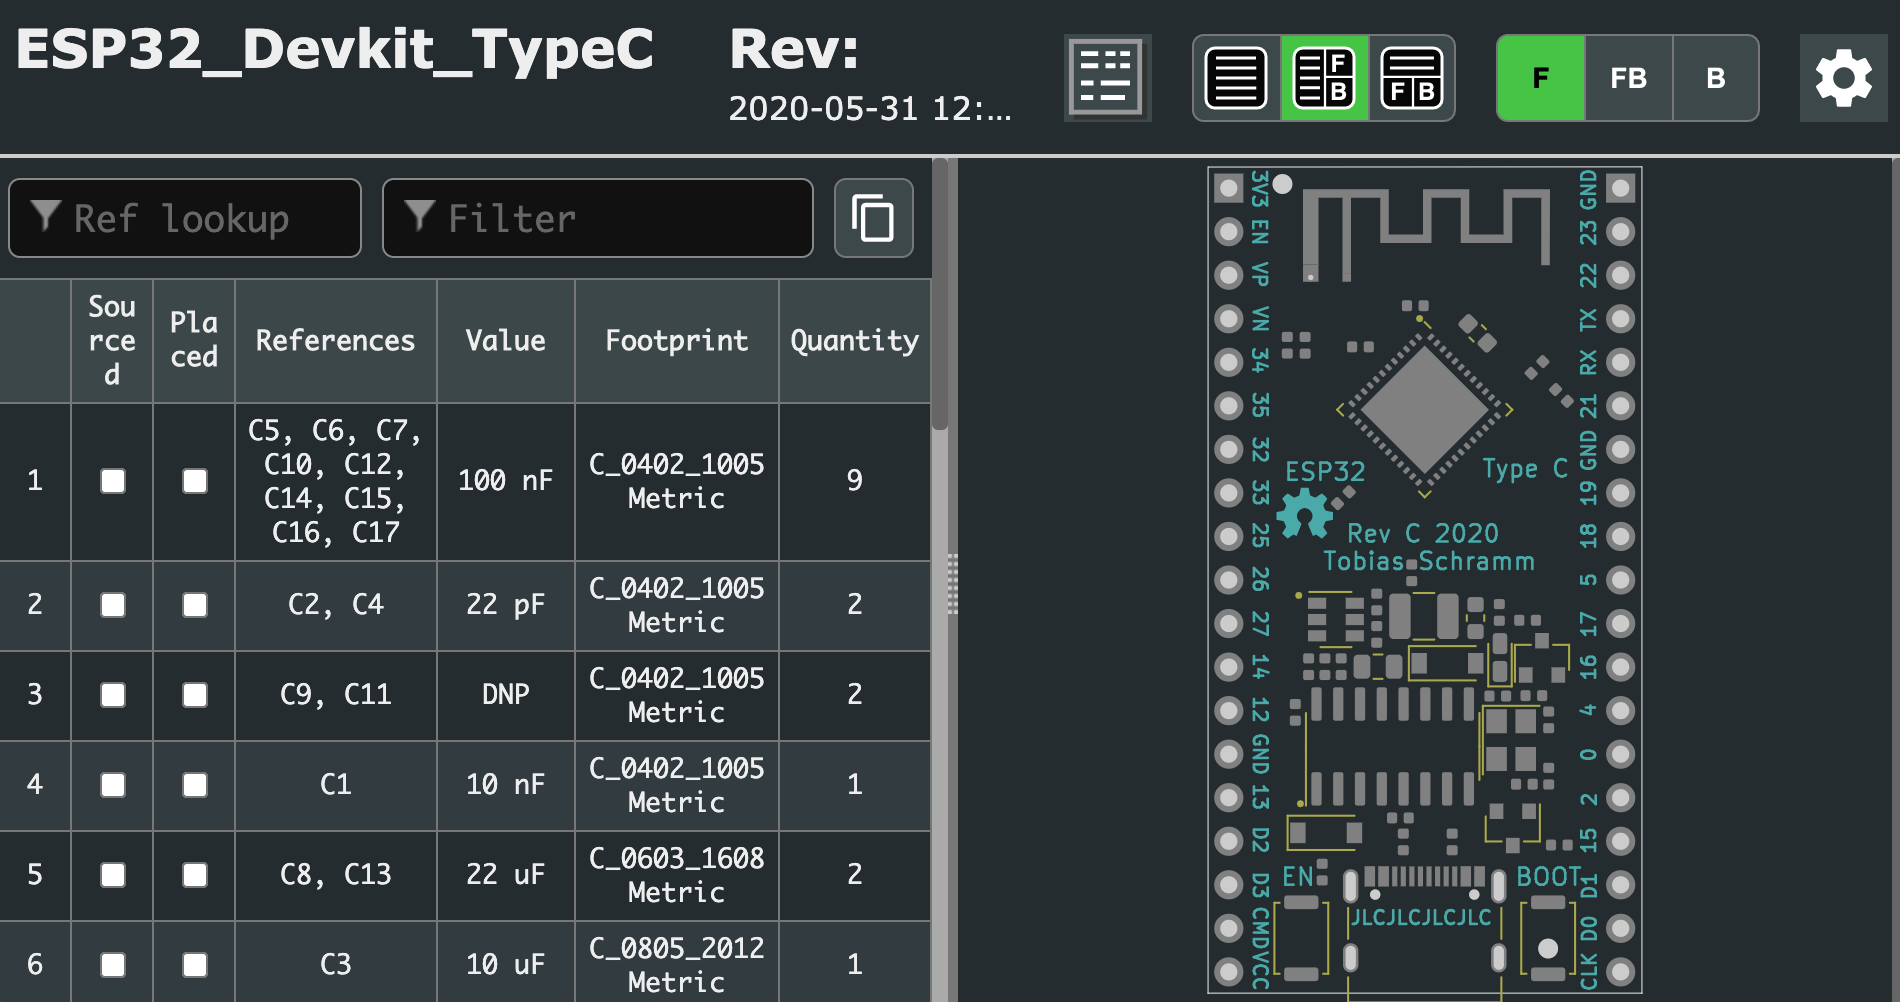
Interactive BOMs make assembly a snap

Not to trivialize, but that’s pretty much it. And we love it! The new design retains the great support of the original devboard but adds a few nice tweaks. Obviously there’s the small size change that allows it to fit on a standard 5×5 breadboard leaving sockets available on either side for interfacing. Even in this smaller size [Tobias] managed to retain the boot mode and reset buttons though the overall pinout has changed slightly. And for easier connections ye olde micro USB socket has been swapped for sleek modern USB-C. You have cables for that common standard now, right?

How do you get one? As far as we know [Tobias] isn’t selling these but the design is completely open source and the design, fab, and BOM files are all in the github repository. [Tobias] even went so far as to include the extremely handy interactive BOM to speed up hand assembly. The real trick here is that the board is designed to facilitate the extremely inexpensive turnkey assembly now available from our favorite fab houses, with an example cost of $8/piece for a run of five. The repo includes a properly formatted BOM and fab files to make ordering them a snap. See the bottom of the README for details about what to order.

The Seedy World Of Message Serialization

Look, I’ve been there too. First the project just prints debug information for a human in nice descriptive strings that are easy to understand. Then some tool needs to log a sensor value so the simple debug messages gain structure. Now your debug messages {{look like : this}}. This is great until a second sensor is added that uses floats instead of ints. Now there are sprinklings of even more magic characters between the curly braces. A couple days later and things are starting to look Turing complete. At some point you look up and realize, “I need a messaging serialization strategy”. Well you’ve come to the right place! Continue reading “The Seedy World Of Message Serialization”

Run Your Favorite 8-bit Games On An ESP32

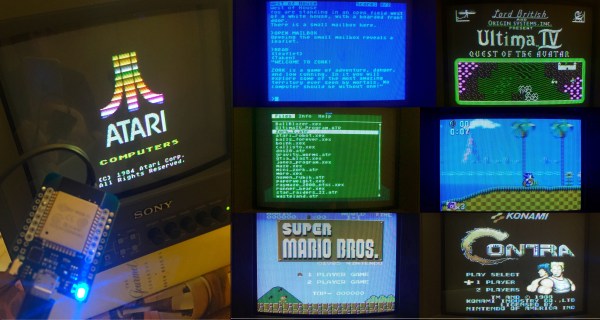
Here at Hackaday HQ we’re no strangers to vintage game emulation. New versions of old consoles and arcade cabinets frequently make excellent fodder for clever hacks to cram as much functionality as possible into tiny modern microcontrollers. We’ve covered [rossumur]’s hacks before, but the ESP_8-bit is a milestone in comprehensive capability. This time, he’s topped himself.

There isn’t much the ESP 8-bit won’t do. It can emulate three popular consoles, complete with ROM selection menus (with menu bloops). Don’t worry about building a controller, just connect any old (HID compliant) Bluetooth Classic keyboard or WiiMote you have at hand. Or if that doesn’t do it, a selection of IR devices ranging from joysticks from the Atari Flashback 4 to Apple TV remotes are compatible. Connect analog audio and composite video and the device is ready to go.

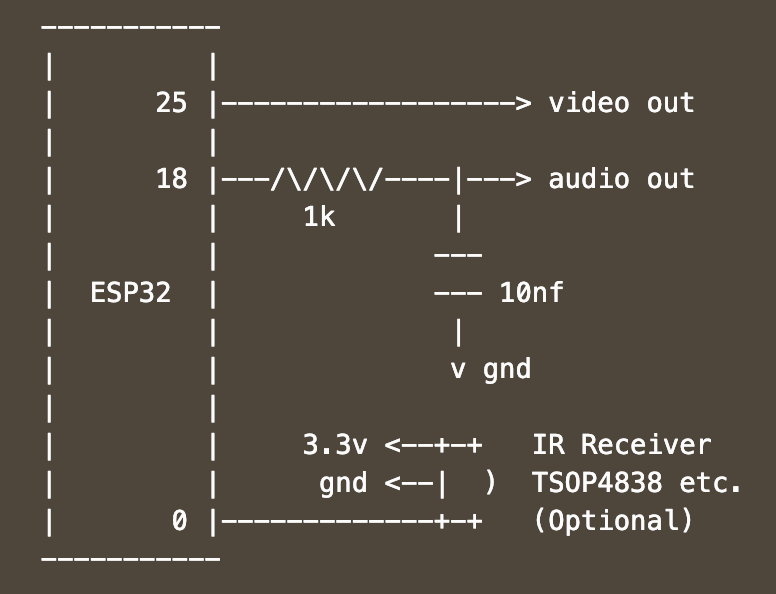
The system provides this impressive capability with an absolute minimum of components. Often a schematic is too complex to fit into a short post, but we’ll reproduce this one here to give you a sense for what we’re talking about. Come back when you’ve refreshed your Art of Electronics and have a complete understanding of the hardware at work. We never cease to be amazed at the amount of capability available in modern “hobbyist” components. With such a short BOM this thing can be put together by anyone with an ESP-32-anything.

There’s one more hack worth noting; the clever way [rossumur] gets full color NTSC composite video from a very busy microcontroller. They note that NTSC can be finicky and requires an extremely stable high speed reference clock as a foundation. [rossumur] discovered that the ESP-32 includes a PLL designed for audio work (the “APLL”) which conveniently supports fractional components, allowing it to be trimmed to within an inch of the desired frequency. The full description is included in the GitHub page for the project and includes detailed background of various efforts to get color NTSC video (including the names of a couple hackers you might recognize from these pages).

Continue reading “Run Your Favorite 8-bit Games On An ESP32”

Flexible PCB Earrings Put The Art In Art Deco

Earrings have been a hackers’ target for electronic attachment for quite a while, but combining the needed components into a package small enough to wear in that finicky location is quite a challenge. If [Sawaiz Syed]’s Art Deco Earrings are anything to go by, ear computers have a bright future ahead of them!

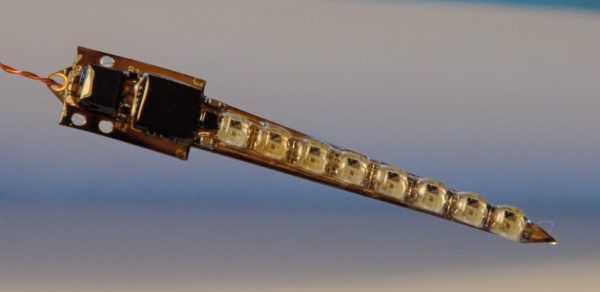
This is a project unusually well described by its name. It is in fact an earring, with art deco styling. But that sells it way too short. This sliver of a flex circuit board is double sided to host an ATtiny, accelerometer, LDO, and eight 2020 formfactor controller-integrated LEDs. Of course it’s motion sensitive, reacting to the wearer’s movement via LED pattern. [Sawaiz] makes reference to wearing it while dancing, and we can’t help but imagine an entire ballroom all aglow with tiny points of LED light.

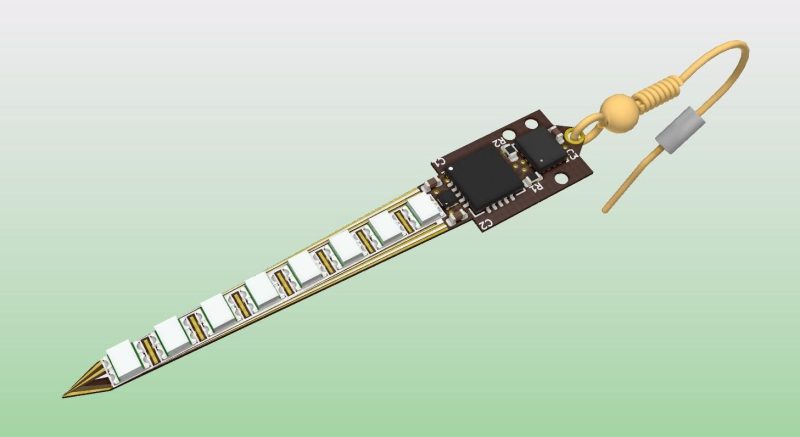
The Art Deco Earrings are also set apart by the thoroughness of their documentation (have we mentioned how much we love detailed documentation?). [Sawaiz] not only drops the source in your lap, but the README in the Github repo linked at the top walks the reader through each component of the design in detail. Plus the PCBA render is so complete it includes a model of the wire loop to fit through the wearer’s ear; how cool is that? The single piece that’s still in progress is the battery. The earring itself hosts an LDO, so all that is required is stashing a battery somewhere discrete, perhaps in the user’s hair? We’re looking forward to seeing what [Sawaiz] works out.

For the full effect, check out the gif of an assembled unit in action after the break.

Continue reading “Flexible PCB Earrings Put The Art In Art Deco”

Go The Extra Mile For Your LED Driver

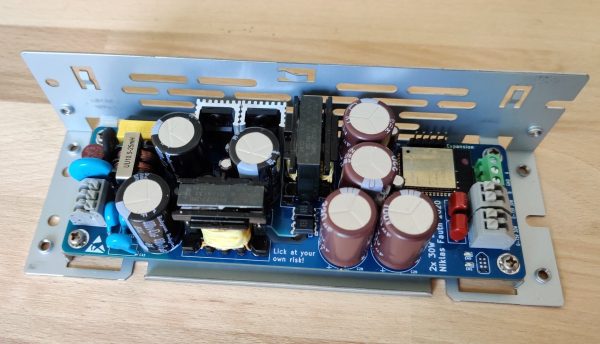
Addressable RGB LED strips may be all the rage, but that addressability can come at a cost. If instead of colors you expect to show shades of white you may the find less flickery, wider spectrum light from a string of single color LEDs and a nice supply desirable. Of course there are many ways to drive such a strip but this is Hackaday, not Aliexpressaday (though we may partake in the sweet nectar of e-commerce). [Niklas Fauth] must have really had an itch to scratch, because to get the smoothest fades for his single color LED strips, he built an entire software defined dual 50W switched-mode AC power supply from scratch. He calls it his “first advanced AC design” and we are suitably impressed.

Switched-mode power supplies are an extremely common way of converting arbitrary incoming AC or DC voltage into a DC source. A typical project might use a fully integrated solution in the form of a drop-in module or wall wart, or a slightly less integrated controller IC and passives. But [Niklas] went all the way and designed his from scratch. Providing control he has the ubiquitous ESP-32 to drive the control nodes of the supply and giving the added bonus of wireless connectivity (one’s blinkenlights must always be orchestrated). We can’t help but notice the PCBA also exposes RS485 and CAN transceivers which seem to be unused so far, perhaps for a future expansion into wired control?

Continue reading “Go The Extra Mile For Your LED Driver”

Have JBC Soldering Handle, Will USB-C Power Deliver

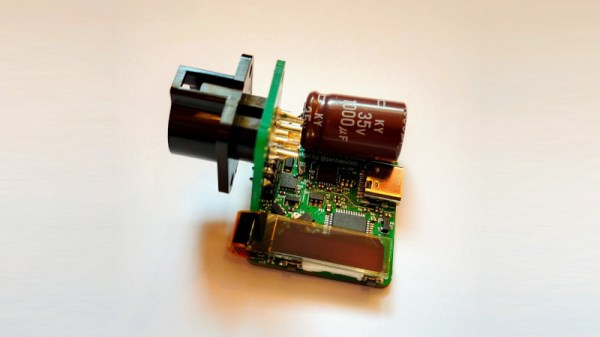
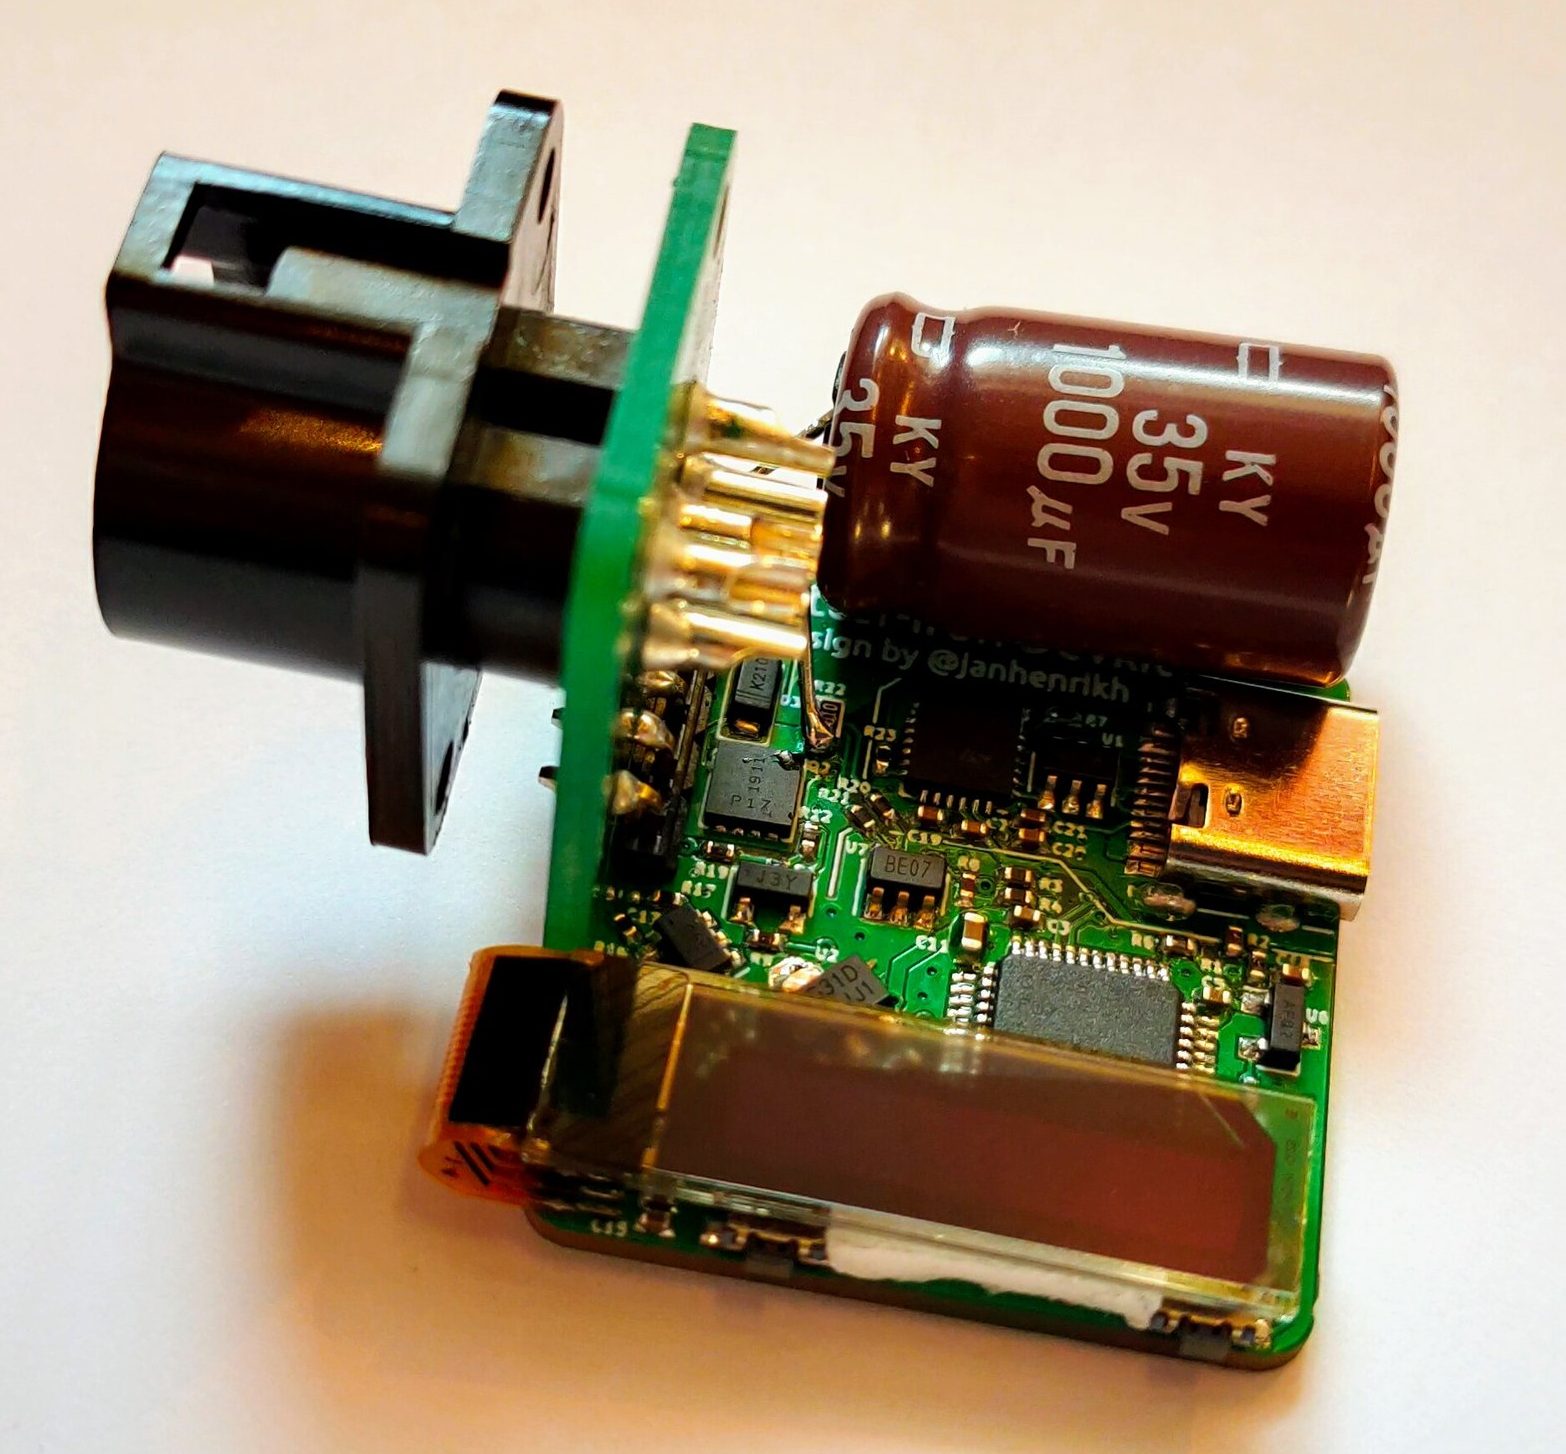
Frequent converter-of-tools-to-USB-C [Jana Marie Hemsing] is at it again, this time with a board to facilitate using USB Power Delivery to fuel JBC soldering iron handles. Last time we saw [Jana] work her USB-C magic was with the Otter-Iron, which brought Power Delivery to the trusty TS100 with a purpose built replacement PCBA. This time he’s taking a different approach by replacing the “station” of a conventional soldering station completely with one tiny board and one giant capacitor.

If you’ve been exposed to the “AC fire starter” grade of soldering iron the name JBC might be unfamiliar. They make tools most commonly found with Metcal’s and high end HAKKOs and Wellers on the benches of rework technicians and factory floors. Like any tool in this class each soldering station comes apart and each constituent piece (tips, handles, base stations, stands, etc) are available separately from the manufacturer and on the used market at often reasonable prices, which is where [Jana] comes in.

The Otter-Iron PRO is a diminutive PCBA which accepts a USB-C cable on one side and the connector from a standard JBC T245-A handle on the other. JBC uses a fairly typical thermistor embedded in the very end of the iron tip, which the Otter-Iron PRO senses to provide closed loop temperature control. [Jana] says it can reach its temperature setpoint from a cold start in 5 seconds, which roughly matches the performance of an original JBC base station! We’re especially excited because this doesn’t require any modification to the handle or station itself, making it a great option for JBC users with a need for mobility.

Want to make an Otter-Iron PRO of your own? Sources are at the link at the top. It sounds like v3 of the design is coming soon, which will include its own elegant PCB case. Check out the CAD render after the break. Still wondering how all this USB-PD stuff works? Check out [Jason Cerudolo’s] excellent walkthrough we wrote up last year.

Continue reading “Have JBC Soldering Handle, Will USB-C Power Deliver”

Altium Has Its 2kicad Moment

Around these parts we tend to be exponents of the KiCad lifestyle; what better way to design a PCBA than with free and open source tools that run anywhere? But there are still capabilities in commercial EDA packages that haven’t found their way into KiCad yet, so it may not always be the best tool for the job. Altium Designer is a popular non-libre option, but at up to tens of thousands of USD per seat it’s not always a good fit for users and businesses without a serious need.

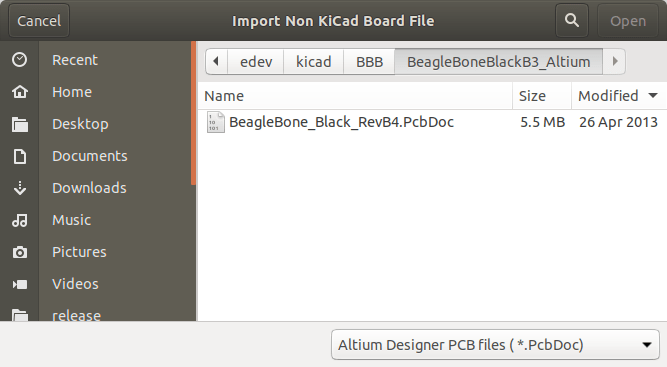
It’s hard to find an exciting photo of a dialog box

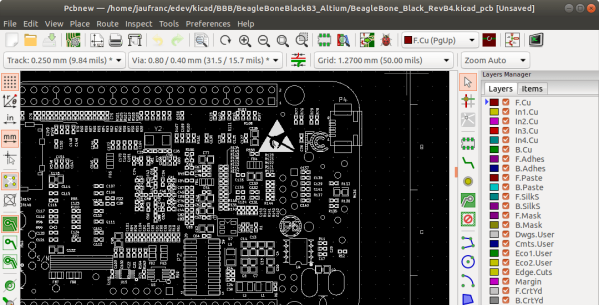
What do you do as a KiCad user who encounters a design in Altium you’d like to work with? Well as of April 3rd 2020, [Thomas Pointhuber] has merged the beginnings of a native Altium importer into KiCad which looks to be slated for the 6.0 release. As [Thomas] himself points out in the patch submission, this is hardly the first time a 3rd party Altium importer has been published. His new work is a translation of the Perl plugin altium2kicad by [thesourcerer8]. And back in January another user left a comment with links to four other (non-KiCad) tools to handle Altium files.

If you’d like to try out this nifty new feature for yourself, CNX has a great walkthrough starting at building KiCad from source. As for documents to test against the classic BeagleBone Black sources seen above can be found at on GitHub. Head past the break to check out the very boring, but very exciting video of the importer at work, courtesy of [Thomas] himself. We can’t wait to give this a shot!

Thanks for the tip [Chris Gammell]!

Continue reading “Altium Has Its 2kicad Moment”