Direct CNC Control With The Raspberry Pi

If you’re building a CNC router, laser cutter, or even 3D printer, you’ll usually be looking at a dedicated controller. This board takes commands from a computer, often in the form of G-Code, and interprets that into movement commands to the connected stepper motors. Historically this has been something of a necessary evil, as there was really no way to directly control stepper motors with a computer fast enough to be useful. That may not be the case anymore.

A stepstick driver

Thanks to the Raspberry Pi (and similar boards), we now have Linux computers with plenty of GPIO pins. The only thing missing is the software to interpret the G-Code and command the steppers over GPIO, which thanks to [pantadeusz], we now have. Called raspigcd, this software interprets a subset of G-Code to provide real-time control over connected steppers fast enough to drive a small CNC router.

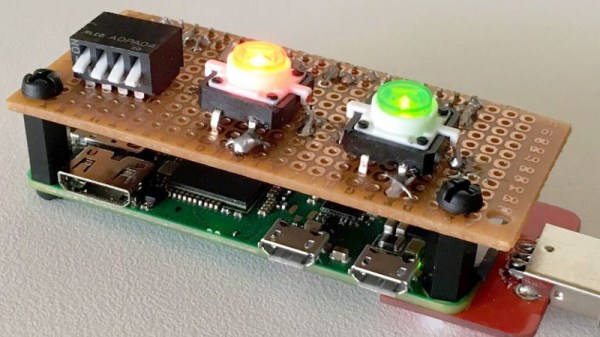
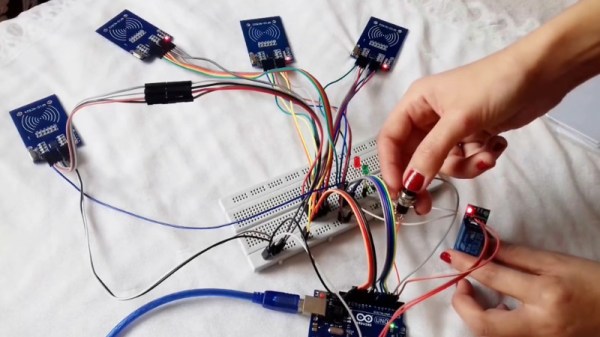
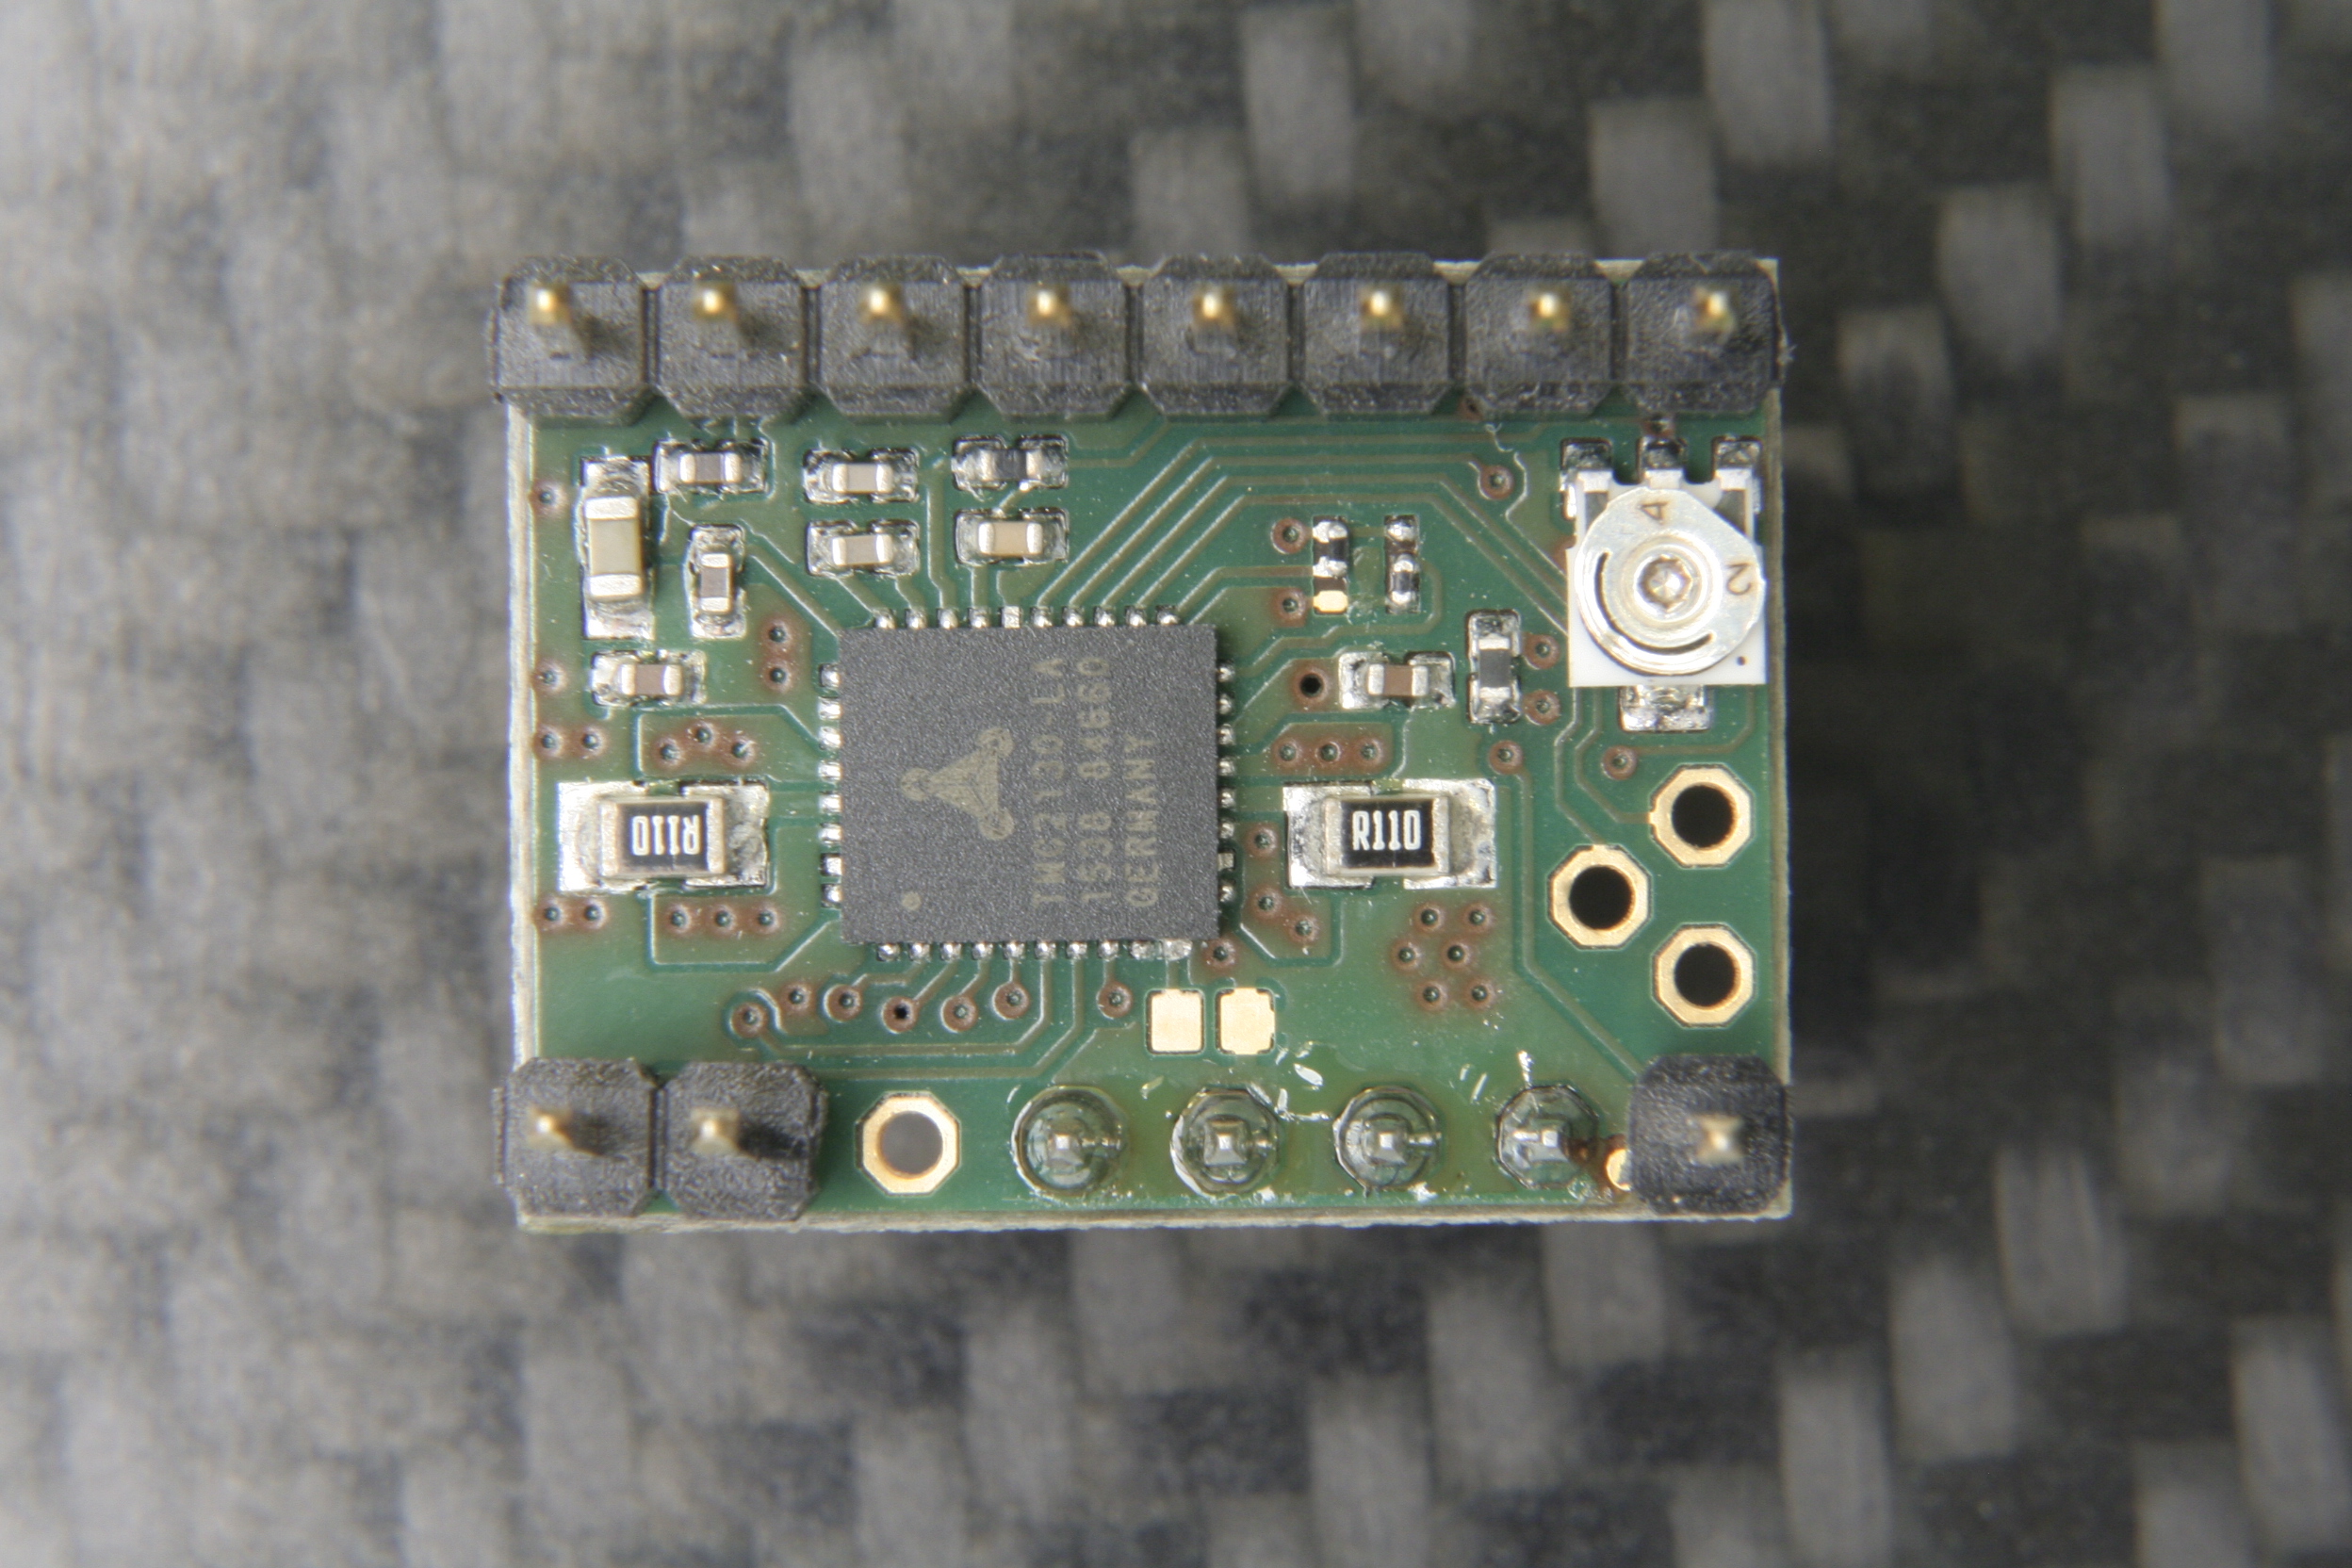
Of course, you can’t directly control a beefy stepper motor to the GPIO pins of a Pi. You’ll let out all the magic smoke. But you can wire it up directly to a stepper driver board. These little modules connect up to a dedicated power supply and handle the considerable current draw of the steppers, all you need to do is provide them the number of steps and direction of travel.

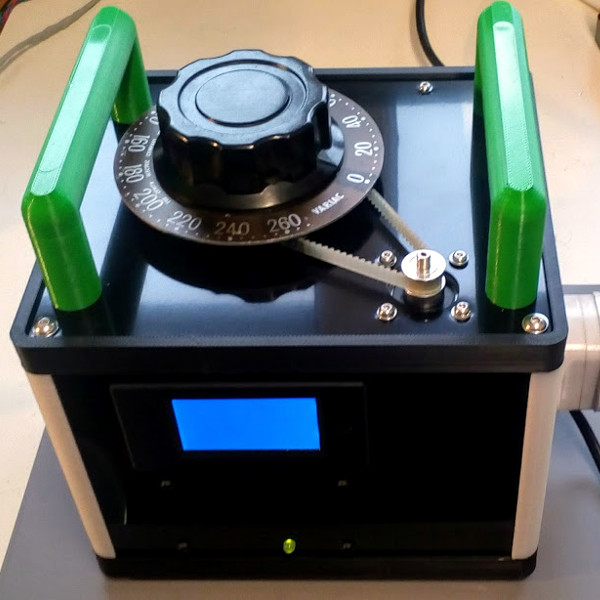
This method of direct control offers some very interesting possibilities for small, low-cost, CNC projects. Not only can you skip the control board, you could conceivably handle the machine’s user interface (either directly via a touch screen or over the network) on the same Pi.

We’ve seen attempts at creating all-in-one Linux stepper controllers in the past, but the fact that anyone with a Raspberry Pi 2 or 3 (the boards this software has currently been tested on) can get in on the action should really help spur along development. Has anyone used this?

DIY Pi Zero Pentesting Tool Keeps It Cheap

It’s a story as old as time: hacker sees cool tool, hacker recoils in horror at the price of said tool, hacker builds their own version for a fraction of the price. It’s the kind of story that we love here at Hackaday, and has been the impetus for countless projects we’ve covered. One could probably argue that, if hackers had more disposable income, we’d have a much harder time finding content to deliver to our beloved readers.

[ Alex Jensen] writes in to tell us of his own tale of sticker shock induced hacking, where he builds his own version of the Hak5 Bash Bunny. His version might be lacking a bit in the visual flair department, but despite coming in at a fraction of the cost, it does manage to pack in an impressive array of features.

This pentesting multitool can act as a USB keyboard, a mass storage device, and even an RNDIS Ethernet adapter. All in an effort to fool the computer you plug it into to let you do something you shouldn’t. Like its commercial inspiration, it features an easy to use scripting system to allow new attacks to be crafted on the fly with nothing more than a text editor. A rudimentary user interface is provided by four DIP switches and light up tactile buttons. These allow you to select which attacks run without needing to hook the device up to a computer first, and the LED lights can give you status information on what the device is doing.

[Alex] utilized some code from existing projects, namely PiBunny and rspiducky, but much of the functionality is of his own design. Detailed instructions are provided on how you can build your own version of this handy hacker gadget without breaking the bank.

Given how small and cheap it is, the Raspberry Pi is gaining traction in the world of covert DIY penetration testing tools. While it might not be terribly powerful, there’s something to be said for a device that’s cheap enough that you don’t mind leaving it at the scene if you’ve got to pull on your balaclava and make a break for it.

DIY Variacs Get ESP8266 Upgrades

If you’be been hacking and making long enough, you’ve probably run into a situation where you realize that a previous project could be improved with the addition of technology that simply wasn’t available when you built it. Sometimes it means starting over from scratch, but occasionally you luck out and can shoehorn in some new gear without having to go back to the drawing board.

The two isolated variacs that [nop head] built were already impressive, but with the addition of the ESP8266 he was able to add some very slick additional features which really took them to the next level. He’s done an exceptional job detailing the new modifications, including providing all the source for anyone who might be walking down a similar path.

His variacs have digital energy meters right in the front panel which give voltage, amps, and a real-time calculation of watts. After reading an article by [Thomas Scherrer] about sniffing the SPI data out of one of these meters with an Arduino, [nop head] reasoned he could do the same thing with an ESP8266. The advantage being that he could then pull that data out over the network to graph or analyze however he wishes.

For his older variac, he decided to automate the device by adding a stepper and belt to turn the knob. The stepper is controlled by a Pololu stepper driver, which in turn get’s its marching orders from another ESP8266. He even came up with a simple web interface which allows you to monitor and control the variac from your smart device.

We don’t often see many variacs around these parts, and even fewer attempts at building custom ones. It’s one of those pieces of equipment you either can’t live without, or have never even heard of.

The Eric Lundgren Story: When Free Isn’t Free

At this point, you’ve almost certainly heard the tale of Eric Lundgren, the electronics recycler who is now looking at spending 15 months in prison because he was duplicating freely available Windows restore discs. Of no use to anyone who doesn’t already have a licensed copy of Windows, these restore discs have little to no monetary value. In fact, as an individual, you couldn’t buy one at retail if you wanted to. The duplication of these discs would therefore seem to be a victimless crime.

Eric Lundgren

Especially when you hear what Eric wanted to do with these discs. To help extend the functional lifespan of older computers, he intended on providing these discs at low cost to those looking to refurbish Windows computers. After each machine had its operating system reinstalled, the disc would go along with the computer in hopes the new owner would be able to utilize it themselves down the road.

It all sounds innocent enough, even honorable. But a quick glance at Microsoft’s licensing arrangement is all you need to know the whole scheme runs afoul of how the Redmond giant wants their operating system installed and maintained. It may be a hard pill to swallow, but when Eric Lundgren decided to use Microsoft’s product he agreed to play by their rules. Unfortunately for him, he lost.

Continue reading “The Eric Lundgren Story: When Free Isn’t Free”

Held Captive By Arduino And Multiple RFID Readers

If you’re the kind of person who has friends, and/or leaves the confines of the basement from time to time, we hear that these “Escape Rooms” are all the rage. Basically you get locked into a room with a couple other people and have to solve various problems and puzzles until you’ve finally made enough progress that they let you out. Which actually sounds a lot like the working conditions here at Hackaday HQ, except they occasionally slip some pizza rolls under the door for us which is nice.

Whichever side you find yourself on in one of these lighthearted hostage situations, knowledge of this multi-tag RFID lock created by [Annaane] may come in handy. By connecting multiple MFRC522 RFID readers to an Arduino Uno, she’s come up with a method of triggering a device (like an electronic door lock) only when the appropriate combination of RFID tags have been arranged. With a little imagination, this allows for some very complex puzzle scenarios which are sure to keep your prisoners enthralled until you can lower the lotion down to them.

Her code allows you to configure the type and number of RFID cards required to trigger one of the Arduino’s digital pins, which usually would be connected to a relay to fire off whatever device you want. The Arduino sketch is also setup to give “hints” to the player by way of a status LED: fast blinking let’s you know the tag scanned is wrong, and slow blinking means you don’t have enough scanned in yet.

The video after the break shows some highlights of the build, as well as a quick demonstration of how both the RFID “combination” and manual override can be used to trigger the attached relay.

Hackers do love RFID. Using them for physical access control is a fairly common project around these parts, and we’ve even seen similar setups for the digital realm.

Continue reading “Held Captive By Arduino And Multiple RFID Readers”

VCF East XIII Is Right Around The Corner

The middle of May is a very special time at the Jersey Shore. It’s finally warm enough that business owners decide they might as well unlock their doors, but still cool enough that you can go on the boardwalk without having to bump into sweaty strangers. It’s a time for saltwater taffy without the risk of skin cancer, for hot dogs without seagulls trying to steal them from you. You get the idea.

This year it’s also when the Vintage Computer Festival East will be held in Wall, New Jersey. Running from May 18th to the 20th, VCF East XIII will play host to talks, workshops, and demonstrations focusing on the storied days before we all started carrying supercomputers in our pants. Of course it wouldn’t be a computer festival without vendor tables, and there’s even a consignment area where VCF staffers will sell your old gear while you peruse the show.

Here’s hoping that [Don Eyles] brings his hardcopy of the lunar module source code with him. Our own [Greg Charvat] got a close look at this incredible piece of history.
A trio of keynote speakers will help set the tone of VCF East. On Friday [Bill Dromgoole] will discuss the ongoing restoration of a UNIVAC 1219-B military mainframe. Once designed to handle the radar on a Navy destroyer, thanks to the tireless efforts of [Bill] and his merry band, it’s currently on the hunt for the Wumpus. Saturday will see NASA contractor [Don Eyles] explain how he hacked his way around a stuck “Abort” button on Apollo 14, deftly avoiding the kind of problems the previous guys had in getting to the Moon. Finally on Sunday [Dave Walden] will talk about his work in Ye Olden Days of the Internet: programming the very first routers, known as “Internet Message Processors” or IMPs.

If you’re looking to get up close and personal with tech of yesteryear, you’ll definitely want to check out the exhibit area. Arguably the largest single draw of VCF, this is where you’ll see everything from 1980’s robots to software defined radio on the MITS Altair 8800. In previous years we’ve seen WWII Enigma machines, as well all the cool toys that kids had back in the day.

As usual we’ll be there to take plenty of pictures and dive into the sundry amusements offered by the show and the InfoAge Museum which plays host to it. Hackaday is once again a proud sponsor of VCF East and their continuing efforts to preserve technology history for future generations. We’d love to see you there and we’re always looking for the inside scoop on interesting hardware so don’t be shy about tracking me down with your story!

1960’s Console Stereo Gets Raspberry Pi Touch Screen

When he was but a wee hacker, [WhiskeyDrinker] loved to play with the big console stereo his grandparents had. The idea of a functional piece of furniture always appealed to him, and he decided that when he grew up and had a place of his own he’d get a similar stereo. Fast forward to the present, and a Craigslist ad for a working Penncrest stereo seemed to be a dream come true. Until it wasn’t.

The original physical controls are connected to the Pi’s GPIO

As difficult as it might be to believe, sometimes things we read on the Internet are not true. The “working” Penncrest radio turned out to be a dud. But realizing that the look of the cabinet was more important to him than historical accuracy, [WhiskeyDrinker] decided to outfit it with a Raspberry Pi powered touch screen that would look as close to stock hardware as possible.

The final result really does look like some kind of alternate timeline piece of consumer electronics: where chunky physical buttons and touch screens coexisted in perfect harmony. The vintage stereo aficionados will probably cry foul, but let them. [WhiskeyDrinker] did a fantastic job of blending old and new, being respectful to the original hardware and aesthetic where it made sense, and clearing house where only nostalgia had lease.

A HiFiBerry DAC+ Pro is used to get some decent audio out of the Raspberry Pi, and the touch screen interface is provided by Volumio. [WhiskeyDrinker] mentions that it even has a GPIO plugin which he successfully used to handle getting the physical buttons to play nice with their digital counterparts.

Updating old audio gear is always a sensitive subject around these parts. Sometimes they go so far that the original hardware is almost an afterthought. On the other side of the spectrum are the projects which try to take modern gear and mimic the look of the classics. In any event, one thing is clear: they don’t make ’em like they used to.

Continue reading “1960’s Console Stereo Gets Raspberry Pi Touch Screen”