Voice Controlled RGB LEDs Go Big

When we see RGB LEDs used in a project, they’re often used more for aesthetic purposes than as a practical source of light. It’s an easy way to throw some color around, but certainly not the sort of thing you’d try to light up anything larger than a desk with. Apparently nobody explained the rules to [Brian Harms] before he built Light[s]well.

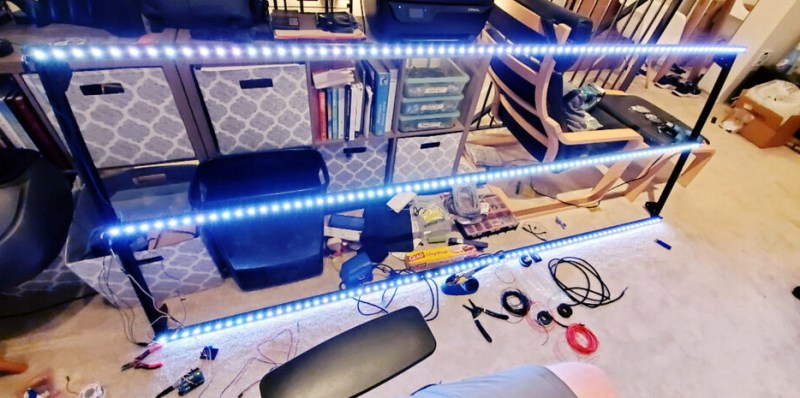
Believe it or not, this supersized light installation doesn’t use any exotic hardware you aren’t already familiar with. Fundamentally, what we’re looking at is a WiFi enabled Arduino MKR1000 driving strips of NeoPixel LEDs. It’s just on a far larger scale than we’re used to, with a massive 4 x 8 aluminum extrusion frame suspended over the living room.
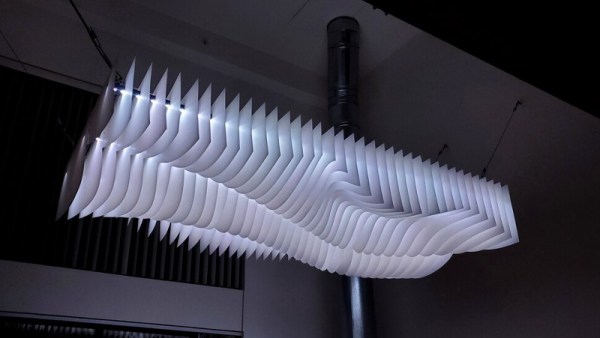
Onto that frame, [Brian] has mounted an undulating diffuser made of 74 pieces of laser-cut cardstock. Invoking ideas of waves or clouds, the light looks like its of natural or even biological origin while at the same time having a distinctively otherworldly quality to it.

The effect is even more pronounced when the RGB LEDs kick in, thanks to the smooth transitions between colors. In the video after the break, you can see Light[s]well work its way from bright white to an animated rainbow. As an added touch, he added Alexa voice control through Arduino’s IoT Cloud service.

While LED home lighting is increasingly becoming the norm, projects like Light[s]well remind us that we aren’t really embracing the possibilities offered by the technology. The industry has tried so hard to make LEDs fit into the traditional role of incandescent bulbs, but perhaps its time to rethink things.

Continue reading “Voice Controlled RGB LEDs Go Big”

LED Art Reveals Itself In Very Slow Motion

Every bit of film or video you’ve ever seen is a mind trick, an optical illusion of continuous movement based on flashing 24 to 30 slightly different images into your eyes every second. The wetware between your ears can’t deal with all that information individually, so it convinces itself that you’re seeing smooth motion.

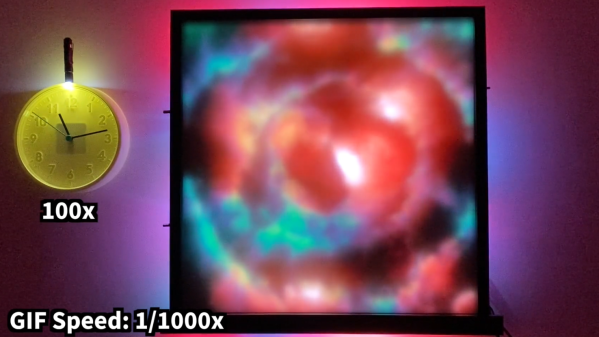
But what if you slow down time: dial things back to one frame every 100 seconds, or every 1,000? That’s the idea behind this slow-motion LED art display called, appropriately enough, “Continuum.” It’s the work of [Louis Beaudoin] and it was inspired by the original very-slow-motion movie player and the recent update we featured. But while those players featured e-paper displays for photorealistic images, “Continuum” takes a lower-resolution approach. The display is comprised of four nine HUB75 32×32 RGB LED displays, each with a 5-mm pitch. The resulting 96×96 pixel display fits nicely within an Ikea RIBBA picture frame.

The display is driven by a Teensy 4 and [Louis]’ custom-designed SmartLED Shield that plugs directly into the HUB75s. The rear of the frame is rimmed with APA102 LED strips for an Ambilight-style effect, and the front of the display has a frosted acrylic diffuser. It’s configured to show animated GIFs at anything from 1 frame per second its original framerate to 1,000 seconds per frame times slower, the latter resulting in an image that looks static unless you revisit it sometime later. [Louis] takes full advantage of the Teensy’s processing power to smoothly transition between each pair of frames, and the whole effect is quite wonderful. The video below captures it as best it can, but we imagine this is something best seen in person.

Continue reading “LED Art Reveals Itself In Very Slow Motion”

Digital Pregnancy Tests Use LEDs To Read Between The Lines

[Foone] saw a tweet a few weeks ago alleging that digital pregnancy tests are a rip-off. Regular, cheap tests have an absorbent strip running the length of the plastic, with one end exposed for collecting urine. A few excruciating minutes later, a little plastic window in the middle will show one line, two lines, or a plus or minus sign depending on the presence of human chorionic gonadotropin (HCG) in the urine.

As it turns out, at least two digital tests out there are the exact same thing, but with more steps. Instead of a window, they include circuitry that interprets the lines and publishes the result to a little screen in plain English. It can even tell you if you’re doing it wrong by flashing a little RTFM icon.

[Foone]’s teardown reveals a CR1616 coin cell, an 8-bit microcontroller, and a little phototransistor setup that shines LEDs on the strip and reads the incoming light. Unfortunately, the micro is the mask ROM version, so [Foone] can’t reprogram it to run Doom.

The original tweet’s author is probably not alone in assuming that digital tests are supposed to be more accurate somehow. We think the accuracy claim is more about removing the frazzled and/or incompetent human variable from the equation. If the test interprets the results for you, then there’s no mistaking the results, which is technically a higher degree of accuracy. But if you’re in doubt, you get a test from a doctor.

There’s been some discussion about the e-waste aspect of these all these tests — that it’s a shame to produce a microcontroller just to pee on it and throw it away. Sure, you could look at it that way, but unlike a lot of e-waste, these are tools. It’s unfortunate that this is the industry’s idea of higher accuracy, but what should we expect? It’s just testing for the presence of a hormone in urine. Interpreting the results is up to the viewer. We should probably be astounded that they got the cost down to two for $7.

Many people choose to wait a while to start spreading the news. With a Bluetooth-enabled pregnancy test, everyone can find out together.

Thanks for the tip, [Jay]!

Laser Cutting Your Way To An RGB LED Table

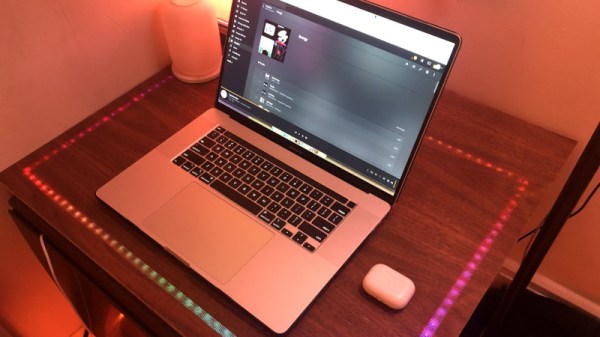
You’ve got the RGB keyboard, maybe even the RGB mouse. But can you really call yourself master of the technicolor LED if you don’t have an RGB table to game on? We think you already know the answer. Luckily, as [ItKindaWorks] shows in his latest project, it’s easy to build your own. Assuming you’ve got a big enough laser cutter anyway…

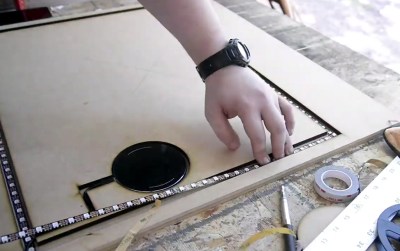
The construction of the table is quite straightforward. Using an 80 watt laser cutter, he puts a channel into a sheet of MDF to accept RGB LED strips, a pocket to hold a Qi wireless charger, and a hole to run all the wires out through. This is then backed with a second, solid, sheet of MDF.

Next, a piece of thin wood veneer goes into the laser cutter. In the video after the break you can see its natural tendency to roll up gave [ItKindaWorks] a little bit of trouble, but when strategically weighted down, it eventually lays out flat. He then uses the laser to blast an array of tiny holes in the veneer, through which the light from the LEDs will shine when it’s been glued over the MDF. A few strips of plastic laid over the strips serve both to diffuse the light and support the top surface.

The end result is truly gorgeous and has a very futuristic feel. Assuming you’ve got the equipment, it’s also a relatively simple concept to experiment with. It’s yet another example of the unique construction techniques possible when you add a high-powered laser to your arsenal.

Continue reading “Laser Cutting Your Way To An RGB LED Table”

LED Art Hack Chat

Join us on Wednesday, July 1 at noon Pacific for the LED Art Hack Chat with Aaron Oppenheimer!

From the first time humans crawled into a cave with a bit of charcoal to sketch scenes from the world around them, artists have been searching for new media and new ways to express themselves. Natural products ruled for thousands of years, with pigments stolen or crafted from nature as well as wood, ivory, bone, and stone for carving. Time and experience guided our ancestors to new and better formulations and different materials, to the point that what qualifies as art and what we’d normally think of as technology have, in many cases, blended into one, with the artist often engineering projects of mammoth proportions and breathtaking beauty.

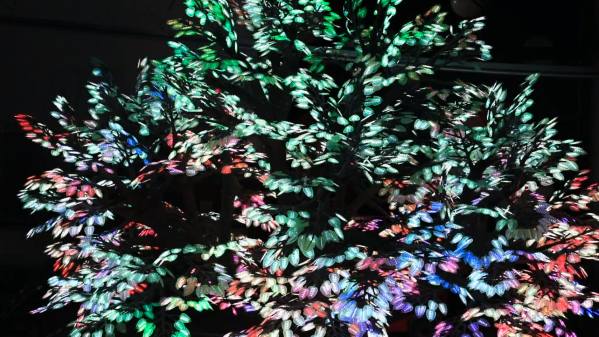
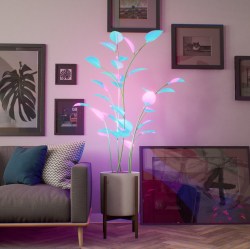
Aaron Oppenheimer co-founded color+light, a company that specializes in large-scale custom art installations for companies like Google, Nike, and Nissan. One of their projects, the “Oddwood Tree”, is displayed alongside other gigantic art pieces at Area15 on the Las Vegas strip. His most recent project, fluora, is a digital houseplant, with addressable LEDs in the leaves that can be controlled by a smartphone app or respond to stimuli in the environment.

Aaron will join us on the Hack Chat to discuss the LED as artistic medium. Join us as we learn what it takes to make enormous art that’s strong enough to interact with yet responsive enough to be engaging.

join-hack-chatOur Hack Chats are live community events in the Hackaday.io Hack Chat group messaging. This week we’ll be sitting down on Wednesday, July 1 at 12:00 PM Pacific time. If time zones have you down, we have a handy time zone converter.

Click that speech bubble to the right, and you’ll be taken directly to the Hack Chat group on Hackaday.io. You don’t have to wait until Wednesday; join whenever you want and you can see what the community is talking about.

Continue reading “LED Art Hack Chat”

Building An ESP32 Smart Power Strip From Scratch

Surely the most straightforward way of creating a smart power strip would be to take an existing model and hack in some relays that you could fire with a WiFi-enabled microcontroller. But where’s the fun in that? Instead of repurposing a commercial power strip for his recent project, [Md Raz] decided to just build the whole thing himself.

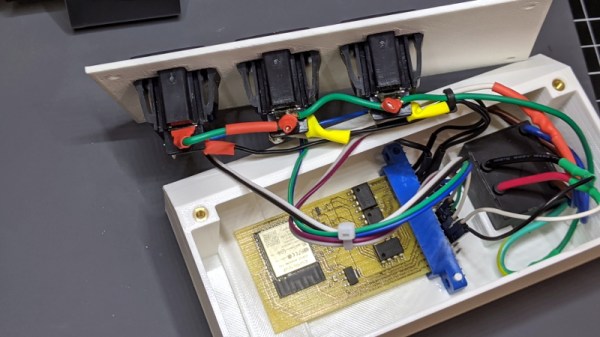
The project started with a 3D printed enclosure that could hold the electronics and three panel mount sockets. The use of heat-set inserts makes it a bit more robust for future upgrade work, but otherwise it’s a fairly simple rectangular design. Nobody ever said a power strip had to be pretty, right? In addition to the panel mount sockets, there’s also a AC-DC converter to step mains voltage down to 5 VDC for the ESP32.

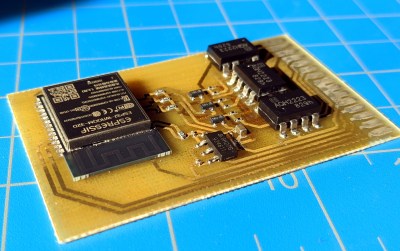
In addition to the microcontroller, the custom PCB in the power strip holds a trio of MOSFETs connected to AQH2223 solid state relay (SSR) chips. Once the ESP32 toggles the line attached to each MOSFET, the indicator LED above the outlet goes on and the appropriate SSR is thrown to turn on the power. With a simple web interface running on the microcontroller, all three outlets can be independently controlled from any device with a web browser.

If you’d like to limit your interaction with mains voltages, then we’ve seen some projects that commandeer the low-voltage side of a commercial smart power strip. But remember, putting a Raspberry Pi inside of a power strip might seem suspicious to some folks.

Rolling Your Own LED Matrix Driver, With Copper Foil Tape To The Rescue

It all started when [Damien Walsh] got his hands on some surplus LED boards. Each panel contained 100 mini-PCBs hosting a single bright LED that were meant to be to be snapped apart as needed. [Damien] had a much better idea: leave them in their 20×5 array and design a driver allowing each LED to be controlled over WiFi. He was successful (a brief demo video is embedded down below after the break) and had a few interesting tips to share about the process of making it from scratch.

The first hurdle he ran into was something most of us can relate to; it’s difficult to research something when one doesn’t know the correct terms. In [Damien]’s case, his searches led him to a cornucopia of LED drivers intended to be used for room lighting or backlights. These devices make a large array of smaller LEDs act like a single larger light source, but he wanted to be able to individually address each LED.

Eventually he came across the IS32FL3738 6×8 Dot Matrix LED Driver IC from ISSI which hit all the right bases. Three of these would be enough to control the 100-LED panel; it offered I2C control and even had the ability to synchronize the PWM of the LEDs across multiple chips, so there would be no mismatched flicker between LEDs on different drivers. As for micontroller and WiFi connectivity, we all have our favorites and [Damien] is a big fan of Espressif’s ESP32 series, and used the ESP32-WROOM to head it all up.

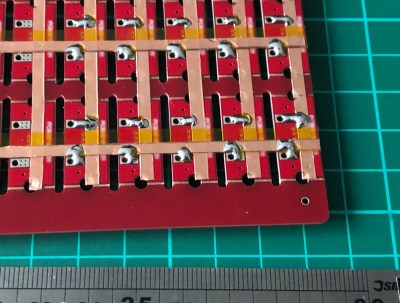
LED pads bridged to copper tape, with Kapton (polyimide) tape insulating any crossovers.

The other issue that needed attention was wiring. Each of the LEDs is on its own little PCB with handy exposed soldering pads, but soldering up 100 LEDs is the kind of job where a little planning goes a long way. [Damien] settled on a clever system of using strips of copper tape, insulated by Kapton (a super handy material with a sadly tragic history.) One tip [Damien] has for soldering to copper tape: make sure to have a fume extractor fan running because it’s a much smokier process than soldering to wires.

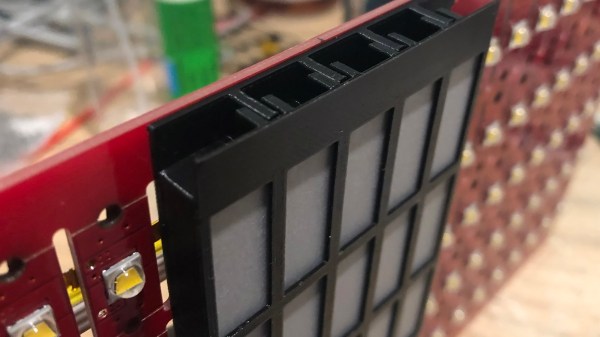
A 3D-printed baffle using tracing paper to diffuse the light rounds out the device, yielding a 20 x 5 matrix of individually-controlled rectangles that light up smoothly and evenly. The end result looks fantastic, and you can see it in action in the short video embedded below.

Continue reading “Rolling Your Own LED Matrix Driver, With Copper Foil Tape To The Rescue”