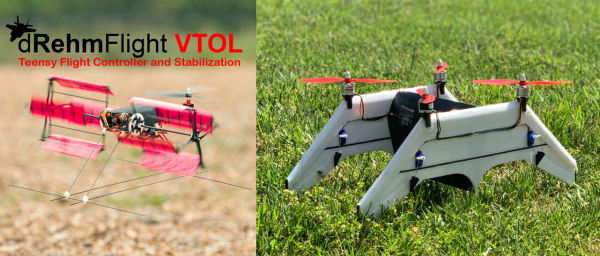
The availability of cheap and powerful RC motors and electronics has made it possible for almost anyone to build an RC flying machine. Software is usually the bigger challenge, which has led to the development of open-source packages like BetaFlight and Ardupilot. These packages are very powerful, but not easy to modify if you have unconventional requirements. [Nicholas Rehm] faced this challenge while doing his master’s degree, so he created dRehmFlight, a customizable flight controller for VTOL aircraft. Overview video after the break.
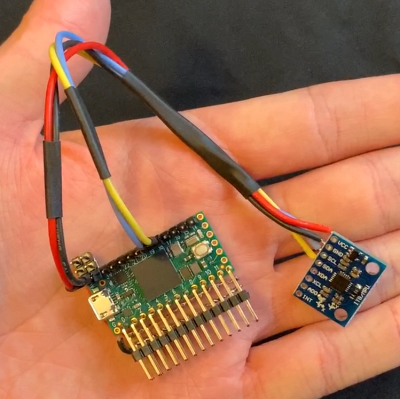
[Nicholas] has been building unique VTOL aircraft for close to a decade, and he specifically wanted flight stabilization software that is easy to modify and experiment with. Looking at the dRehmFlight code, we think he was successful. The main flight controller package is a single file of fewer than 1600 lines. It’s well commented and easy to figure out, even for an inexperienced programmer. A detailed PDF manual is also available, with full descriptions for all the functions and important variables, and a couple of tutorials to get you started. Libraries for interfacing with accelerometers and RC gear is also included. It runs on a 600 Mhz Teensy 4.0, and all the programming can be done from the Arduino IDE.
[Nicholas] has repeatedly demonstrated the capabilities of dRehmFlight with several unique aircraft, like the belly flopping RC Starship we covered a while ago, a VTOL quad rotor biplane, VTOL F35, and the cyclocopter seen in the header image. dRehmFlight might not have the racing drone performance of BetaFlight, or advanced autopilot features of Ardupilot, but it’s perfect for getting unconventional aircraft off the ground. Continue reading “DRehmFlight: Customizable Flight Stabilisation For Your Weird Flying Contraptions”