This is a very exciting time for those who like to spend their downtime exploring virtual worlds. The graphics in some big-budget titles are easily approaching photorealism, and immersive multi-channel sound can really make you believe you’ve been transported to another place or time. With another generation or two of GPU development and VR hardware, the line between gaming and reality is bound to get awful blurry.
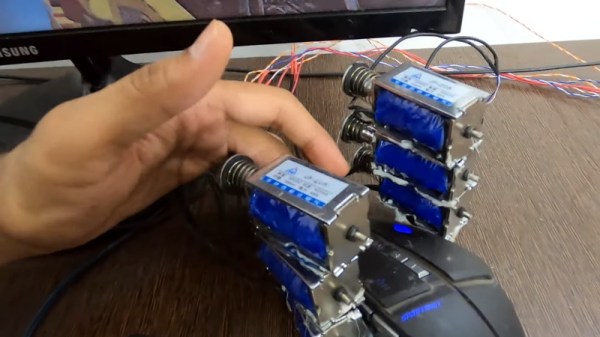
That said, we’re still a far way off from the holodeck aboard the Enterprise. A high-end PC and the latest in VR can fool your eyes and ears, but that still leaves your other senses out of the fun. That’s why [Jatin Patel] has developed this clever force-feedback mouse using an array of solenoids.
The idea is pretty simple: a Python program on the computer listens for mouse click events, and tells an attached Arduino to fire off the solenoids when the player pulls the virtual trigger. It’s naturally not a perfect system, as it would seem that clicking in the game’s menus would also start your “gun” firing. But as you can see in the video after the break, when it works, it works very well. The moving solenoids don’t just vibrate the mouse around, the metallic clacking actually accentuates the gun sound effects from the game.
With this kind of tactile feedback and an omnidirectional treadmill to keep us moving, we’d be pretty close to fooling our senses into thinking we’re actually somewhere else. Which frankly, sounds quite appealing right about now.
Continue reading “Force Feedback Mouse Really Shakes Things Up”
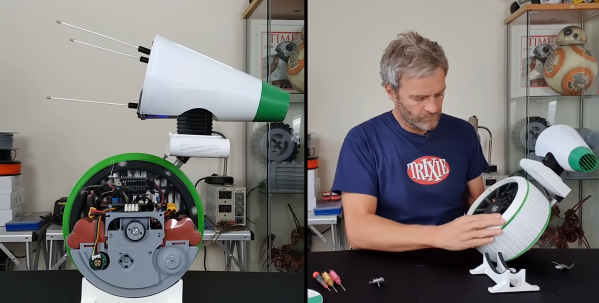
 D-O is effectively a two-wheeled self-balancing robot, with two thin drive wheels on the outer edges of the main body. A wide flexible tire covers the space between the two wheels, where the electronics are housed, without actually forming part of the drive mechanism. The main drive motors are a pair of geared DC motors with encoders to allow closed-loop control down to very slow speeds. The brains of the operation is an Arduino MKR-W1010 GET on a stack that consists of a motor driver, shield, IMU shields, and prototyping shield. [Matt] did discover a design error on the motor driver board, which caused the main power switching MOSFET to burst into flames from excessive gate voltage. Fortunately he was able to work around this by simply removing the blown MOSFET and bridging the connection with a wire.