Many low-cost wireless temperature and humidity sensors use a 433 MHz transmitter to send data back to their base stations. This is a great choice for the manufacturer of said devices because it’s simple and the radios are cheap, but it does limit what we as the consumer can do with it a bit. Generally speaking, you won’t be reading data from these sensors on your computer unless you’ve got an SDR device and some experience with GNU Radio and reading the Nexus protocol.
 But [Aquaticus] has developed a very comprehensive piece of software that should make integrating these type of sensors into your home automation system much easier, as long as you’ve got a spare Raspberry Pi lying around. Called nexus433, it uses a cheap 433 MHz receiver connected to the Pi’s GPIO pins to receive data from environmental sensors using the popular Nexus communication protocol. A few known compatible sensors are listed in the project documentation, one of which can be had for as little as $5 USD shipped.
In addition to publishing the temperature, humidity, and battery level values from the sensors to MQTT, it even tracks connection quality for each individual sensor and when they go on and offline. To be sure, this is no simple hack. In nexus433, [Aquaticus] has created a mature Linux service with enough flexibility that you shouldn’t have any problems working it into your automation setup, whether it’s Home Assistant or something you’ve put together yourself.
We’ve seen a number of home automation hacks using these ubiquitous 433 MHz radios, from controlling them with an ESP8266 to hacking a popular TP-LINK router into a low-cost home automation hub.
 The full MatchSticks creation flow goes like this:

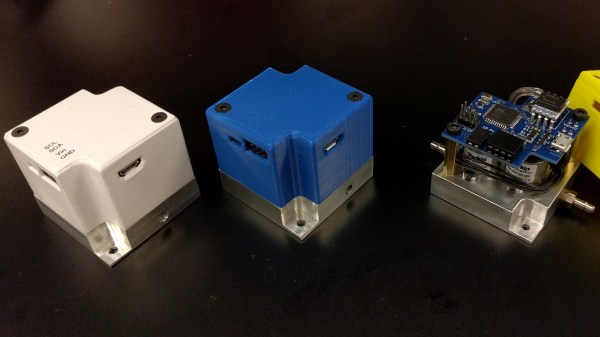
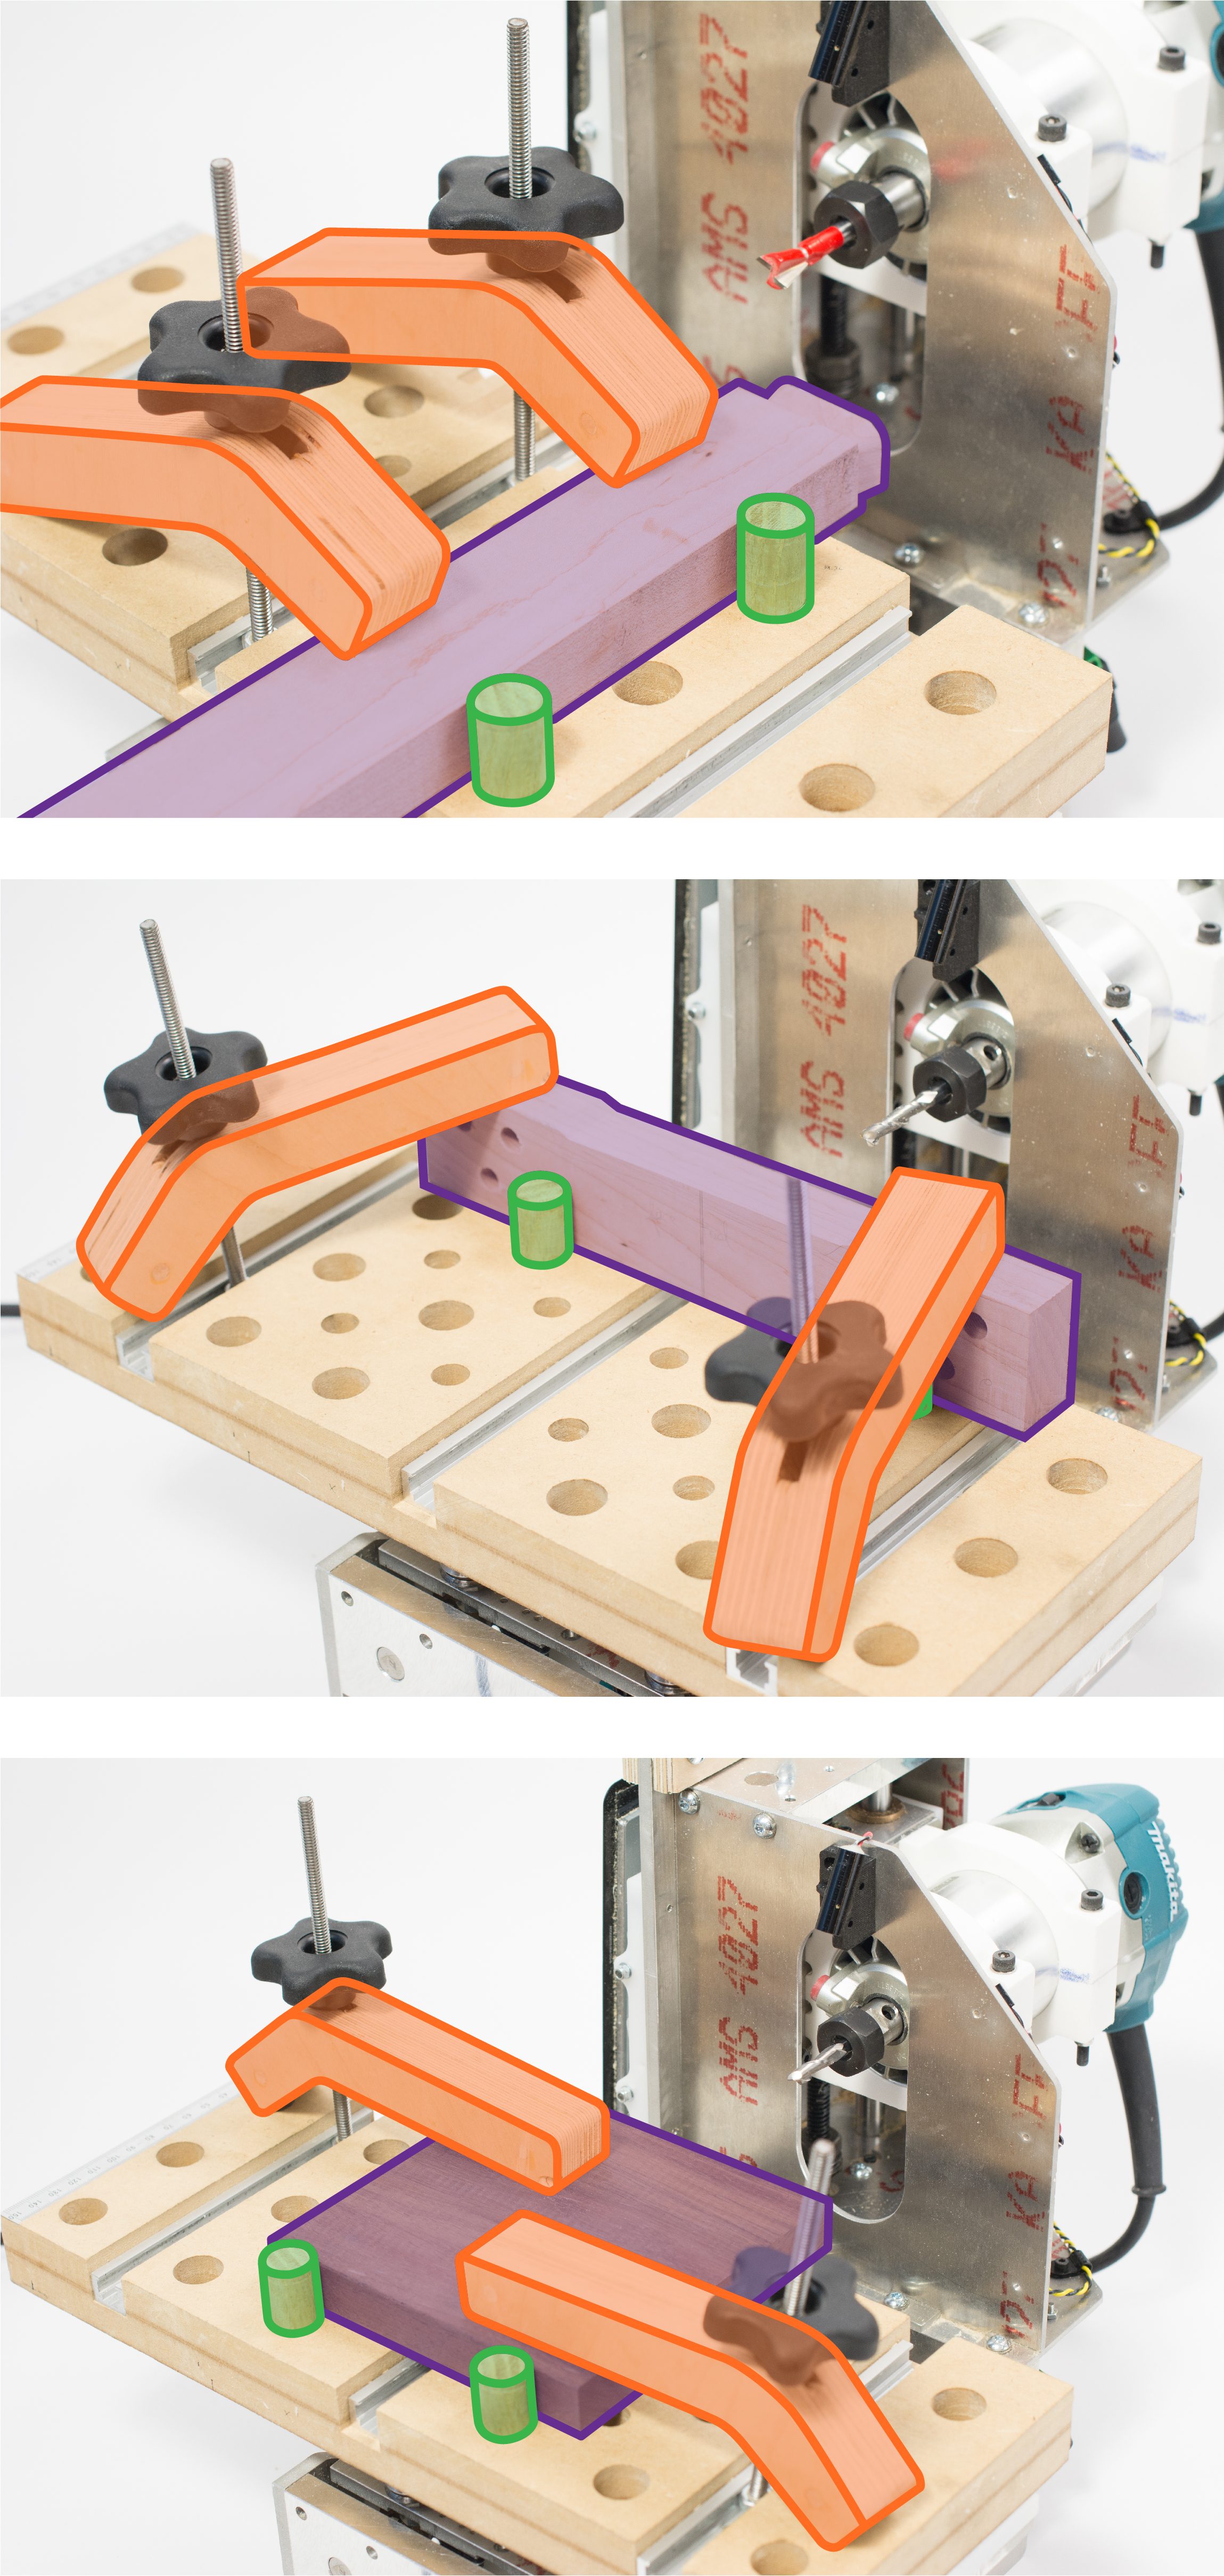
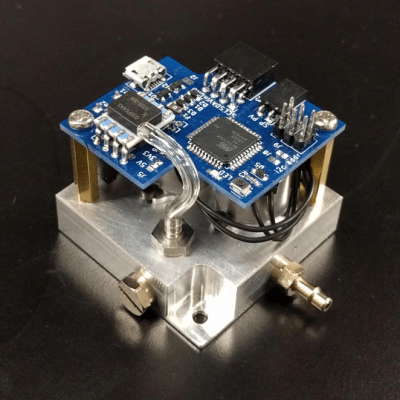 For many projects that require control of air pressure, the usual option is to hook up a pump, maybe with a motor controller to turn it on and off, and work with that. If one’s requirements can’t be filled by that level of equipment and control, then it’s time to look at commercial regulators. [Craig Watson] did exactly that, but found the results as disappointing as they were expensive. He found that commercial offerings — especially at low pressures — tended to leak air, occasionally reported incorrect pressures, and in general just weren’t very precise. Out of a sense of necessity he set out to design his own