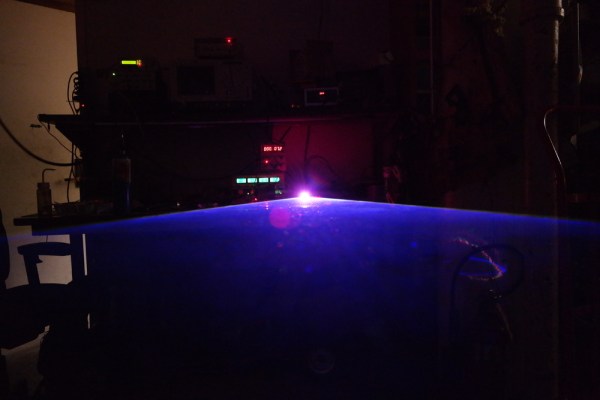
[Krazer], a post-doctoral researcher at MIT, loves him some lasers. When out of boredom one afternoon he hatched an idea for a laser projector, it grew until a few years later he wound up with this RGB laser for a projector — Mark IV no less.
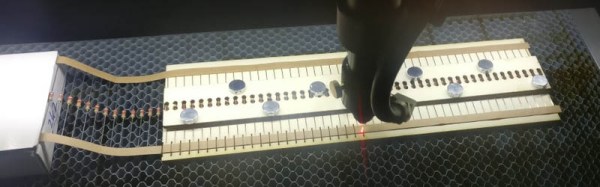
In addition to 3D-printing the parts, the major innovation with this version is the ability to re-align the lasers as 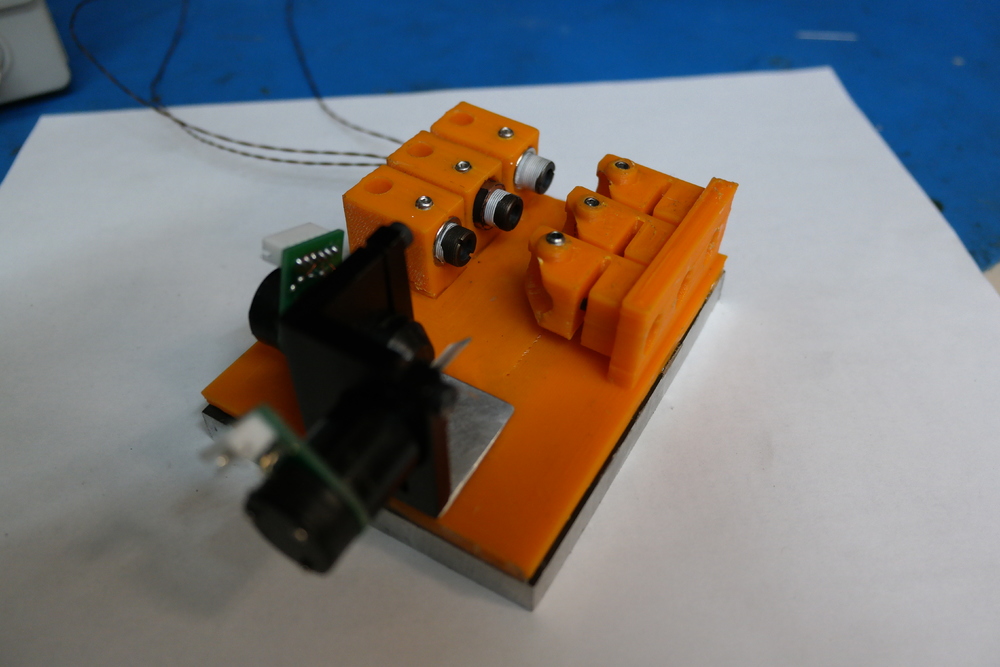 needed; tweaking the vertical alignment is controlled by a screw on the laser mounts while the horizontal alignment is done the same way on the mirror mounts. This simplifies the design and reduces the possibility of part failure or warping over time. An additional aluminium base epoxied to the projector aims to keep the whole from deforming and adds stability. With the help of a mirror for the final alignment — sometimes you must use what you have— the projector is ready to put on a show.
True to the spirit of the art [Krazer] used all open source software for this iteration, and sharing his designs means you can build your own for around $200. As always with lasers take extra precautions to protect your eyes! This 200mW setup is no joke, but that doesn’t mean fun and games are out of the question.