Hackers love their ThinkPads. They’re easy to work on, well documented, and offer plenty of potential for upgrades. For the more daring, there’s also a wide array of community-developed modifications available. For example, [Berry Berry Sneaky] has recently put together a step-by-step guide on swapping the common ThinkPad rectangular charging port (also used on ThinkBooks and other Lenovo machines) for USB-C Power Delivery.
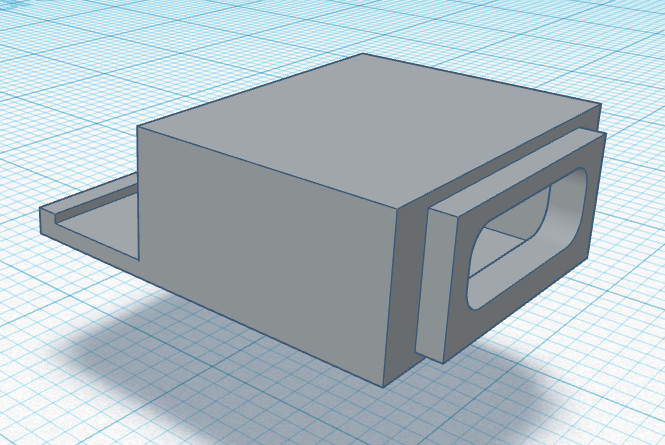 Now to be clear, this is not a new concept. But between freely sharing the STL for the 3D printed adapter, providing a full parts list, and providing clear instructions on how to put it all together, [Berry Berry Sneaky] has done a fantastic job of making this particular modification as approachable as possible. For the cost of a common PDC004 Power Delivery “trigger” module and a bit of PETG filament, you can add yet another device to the list of things that work with your shiny new USB-C charger.
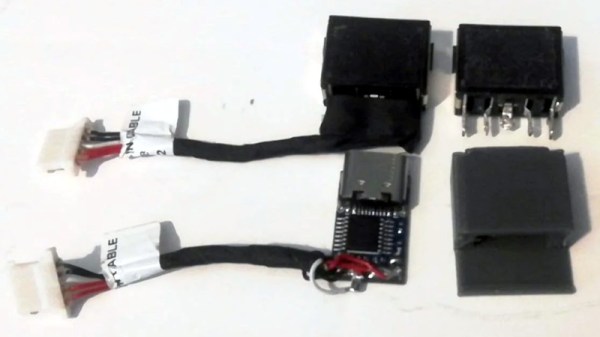
While not strictly necessary, [Berry Berry Sneaky] recommends getting yourself a replacement DC input cable for your particular machine before you crack open the case. That will let you assemble everything ahead of time, making the installation a lot quicker. It will also let you keep the original rectangular power jack intact so you can swap it back in if something goes wrong or you decide this whole unified charging thing isn’t quite what you hoped for.
Not a member of the ThinkPad Army? No worries. We’ve seen a lot of interest in using these configurable USB-C trigger modules to upgrade all manner of devices to the new Power Delivery standard or sometimes put together custom battery chargers for their older mobile gadgets.