PinePhone Gets 3D Printed Mechanical Keyboard

Do you remember when smartphones had real physical keyboards? Working the command line on some remote machine over SSH was a breeze, and you could even knock out a few lines of code if you were so inclined. But these days you’ve either got to lug around an external keyboard, or suffer through pecking out a few words per minute on a piece of glass. Doesn’t sound much like progress to us.

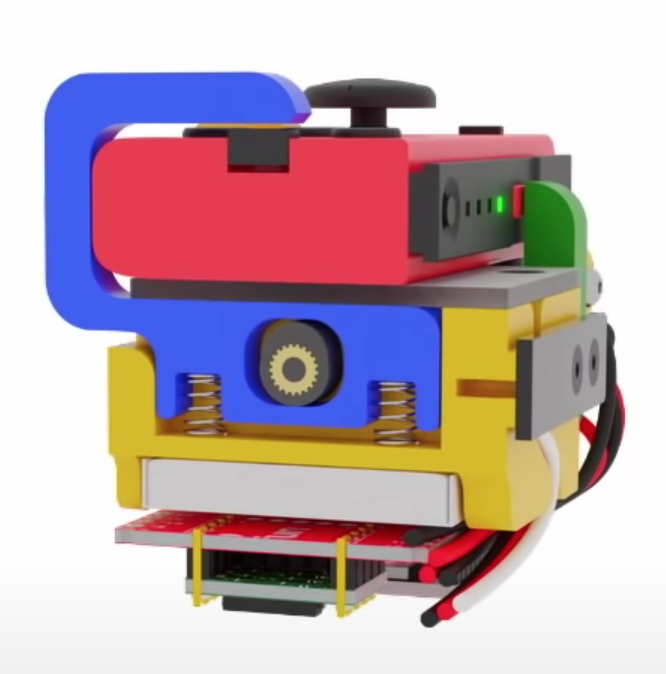
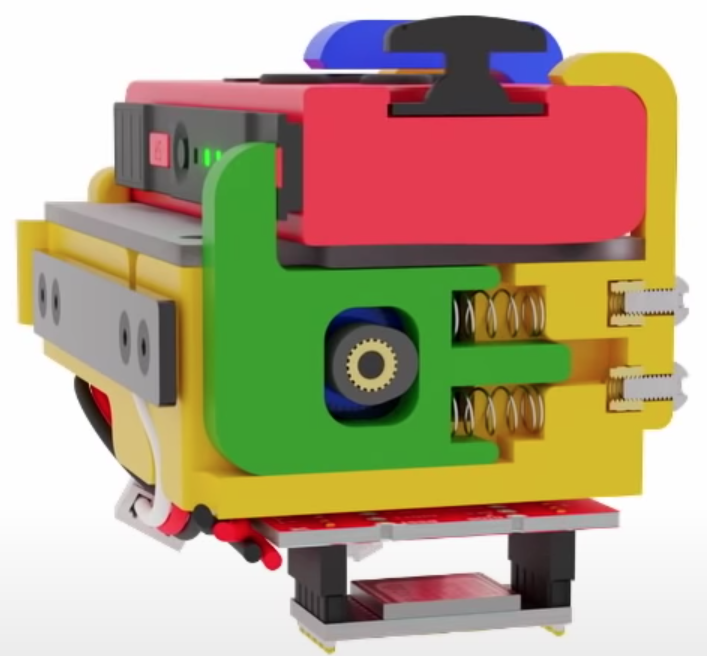
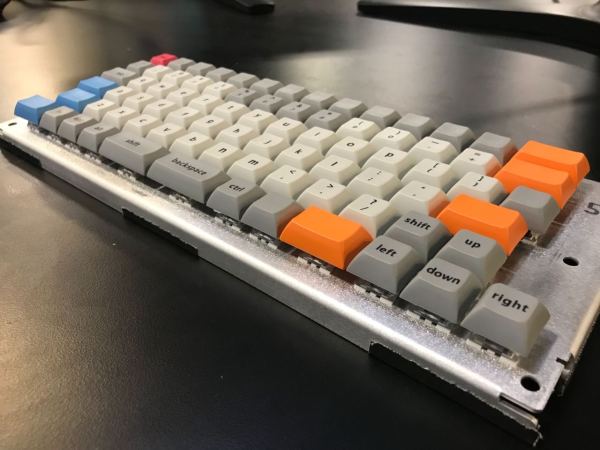
By the looks of it, [James Williams] doesn’t think so either. He’s designed a physical keyboard add-on that snaps onto the back of the PinePhone to deliver a proper, albeit condensed, typing experience. This is no repurposed BlackBerry board either; he’s created a custom mechanical keyboard that manages to fold into an incredibly small size thanks to resin printed keycaps and Kailh low profile switches. Other than the hand-drawn legends, it’s probably not a stretch to say this is a better keyboard than what many people have on their actual computers.

In addition to the 3D printed frame and Kailh switches, there’s also an Arduino Pro Micro onboard to communicate with the phone. Rather than use USB, the keyboard is wired to the I2C accessory port on the rear of the PinePhone. It sounds like [James] needs a little more time to polish his QMK build before its ready to release, so you might want to wait a bit before you start printing off your own copy of the parts.

Those following along with the development of the PinePhone know there’s supposedly an official keyboard accessory in the works, but who wants to wait when we’re so close to mobile Linux nirvana? Besides, we doubt it will be nearly as pleasant to type on as the board [James] has put together.

Mouse-Controlled Mouse Controller Is Silly, But Could Be Useful

Useless machines are generally built as a fun pastime, as they do nothing of value by their very definition. The most popular type generally involves a self-cancelling switch. However, there’s plenty of other useless machines to build, and we think [Jeffery’s] build is particularly creative.

The build consists of an XY gantry that moves a standard computer mouse. To control the gantry, a Raspberry Pi feeds the system G-Code relative to the motion of a second mouse plugged into the single-board computer. It’s pretty standard fare overall, with the Pi sending commands to an Arduino that runs the various stepper motors via a CNC controller shield.

Yes, it’s a mouse that moves a mouse – and on the surface, this appears to be a very useless machine. However, we could imagine it being useful for remote control of a very old system that uses a non-standard mouse that is otherwise difficult to emulate. Additionally, it wouldn’t take much extra work to turn the XY gantry into a competent pen-plotter – of which we’ve seen many. Video after the break.

Continue reading “Mouse-Controlled Mouse Controller Is Silly, But Could Be Useful”

Taking Over The Amazing Control Panel Of A Vintage Video Switcher

Where does he get such wonderful toys? [Glenn] snagged parts of a Grass Valley Kalypso 4-M/E video mixer switcher control surface from eBay and since been reverse engineering the button and display modules to bend them to his will. The hardware dates back to the turn of the century and the two modules would have been laid out with up to a few dozen others to complete a video mixing switcher console.

[Glenn’s] previous adventures delved into a strip of ten backlit buttons and gives us a close look at each of the keyswitches and the technique he used to pull together his own pinout and schematic of that strip. But things get a lot hairier this time around. The long strip seen above is a “machine control plane” module and includes a dozen addressible character displays, driven by a combination of microcontrollers and FPGAs. The square panel is a “Crosspoint Switch Matrix” module include eight individual 32 x 32 LCDs drive by three dedicated ICs that can display in red, green, or amber.

[Glen] used an STM8 Nucleo 64 to interface with the panels and wrote a bit of code to help map out what each pin on each machine control plane connector might do. He was able to stream out some packets from the plane that changed as he pressed buttons, and ended up feeding back a brute-force of that packet format to figure out the LED display protocols.

But the LCDs on the crosspoint switch were a more difficult nut to crack. He ended up going back to the original source of the equipment (eBay) to get a working control unit that he could sniff. He laid out a man-in-the-middle board that has a connector on either side with a pin header in the middle for his logic analyzer. As with most LCDs, the secret sauce was the initialization sequence — an almost impossible thing to brute force, yet exceedingly simple to sniff when you have a working system. So far he has them running under USB control, and if you are lucky enough to have some of this gear in your parts box, [Glen] has painstakingly recorded all of the details you need to get them up and running.

Atreus Gets A TrackPoint And Layer LEDs

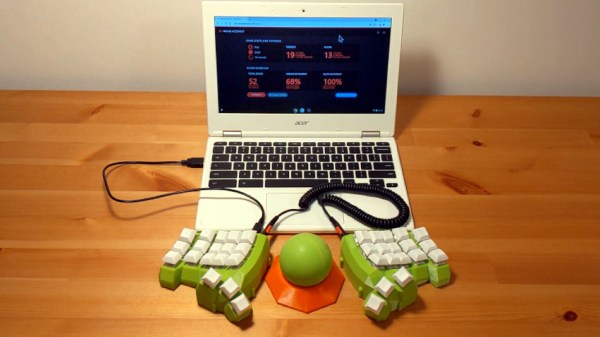
Fancy, split keyboards are cool and all, and they can really help with repetitive strain injury issues depending on a lot of different factors. But the big, glaring problem is that they often lack nice features that regular keyboards have — things like a number pad, media buttons, or in [discordia]’s case, a ThinkPad-style pointing stick. Fortunately, there’s a perfect spot for one between the two halves of the Keyboardio Atreus.

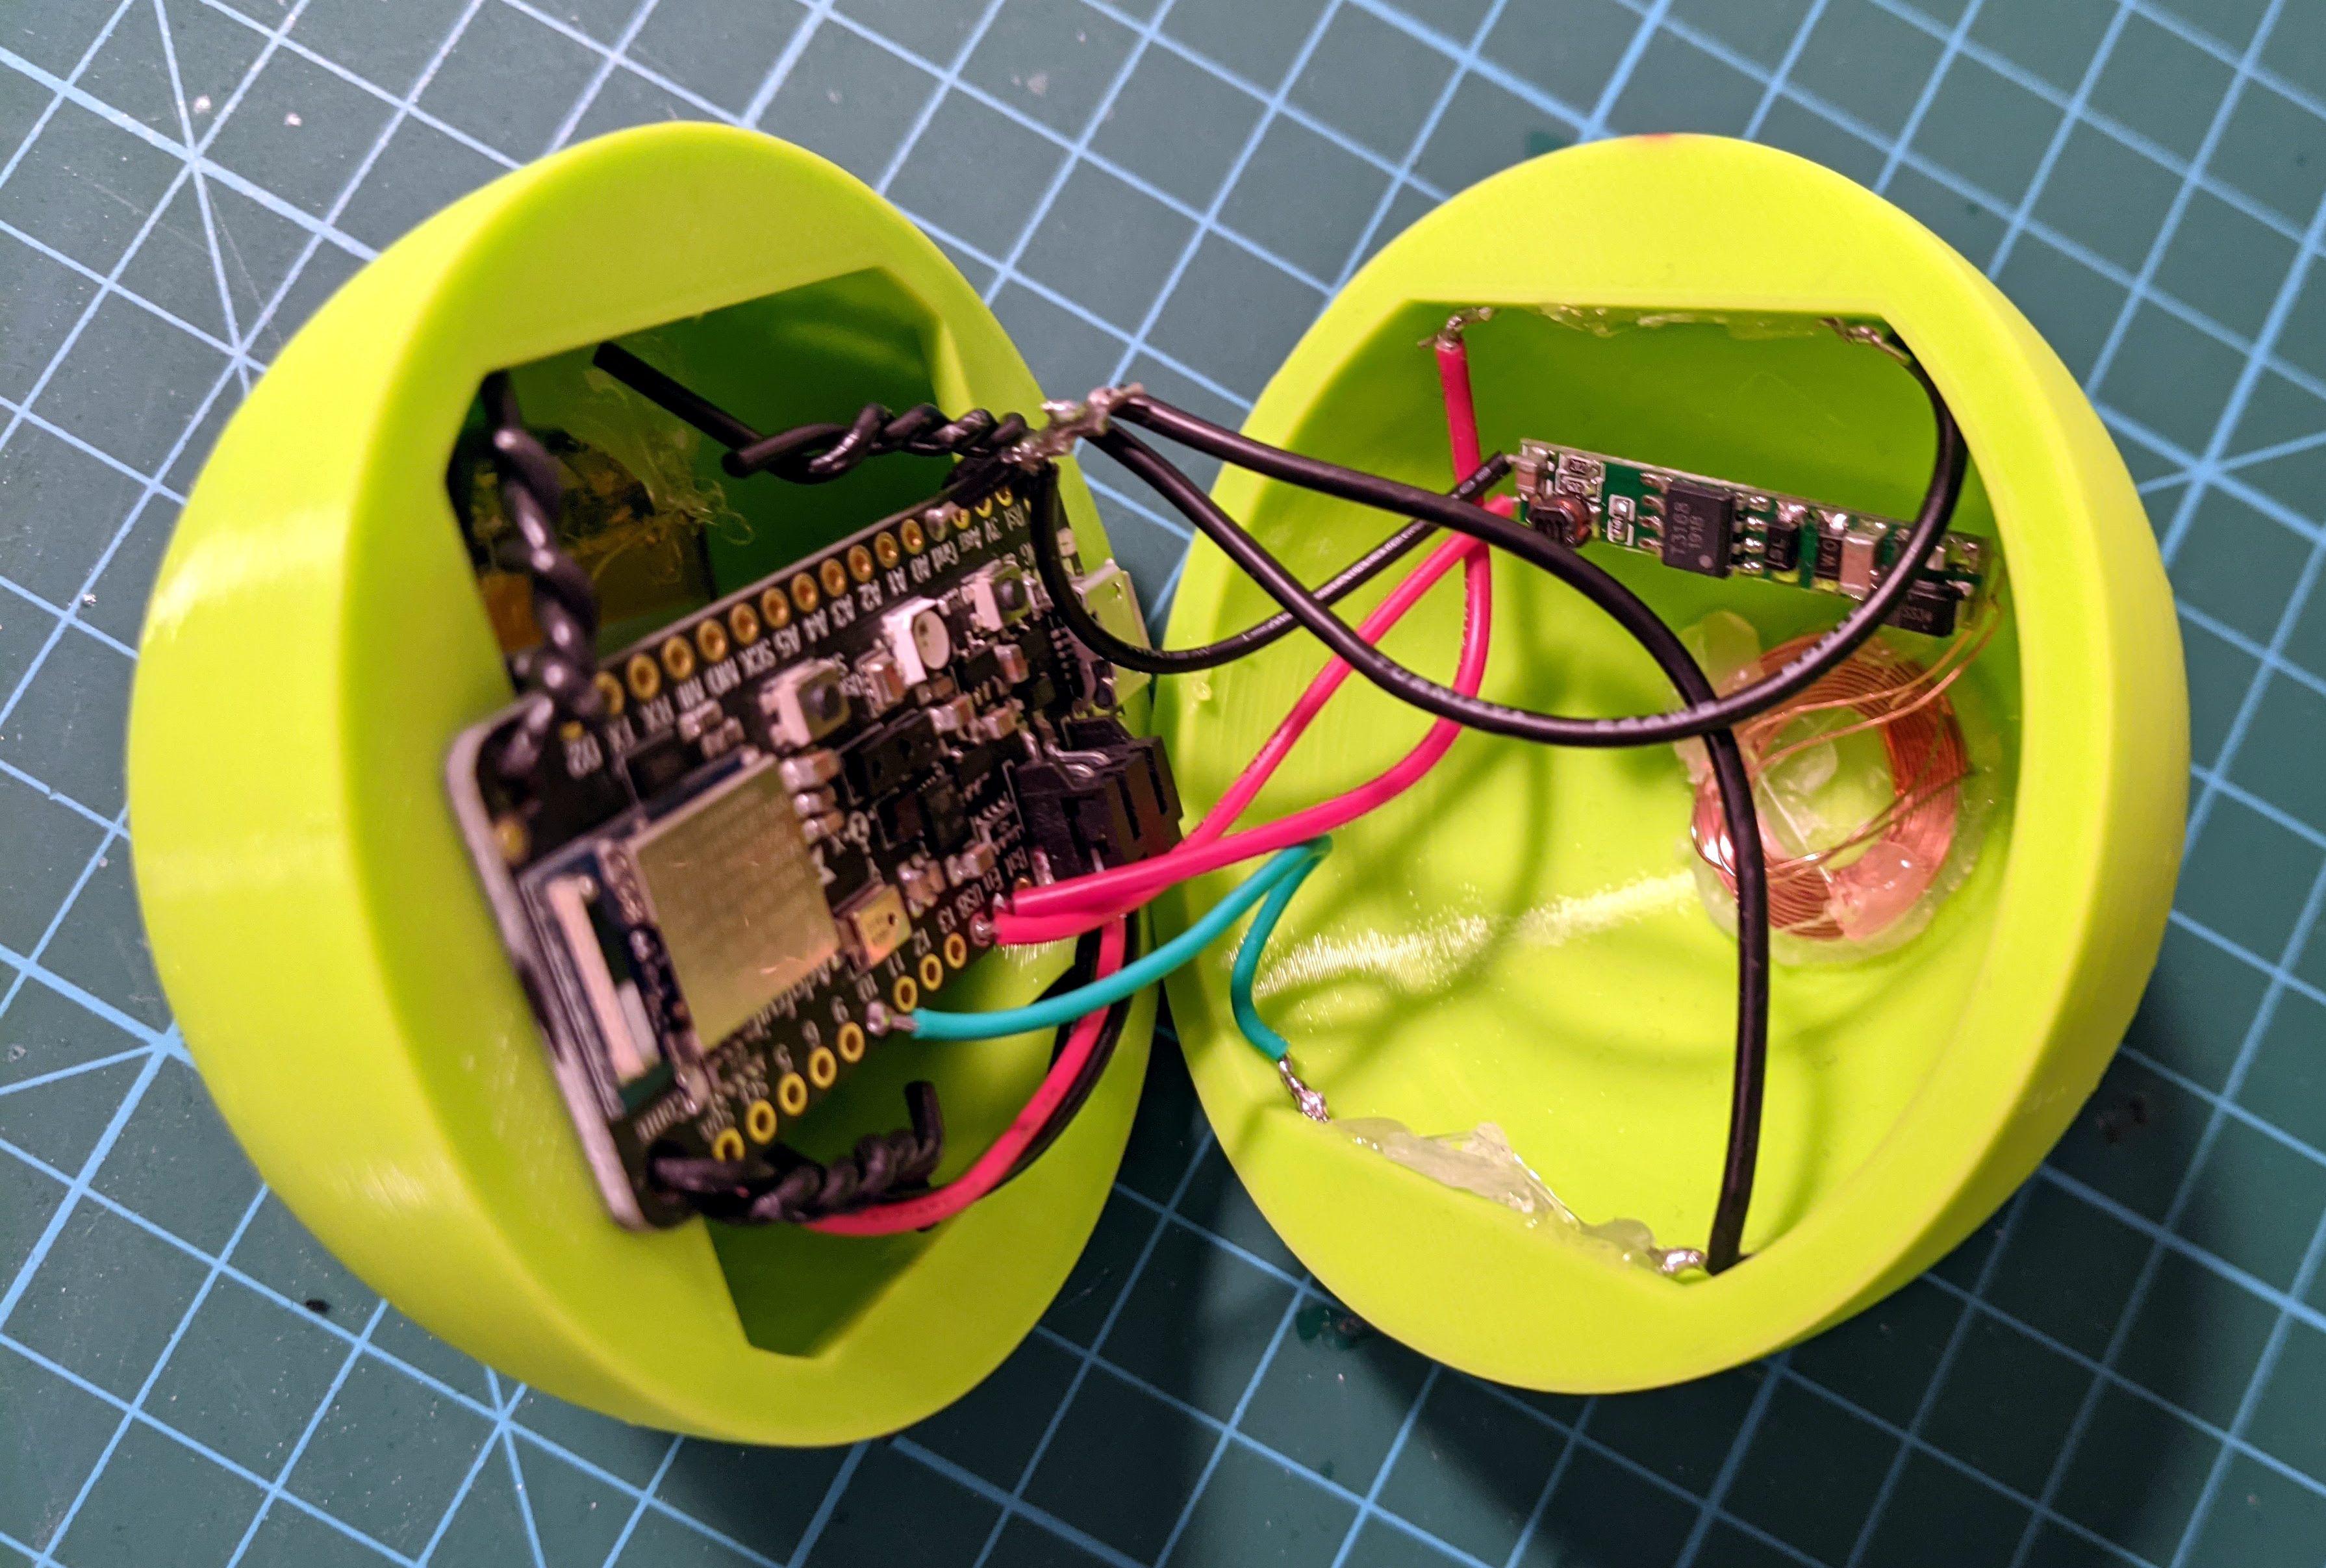
[discordia] is happy with the Atreus, but the whole layers thing can take some getting used to. Since Atreus only has 44 keys, it utilizes a layering system to change their function to cover all the keys you’d find on a full keyboard. After getting stuck in one rarely-used layer for a while, they decided to remedy the situation with some RGB LEDs to indicate the active layer. If you’ve got an Atreus that could use a few upgrades, check out [discordia]’s step-by-step instructions for adding a trackpoint and one-wire RGB LEDs.

If you have an old enough ThinkPad on your hands, then you may want to liberate the clicky keyboard, too.

Adding USB To A Keyboard The Way It Used To Be Done

The world of custom keyboards has over the years developed its work into an art form, as mechanical key switches meet USB-HID capable microcontrollers for a plethora of designs as individual as their creators. This was however not always the case, and from the days of 8-bit home computers onwards making a custom keyboard often meant taking a surplus one from elsewhere and adapting its matrix to suit whatever controller interface was at hand. [Julian Calaby]’s USB conversion of an Apple Extended keyboard may be unusual in this day and age and was probably a late example even 15 years ago when he made it, but it remains a glorious piece of bodge-wire hardware hacking at its finest.

The task at hand with this type of conversion is to cut the matrix PCB tracks and replace them with soldered wires to create the new matrix required. This can then be wired to the controller, which in [Julian]’s case came from a cheap USB keyboard. He added a small USB hub to allow for a pair of USB sockets where Apple had put an ADB socket, making for quite a decent older keyboard with an unexpected USB interface.

Now older and wiser, he has plans to revisit his old keyboard with a modern microcontroller board, and needs to revisit the matrix again and give the peripheral new life. We still like the original though, as it captures a moment in time when keyboard matrix hacking made sense, and reminds us of our own youthful hardware follies.

Paging through Hackaday past it’s a testament to the old-school nature of this board that all we can find are microcontroller-based conversions. That’s not to say that cutting up old ‘boards is out of the question though.

Wireless Mouse Gets A Charging House

Mouse batteries always seem to die at the worst possible moment, like when you’re in the middle of pwning noobs or giving a presentation at work. [AyhamAS] was tired of having to look around for a replacement battery and decided to build a nice little charging dock for their mouse.

At the heart of this build is a TC4056A charging board inside the dock. Since this board is designed to charge 3.7 V batteries, [AyhamAS] removed the charge current-limiting resistor and replaced it with a pair of through-hole resistors. A switch on the back of the dock lets [AyhamAS] choose between the two values for fast or slow charging.

On the mouse side, [AyhamAS] cleverly used the receiver storage cubbyhole to house the contacts. Magnets in in the mouse and the dock and spring-loaded contacts add even more tactile feedback to the whole experience. The dock itself looks great, too — it’s made from acrylic that’s been sanded down to a matte finish. Check out the build video after the break.

If your mouse has a battery pack, you could always upgrade to a bigger one as long as there’s room.

Continue reading “Wireless Mouse Gets A Charging House”

Micro Macro Keyboard Is ‘Mega-Based

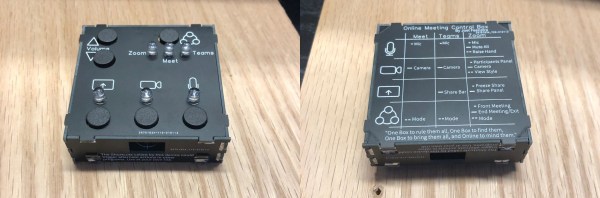
There’s a certain kind of joy that comes in throwing something together from spare parts, or from finding utility in a proof of concept for another project. [Clewsy] is cooking up something clacky and built this baby keeb to prove some stuff out, such as reading a key matrix. Now it’s become a music/media controller that looks great next to a giant matching volume knob.

Beneath the gently backlit Gateron blues is a custom ATMega32u4-based board, which is viewable through the clear acrylic bottom plate. That’s a nice touch. We’re not sure if the wood came from a picture frame, but if not, they seem like a great candidates for enclosure material.

This keeb looks fantastic, and we are partial to both the clear and the chrome keycaps. We can only hope [Clewsy] sends the details of the next build our way.

If you want to get started building keyboards, you can’t go wrong with a macro keyboard like this one. If you have way more than four macros in mind, build something bigger, like a custom game pad with a joystick.