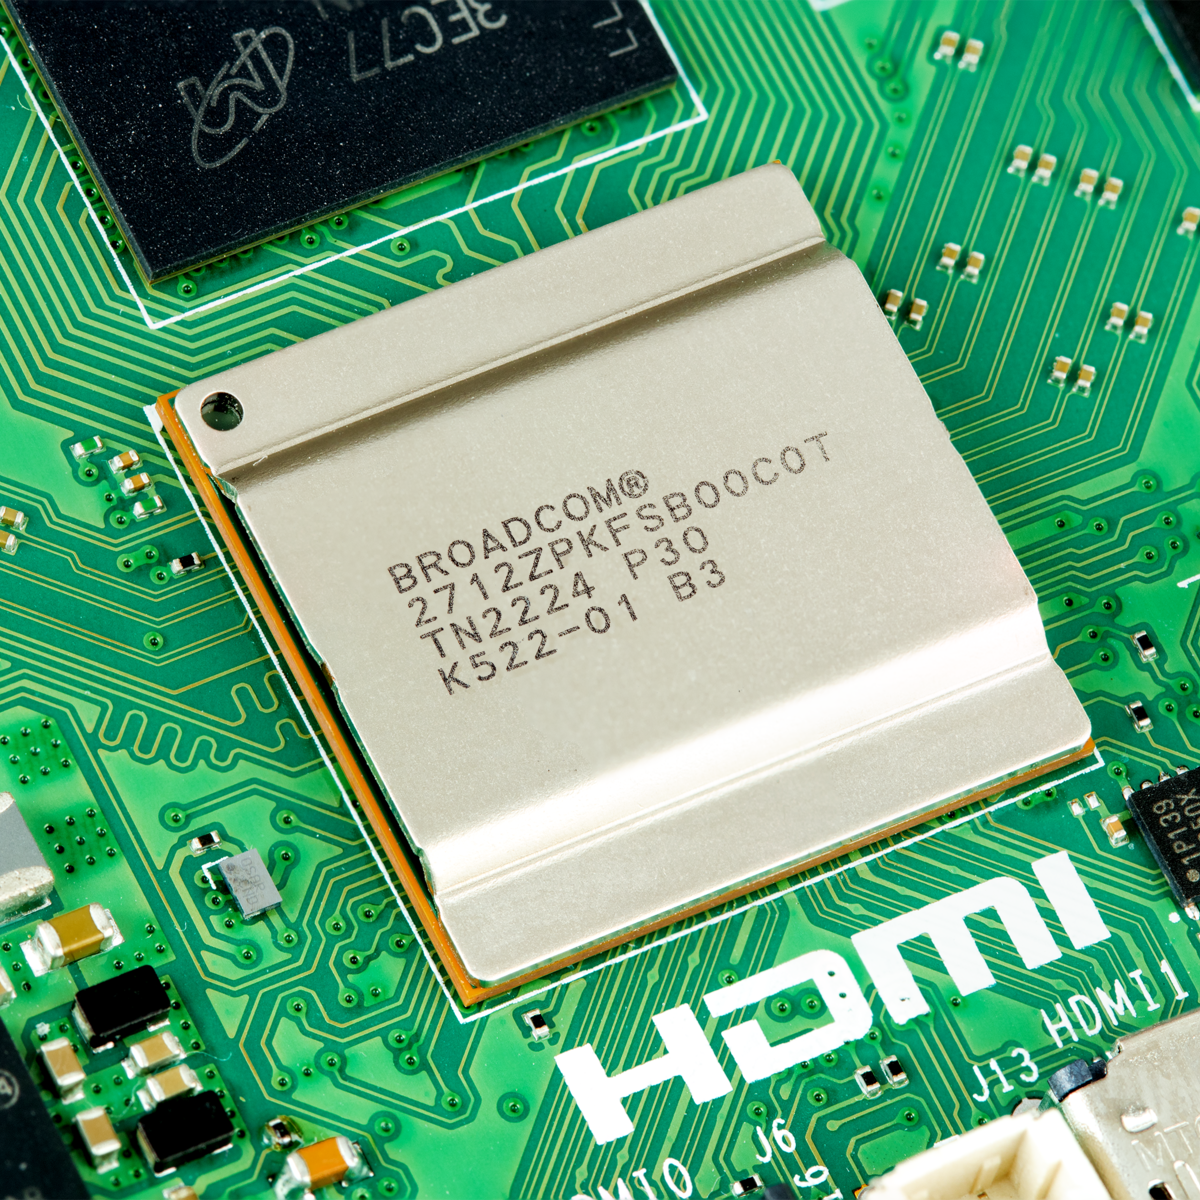
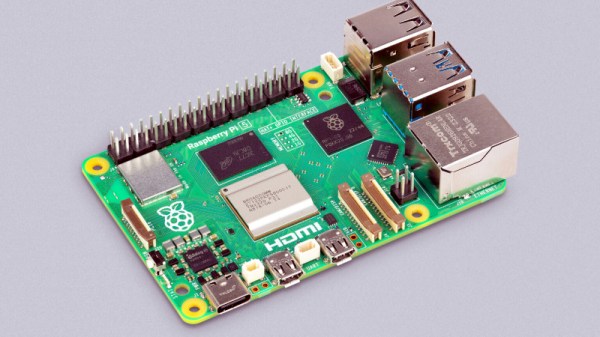
An Easy-To-Make Pi-Powered Pocket Password Pal

Sometimes, we see a project where it’s clear – its creator seriously wants to make a project idea accessible to newcomers; and today’s project is one of these cases. The BYOPM – Bring Your Own Password Manager, a project by [novamostra] – is a Pi Zero-powered device to carry your passwords around in. This project takes the now well-explored USB gadget feature of the Pi Zero, integrates it into a Bitwarden-backed password management toolkit to make a local-network-connected password storage, and makes a tutorial simple enough that anybody can follow it to build their own.

For the physical part, assembly instructions are short and sweet – you only need to solder a single button to fulfill the hardware requirements, and there’s a thin 3D-printable case if you’d like to make the Pi Zero way more pocket-friendly, too! For the software part, the instructions walk you step-by-step through setting up an SD card with a Raspbian image, then installing all the tools and configuring a system with networking exposed over the USB gadget interface. From there, you set up a Bitwarden instance, and optionally learn to connect it to the corresponding browser extensions. Since the device’s goal is password management and storage, it also reminds you to do backups, pointing out specifically the files you’ll want to keep track of.

Overall, such a device helps you carry your passwords with you wherever you need them, you can build this even if your Raspberry Pi skills are minimal so far, and it’s guaranteed to provide you with a feeling that only a self-built pocket gadget with a clear purpose can give you! Looking for something less reliant on networking and more down-to-commandline? Here’s a buttons-and-screen-enabled Pi Zero gadget that uses pass.

A Pi Pico plugged into a breadboard, with an I2C OLED display connected to it

Need An USB-I2C Adapter? Use Your Pico!

Given its abundance and simplicity, the RP2040 has no doubt become a favourite for USB peripheral building – in particular, USB-connected tools for electronics experiments. Today, we see one more addition to our Pico-based tool arsenal – a USB-I2C adapter firmware for RP2040 by [Renze Nicolai]. This is a reimplementation of the ATTiny-based I2C-Tiny-USB project and complies to the same protocol – thus, it’s compatible with the i2c-tiny-usb driver that’s been in the Linux kernel for ages. Just drag&drop the .uf2, run a script on your Linux system, and you will get a /dev/i2c-X device you can work with from userspace code, or attach other kernel drivers to.

The software will work with any RP2040 devboard – just connect your I2C devices to the defined pins and you’ll have them show up in i2cdetect output on your Linux workstation. As a demo, [Renze] has written a userspace Python driver for one of these SSD1306 128×64 OLEDs, and gives us a commandline that has the driver accept output of an ffmpeg command capturing your main display’s contents, duplicating your screen on the OLED – in a similar fashion that we’ve seen with the “HDMI” I2C-driven display a few months back. Everything you might need is available on the GitHub page, including usage instructions and examples, and the few scripts you can use if you want to add an udev rule or change the I2C clock frequency.

Just to name a few purposes, you can use a Pi Pico as a tool for SWD, JTAG, CAN, a logic analyser with both digital and analog channels, or even as a small EMP-driven chip glitching tool. The now-omnipresent $3 Pi Pico boards, it seems, are a serious contender to fondly remembered hacker tools of the past, such as the legendary BusPirate.

Continue reading “Need An USB-I2C Adapter? Use Your Pico!”

A terminal window with a search for "Guineau Pig Olympics" is inset on a photo of an ortholinear keyboard attached by a yellow USB cable to a 70s aluminum and plastic Super 8 film editor/viewer. The device has a large screen on the right hand side, a silver grate on the left, and a tray at the bottom for slotting in film.

Super 8 Film Editor Reborn As A YouTube Terminal

We love hacks that give new life to old gadgets, and [edwardianpug]’s YouTube Terminal certainly fits the bill by putting new hardware inside a Super 8 film editor.

[edwardianpug] could have relegated this classy-looking piece of A/V history to a shelf for display, but instead she decided to refresh its components so it could display any YouTube video instead of just one strip of film at a time. The Boost-Box keeps the retrofuturistic theme going by using the terminal to search for and play videos via Ytfzf.

The original screen has been replaced by an 800×600 LCD, and the yellow USB cord gives a nice splash of color to connect the ortholinear keyboard to the device. Lest you think that this “ruined” a working piece of retro-tech, [edwardianpug] says that 20 minutes would get this device back to watching old movies.

Are you looking for more modern and retro mashups? Check out these Dice Towers Built In Beautiful Retro Cases, a Vacuum Tube and Microcontroller Ham Transmitter, or this Cyberdeck in a Retro Speaker.

Continue reading “Super 8 Film Editor Reborn As A YouTube Terminal”

PySpectrometer version 2, showing mini spectroscope, 4 inch display and hand for scale

Pi-based Spectrometer Gets An Upgrade

Here at Hackaday, we love to see projects re-visited and updated after we’ve covered them on the site. It’s always exciting to see what the creators come up with next, and this Pi-Based Spectrometer project is a great example of that.

[LesWright] found himself with a problem when the new version of Raspberry Pi operating system was released (Bullseye), and it broke some functionality on his original software. Rather than just fix the issues, [Les] chose to rewrite the software more dramatically and has ended up with a much more capable spectrometer that is able to match professional devices costing many times more.

Screenshot of Waterfall Display for PySpectrometer 2

By using multi-wavelength calibration and polynomial regression data, the new version is much more accurate and can now resolve wavelengths down to +/- 1nm.

The whole project is now written in OpenCV, and there’s a nifty new waterfall spectrum display, that will show changes in measured spectra over time.

A low-cost benchtop spectroscope is coupled to a RaspberryPi Camera via a CCTV zoom lens and the whole setup is mounted to a small block of aluminium for thermal and mechanical stability. The spectroscope is pointed at a fluorescent lamp and the user is guided through a calibration routine to tune the software to the hardware.

We’re impressed with the precision [Les] has achieved with his builds, and the write-up is sufficiently detailed to allow others to follow in his footsteps. We’d love to see if readers build one themselves, and what they use them for!

If you want to read up on the original build, you can find our article here. We’ve covered several spectrometry projects in the past, including this Gamma-Ray Spectrometer and this one based around an STM32 Nucleo board. Continue reading “Pi-based Spectrometer Gets An Upgrade”

Mini Mars Rover Runs On Pi Pico W

NASA’s Mars Rovers are robots that have inspired many budding engineers around the world. [Nikodem Bartnik] had a particular fondness for them himself, and set out to build a miniature version of his very own.

The Raspberry Pi Pico W is the brains of the operation, serving as both microcontroller and remote wireless link for control. The robot uses four mecanum wheels for locomotion, with each getting its own motor. This allows the robot to move in all directions simply by rotating the wheels in different configurations. On top, the rover sports a articulated robot arm controlled by servos, which allows it to pick things up and put them down. Plus, there’s an FPV camera on top that delivers a video feed so the robot can be driven remotely. This is achieved over WiFi, thanks to a bit of custom control code written in Python.

It’s a surprisingly capable bot on smooth surfaces, as the mecanum wheels allow strafing and other movements that regular wheels simply can’t do. It’s also fun having a bot that can interact with its environment, thanks to its motorized appendages.

Continue reading “Mini Mars Rover Runs On Pi Pico W”

The WiFi Pumpkin Is The WiFi Pineapple We Have At Home

While networking was once all about the Cat 5 cables and hubs and routers, now most of us connect regularly in a wireless manner. Just like regular networks, wireless networks need auditing, and [Brains933] decided to whip up a tool for just that, nicknaming it the PumpkinPI_3.

The build is inspired by the WiFi Pineapple, which is a popular commercial pentesting tool. It runs the WiFi Pumpkin framework which allows the user to run a variety of attacks on a given wireless network. Among other features, it can act as a rogue access point, run man-in-the-middle attacks, and even spoof Windows updates if so desired.

In this case, [Brains933] grabbed a Raspberry Pi Zero W to run the framework. It was stuffed in a case with a Alfa Network AWUS036NHA wireless card due to its ability to run in monitoring mode — a capability required by some of the more advanced tools. It runs on a rechargeable LiPo battery for portability, and can be fitted with a small screen for ease of operation.

It should prove to be a useful tool for investigating wireless security on the go. Alternatively, you can go even leaner, running attacks off an ESP32.

Continue reading “The WiFi Pumpkin Is The WiFi Pineapple We Have At Home”

ARM Programming By Example

The ARM processor is popping up everywhere. From Raspberry Pis, to phones, to Blue Pill Arduino-like boards, you don’t have to go far to find an ARM processor these days. If you program in C, you probably don’t care much or even think about it. But do you know ARM assembly language? Well, if you look at it one way, it can’t be too hard. The CPU only has about 30 distinct operations — that’s why it is called RISC. Of course, sometimes fewer instructions actually make things more difficult. But you can get a great starting tutorial with the 21 programs on the ARM Assembly by Example website.

You need a 32-bit ARMv6 or better — so Raspberry Pi will work here. The compiler, of course, is gcc and all the associated tools. if you have the right hardware, there are sections on using the floating point unit and the NEON co-processor, too.

Continue reading “ARM Programming By Example”