If you had an Amiga during the 16-bit home computer era it’s possible that alongside the games and a bit of audio sampling you had selected it because of its impressive video capabilities. In its heyday the Amiga produced broadcast-quality graphics that could even be seen on more than a few TV shows from the late 1980s and early 1990s. It’s fair to say though that the world of TV has moved on since the era of Guru Meditation, and an SD video signal just won’t cut it anymore. With HDMI as today’s connectivity standard, [c0pperdragon] is here to help by way of a handy HDMI upgrade that taps into the digital signals direct from the Amiga’s Denise chip.
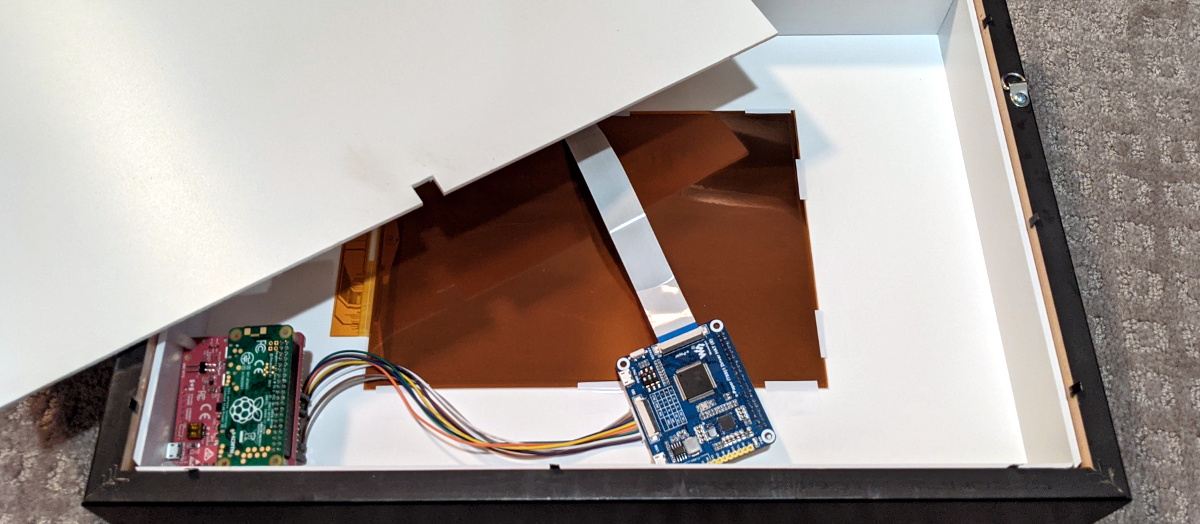
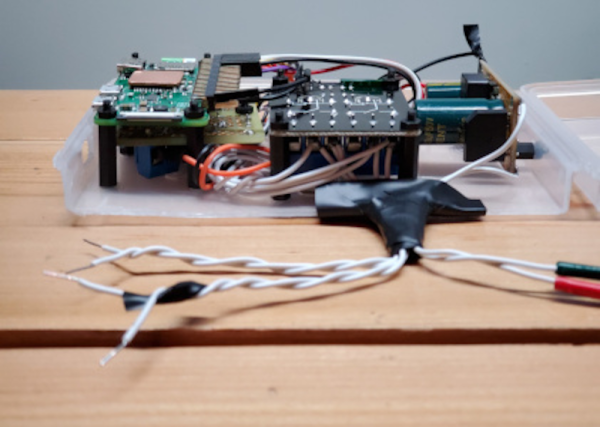
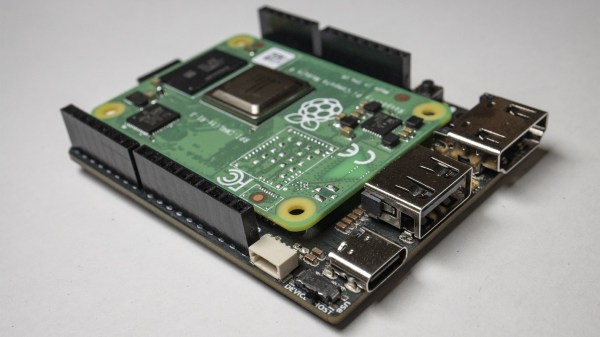
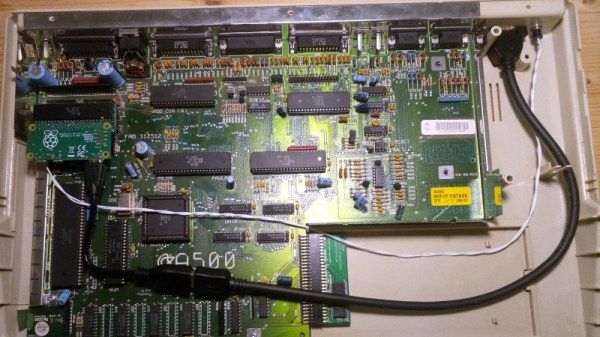
At first thought one might imagine that an FPGA would be involved, however instead the signals are brought out via a daughterboard to the expansion header of a Raspberry Pi Zero. Just remove the DENISE display encoder chip and pop in the board with uses a long-pinned machined DIP socket to make the connections. The Pi runs software from the RGBtoHDMI project originally created with the BBC Micro in mind, to render pixel-perfect representations of the Amiga graphics on the Pi’s HDMI output. The caveat is that it runs on the original chipset Amigas and only some models with the enhanced chipset, so it seems Amiga 600 owners are left in the cold. A very low latency is claimed, which should compare favourably with some other solutions to the same problem.
This isn’t the first time we’ve seen an HDMI Amiga conversion, but it’s one that’s usable on more than simply the big-box machines.
Continue reading “Amiga Now Includes HDMI By Way Of A Raspberry Pi Daughterboard”