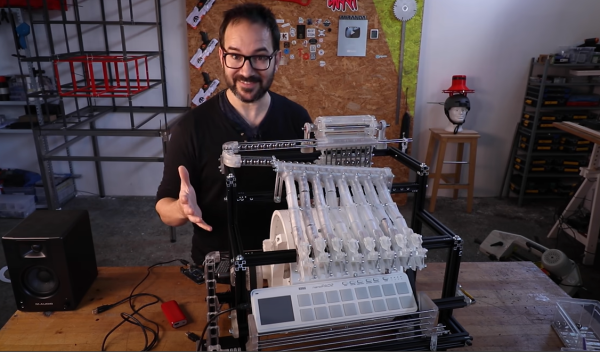
Inspired by the enormous marble music machines from the staggeringly talented [Wintergatan] and the marble run builds by [Daniel de Bruin], [Ivan Miranda] has been busy again building a largely 3D printed contraption to test his ideas around building his own marble music machine from scratch. (Video, embedded below.)
Leveraging his recent experiences with resin printing and his own giant 3D printer, he had no difficulty in producing everything he needed from his workshop, even if the design work apparently took ages.
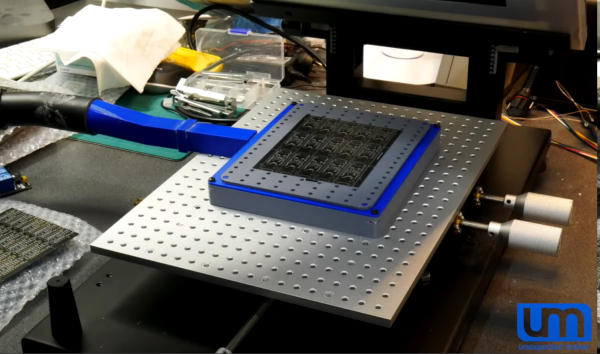
The build shows how early in development this project is, as there are clearly quite a few issues to be dealt with, but progress looks encouraging so far. To be clear, plans are to ‘go big’ and this little eight-channel testbed is just to explore this issues around ball guiding, transport and ball release onto the first audio test device, a Korg Nano Pad 2.
Some significant teething problems were identified, such as when [Ivan] designed the ball lifter, he intended the balls to load from the rear, but then needed to switch it to load from the front. No big deal, simply reverse the motor direction to load balls on the opposite side of the mechanism. Sadly, that also meant the directly coupled note drum was now also rotating the wrong way to release the balls. Oops. A quick hack later and [Ivan] was back in business. Various parts needed shimming up with plates, but with 3D printers on the bench, knocking those out took little time or effort. This just shows how darn useful 3D printers can be, allowing you to iterate in a short time and feed your hacks back into the final version.
[Ivan] is clearly going to have a lot of ‘fun’ with this one, as [Wintergatan] will surely testify, these big musical marble machine builds are quite some undertaking. We shall definitely be tuning in later on to see where this one goes!
While we’re on the subject of the [Wintergatan] marble machines, here’s a mini homage to the latest Marble Machine X, and if you’re in the need for a 3D printed marble clock, then try this one for starters.
Continue reading “3D Printed Marble Music Machine Looking Good Already”