The voice interface for the holodeck in Star Trek had users create objects by saying things like “create a table” and “now make it a metal table” and so forth, all with immediate feedback. This kind of interface may have been pure fantasy at the time of airing, but with the advent of AI and LLMs (large language models) this kind of natural language interface is coming together almost by itself.
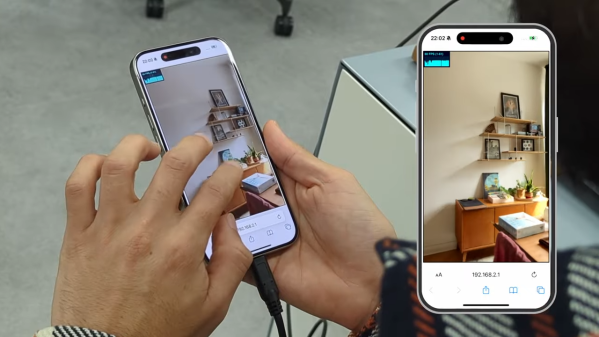
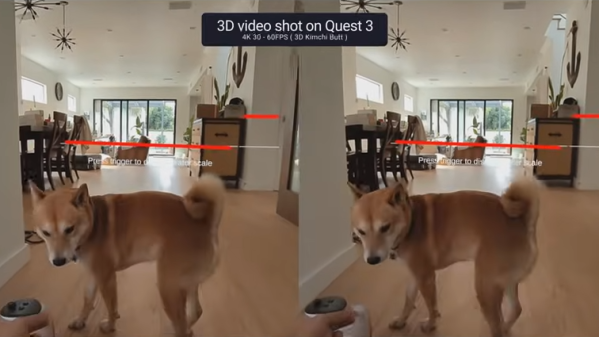
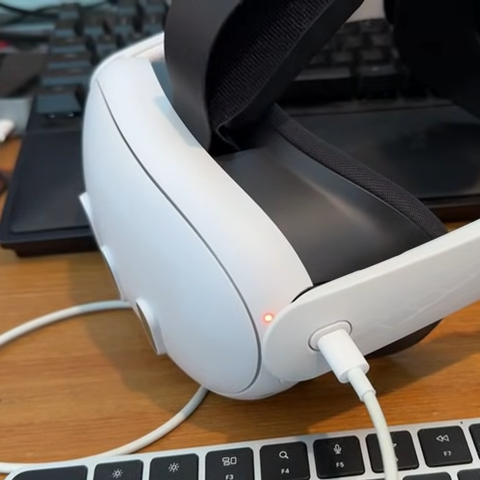
 A fun demonstration of that is [Dominic Pajak]’s demo project called VoxelAstra. This is a WebXR demo that works both in the Meta Quest 3 VR headset (just go to the demo page in the headset’s web browser) as well as on desktop.
The catch is that since the program uses OpenAI APIs on the back end, one must provide a working OpenAI API key. Otherwise, the demo won’t be able to do anything. Providing one’s API key to someone’s web page isn’t terribly good security practice, but there’s also the option of running the demo locally.
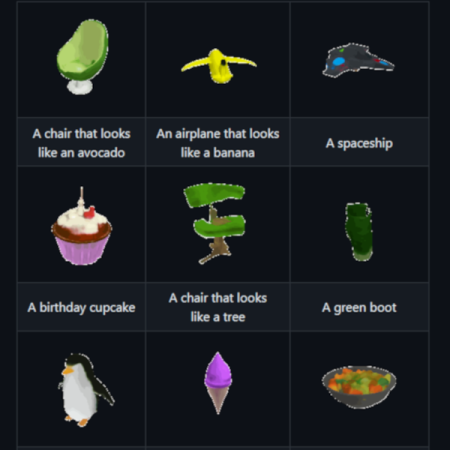
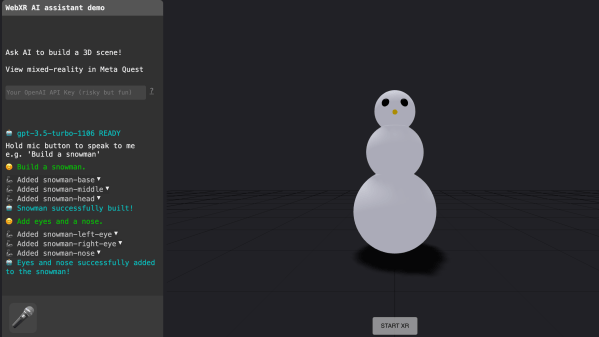
Either way, once the demo is up and running the user simply tells the system what to create. Just keep it simple. It’s a fun and educational demo more than anything and will try to do its work with primitive shapes like spheres, cubes, and cylinders. “Build a snowman” is suggested as a good starting point.
Intrigued by what you see and getting ideas of your own? WebXR can be a great way to give those ideas some life and looking at how someone else did something similar is a fine way to begin. Check out another of [Dominic]’s WebXR projects: a simulated BBC Micro, in VR.